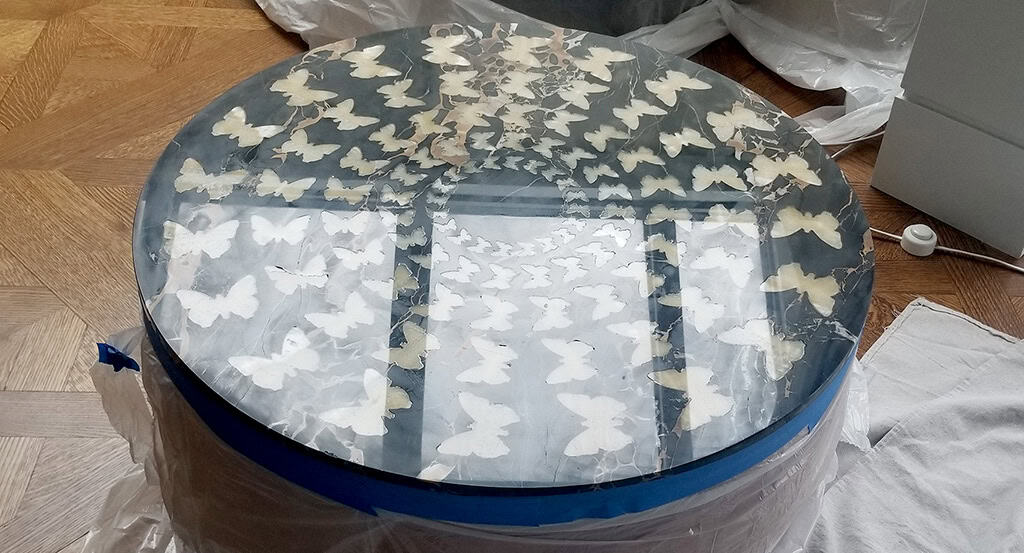
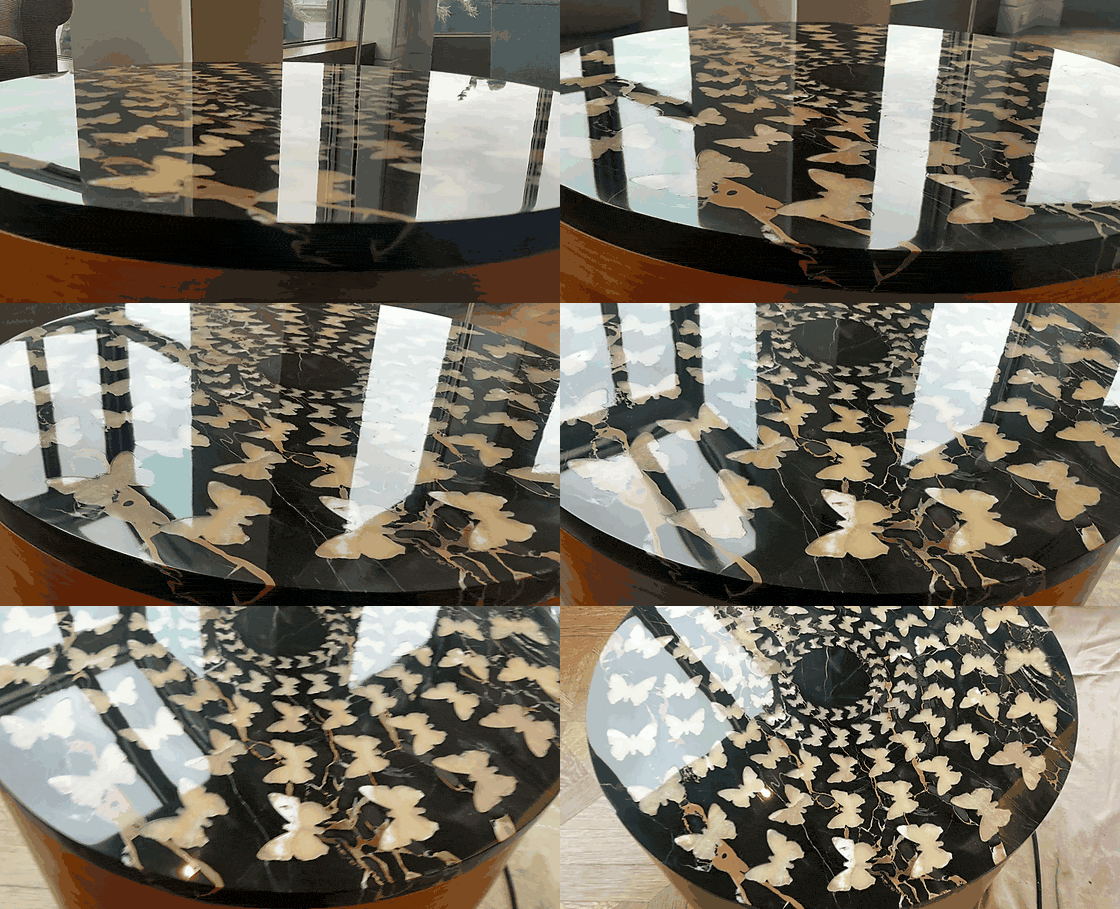
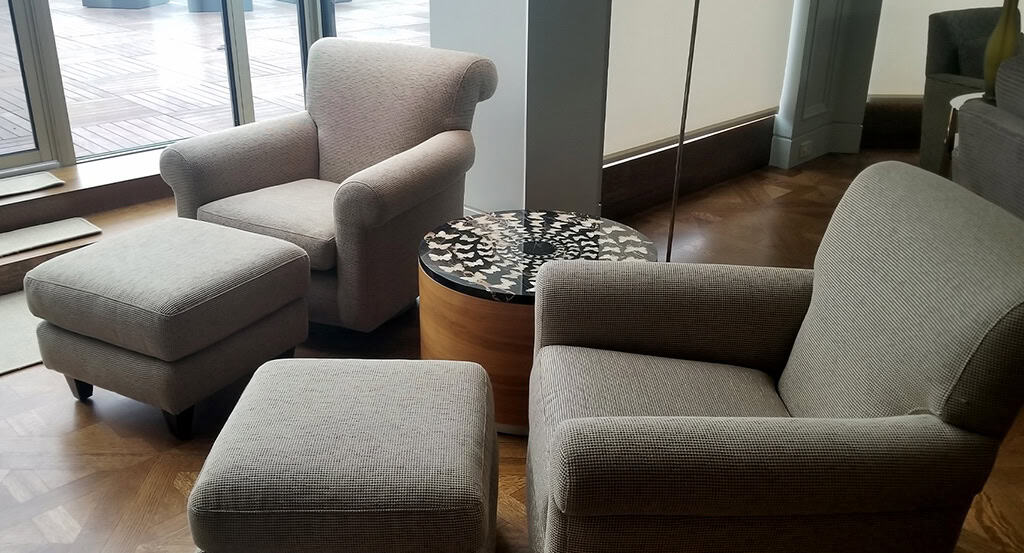
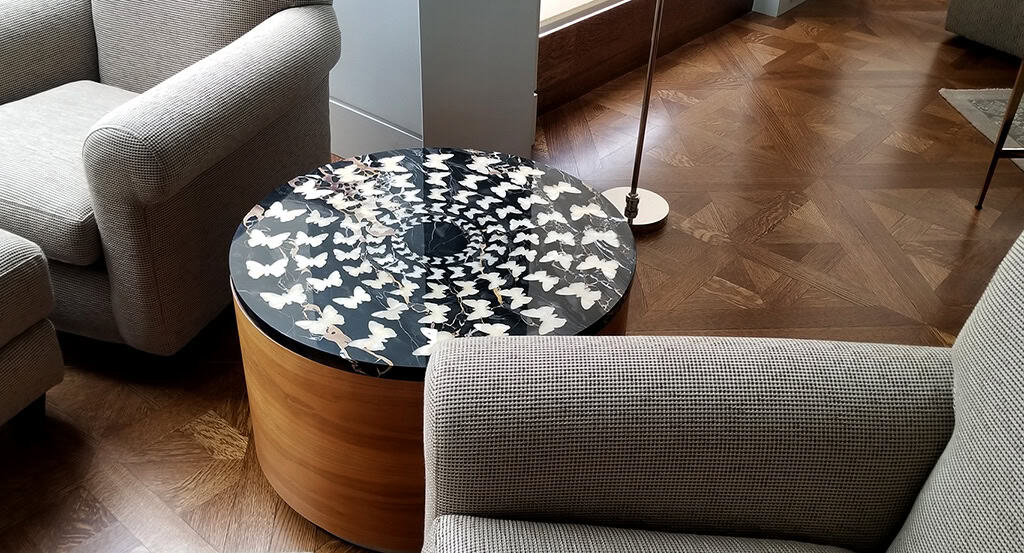
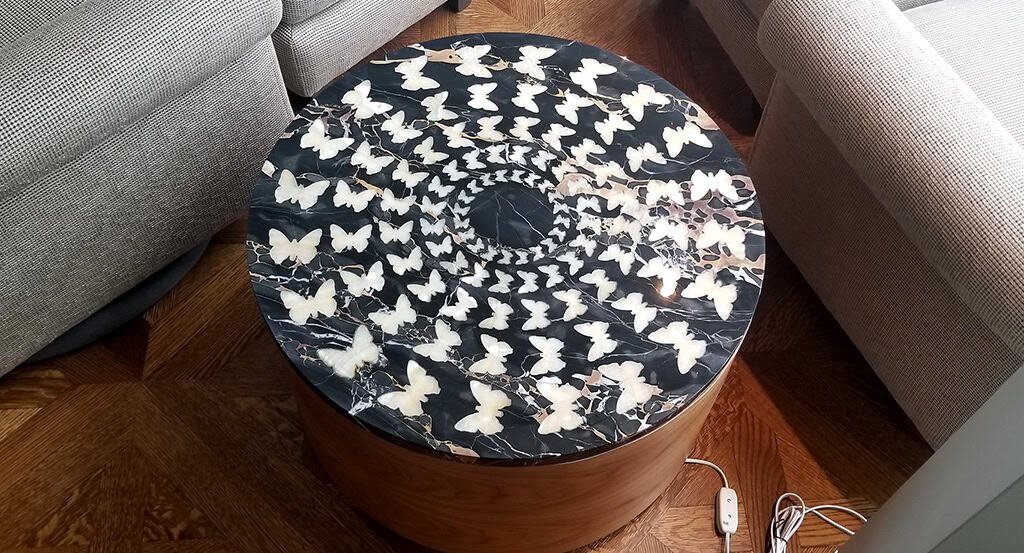
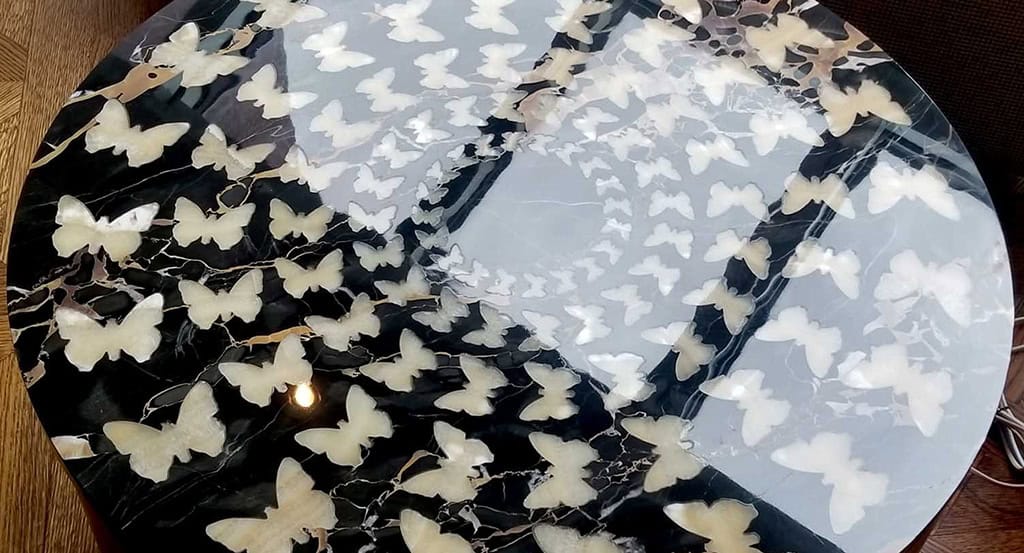
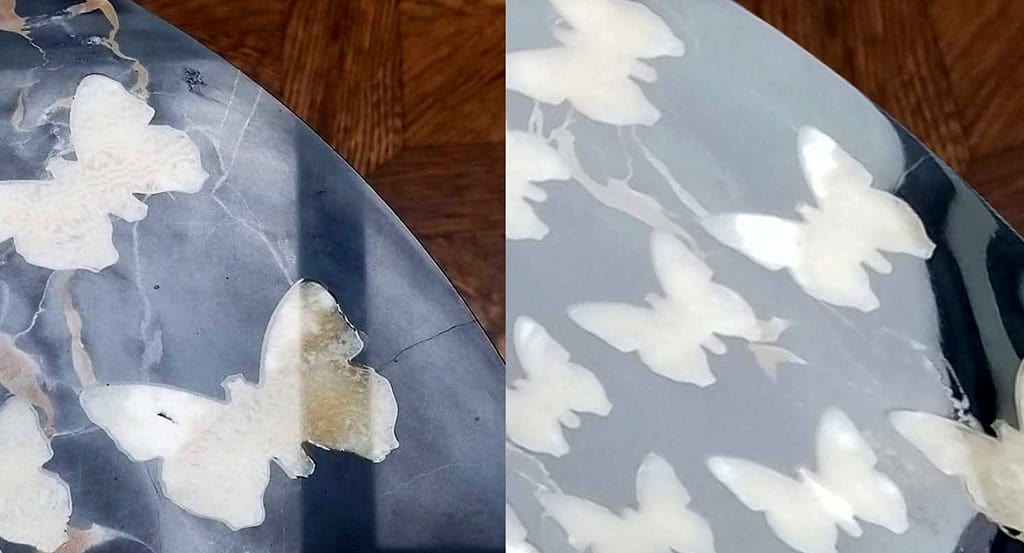
Over the years, we’ve restored countless floors and countertops, but occasionally a project gives us the opportunity to work on something particularly unique and delicate. This distinctive marble table remains one of our most gratifying projects. With the time required to approach the restoration properly, we were able to complete the entire process on site, restoring the table without moving it or creating a mess in the surrounding home.
This table was unique in both its materials and construction. The top was produced by an artist working in Italy, while the base was custom made by a fine carpenter in Toronto to complement the finished stonework.
Portoro Marble
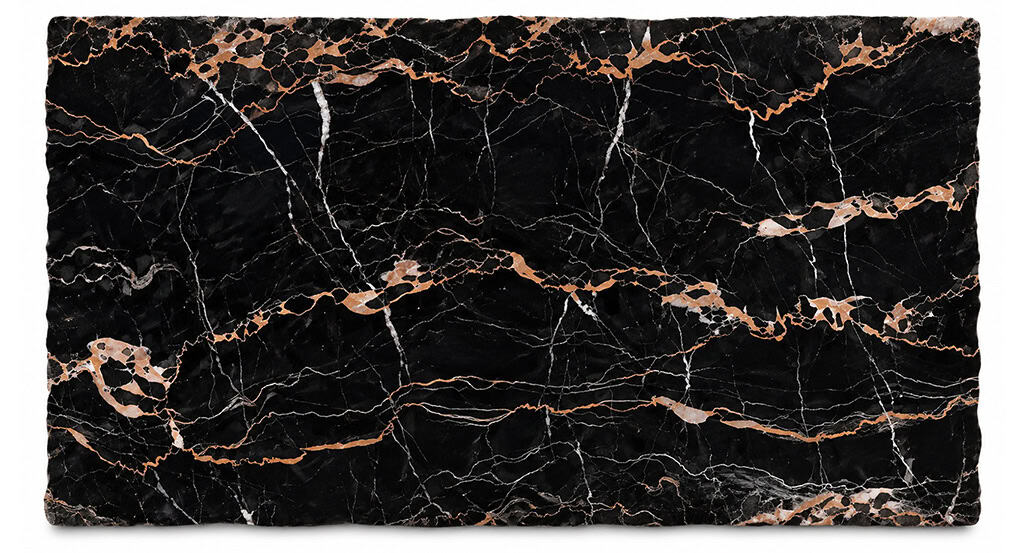
The tabletop began as a slab of Portoro marble, a distinctive black marble quarried in the Porto Venere region of northern Italy. We typically encounter Portoro on antique tables and older decorative pieces, and rarely see it used in newer installations. The marble is relatively soft and highly porous.
White Onyx
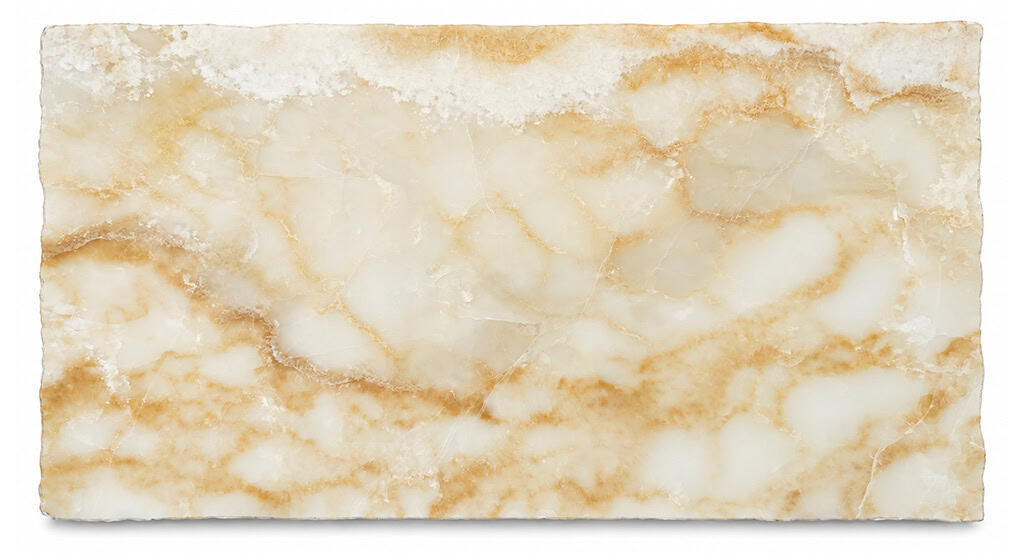
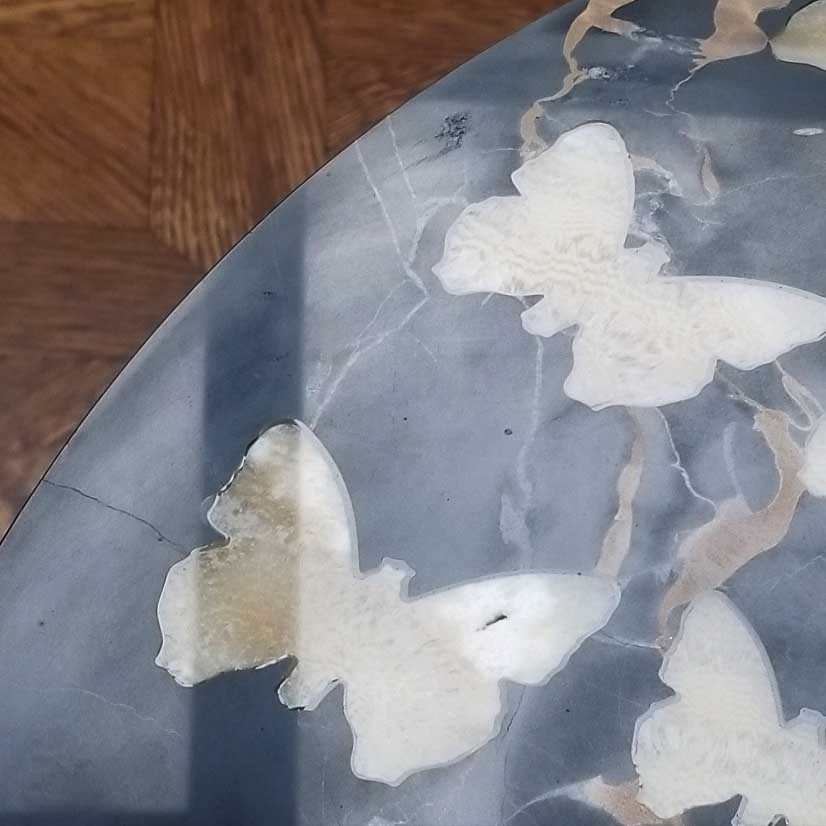
The butterfly inlays were produced from white onyx, a much denser and harder material with a translucent appearance. Unlike the softer surrounding marble, the onyx is comparatively brittle and susceptible to flaking and cracking. These contrasting characteristics became particularly important during resurfacing.
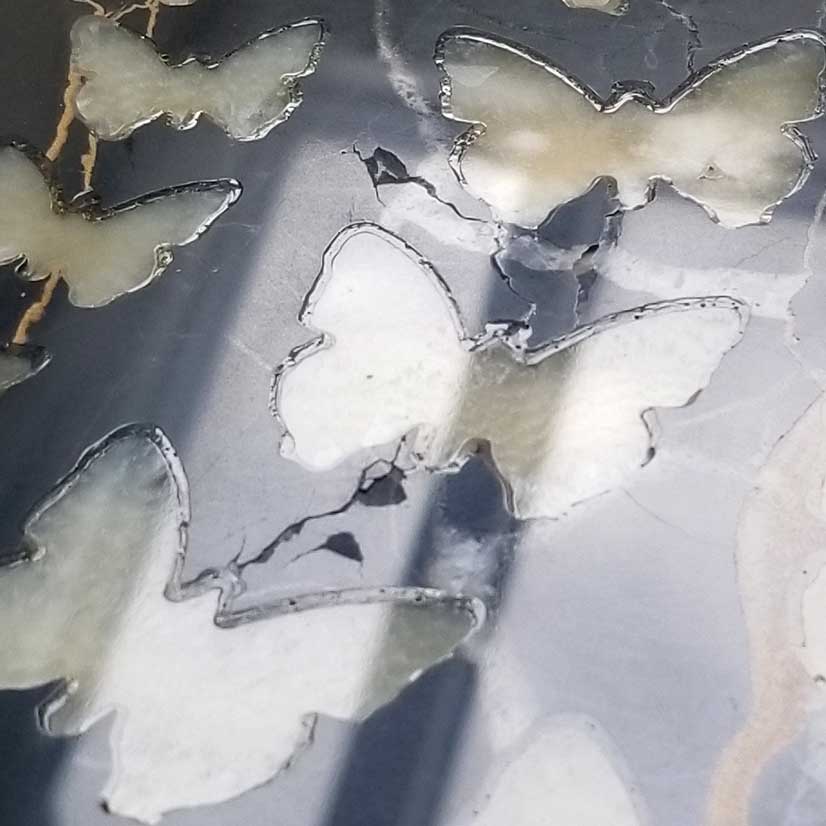
The openings in the Portoro marble and the individual butterfly inlays were cut using a CNC waterjet, allowing the intricate shapes to be produced with very narrow, precise cuts. The two materials were cut independently and assembled using stone-grade epoxy before the completed surface was flattened and polished.
A restoration like this required a clear plan and a firm understanding of how the different materials would respond to grinding. The combination of soft Portoro marble and harder white onyx created a risk that flexible grinding discs would ride over the harder onyx and cut more aggressively into the surrounding marble, leaving depressions in the finished surface. The repair epoxy added another material of differing hardness, further complicating the process.
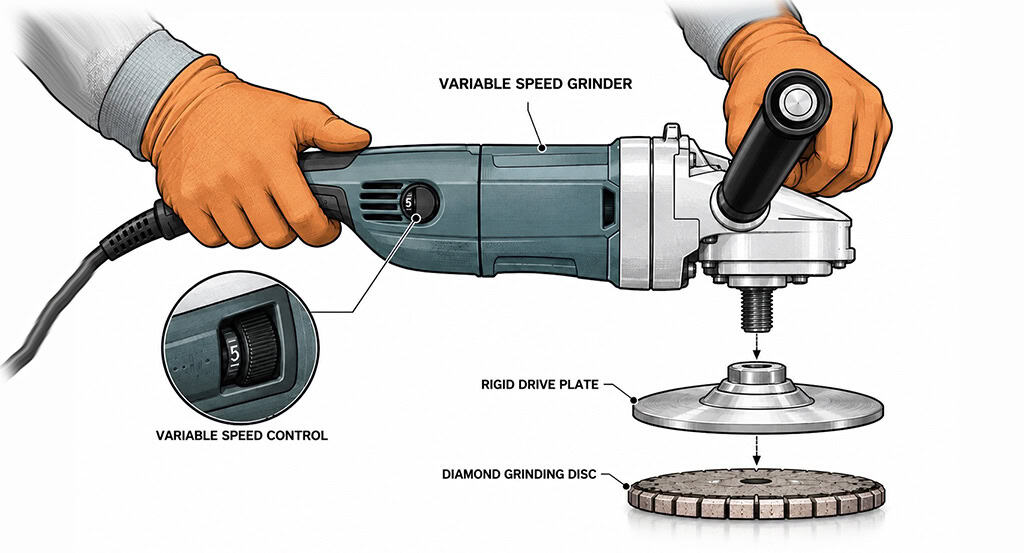
A heavier grinding machine could have helped maintain a flatter cutting plane, but the size of the tabletop, existing cracks and fragile base made the additional weight too risky. Instead, we used a rigid aluminum drive plate with rigid diamond tooling, minimizing flex and allowing the different materials to be ground together while maintaining an even surface.
Before work began, the surrounding floors and furniture were protected with waterproof drop cloths, tape and poly sheeting.
Step 2: Epoxy Repairs
Epoxy was pigmented on site to match the different areas of the table—black for the Portoro marble and a translucent honey tone for the white onyx.
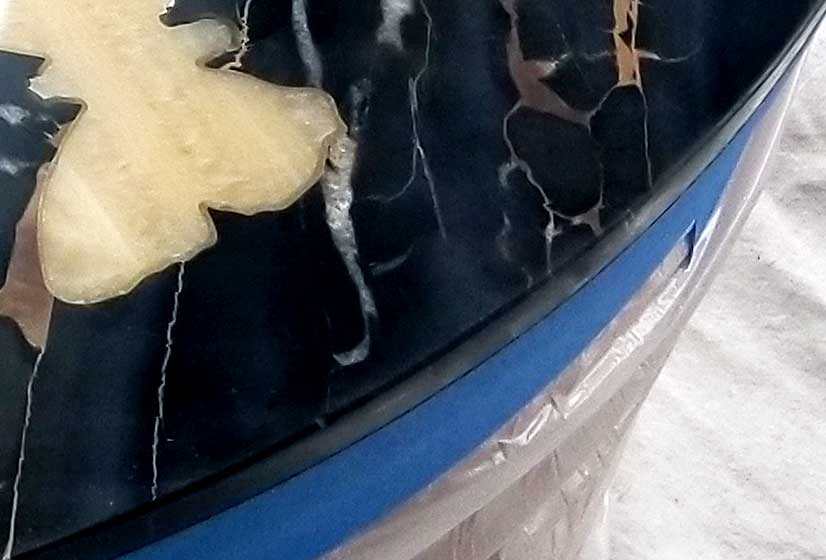
i. Edge repairs
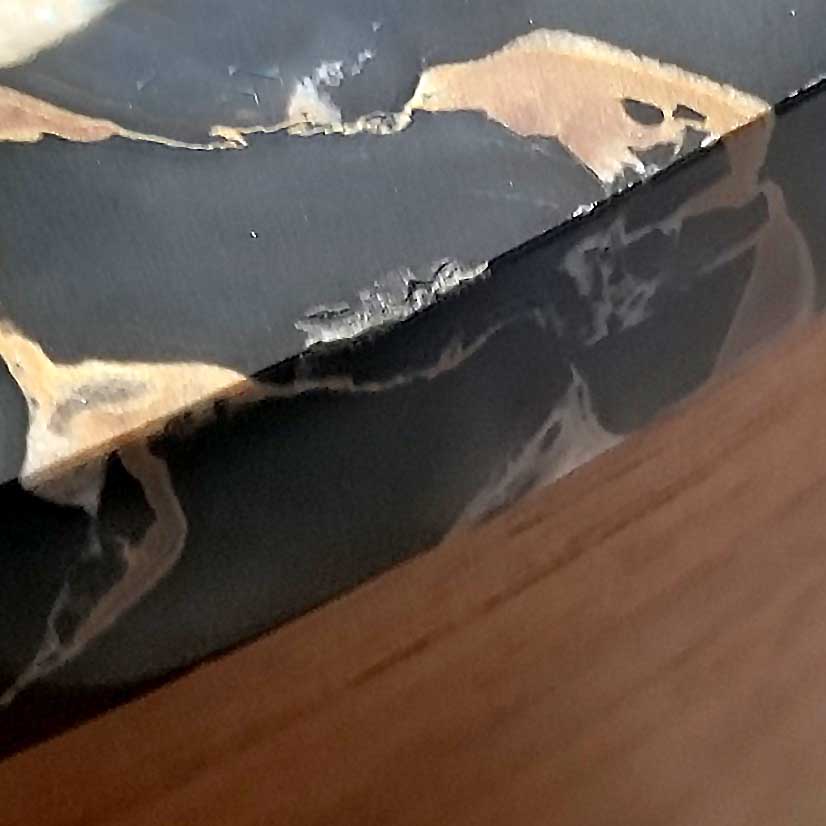
The edge chips were repaired first. Loose material was removed and the damaged areas were cleaned with solvent to promote epoxy adhesion. Once the colour-matched epoxy had been applied and cured, the repairs were shaped by hand to restore the table’s gentle radius and then refined to a polished finish using diamond sanding pads.
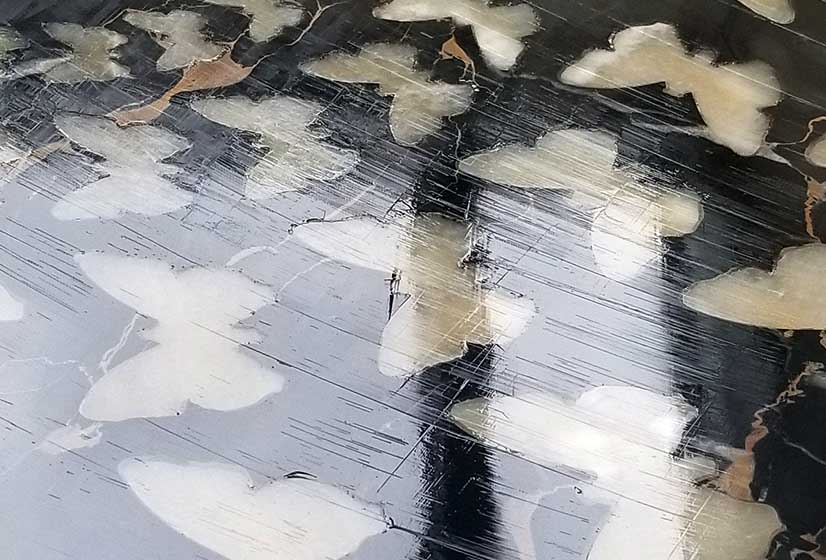
ii. Epoxy coating
The tabletop contained numerous small holes, cracks and areas of loose material, making individual repairs impractical. After preparing the surface, a thin coating of epoxy was applied across the entire tabletop to fill these defects. This was done twice to account for epoxy shrinkage during curing. Care was taken to avoid excessive buildup, which could interfere with the flatness of the subsequent grinding process.
Step 3: Grinding
As outlined earlier, a large, rigid drive plate was used throughout the grinding process to prevent the diamond discs from riding over the harder onyx and cutting more aggressively into the softer Portoro marble.
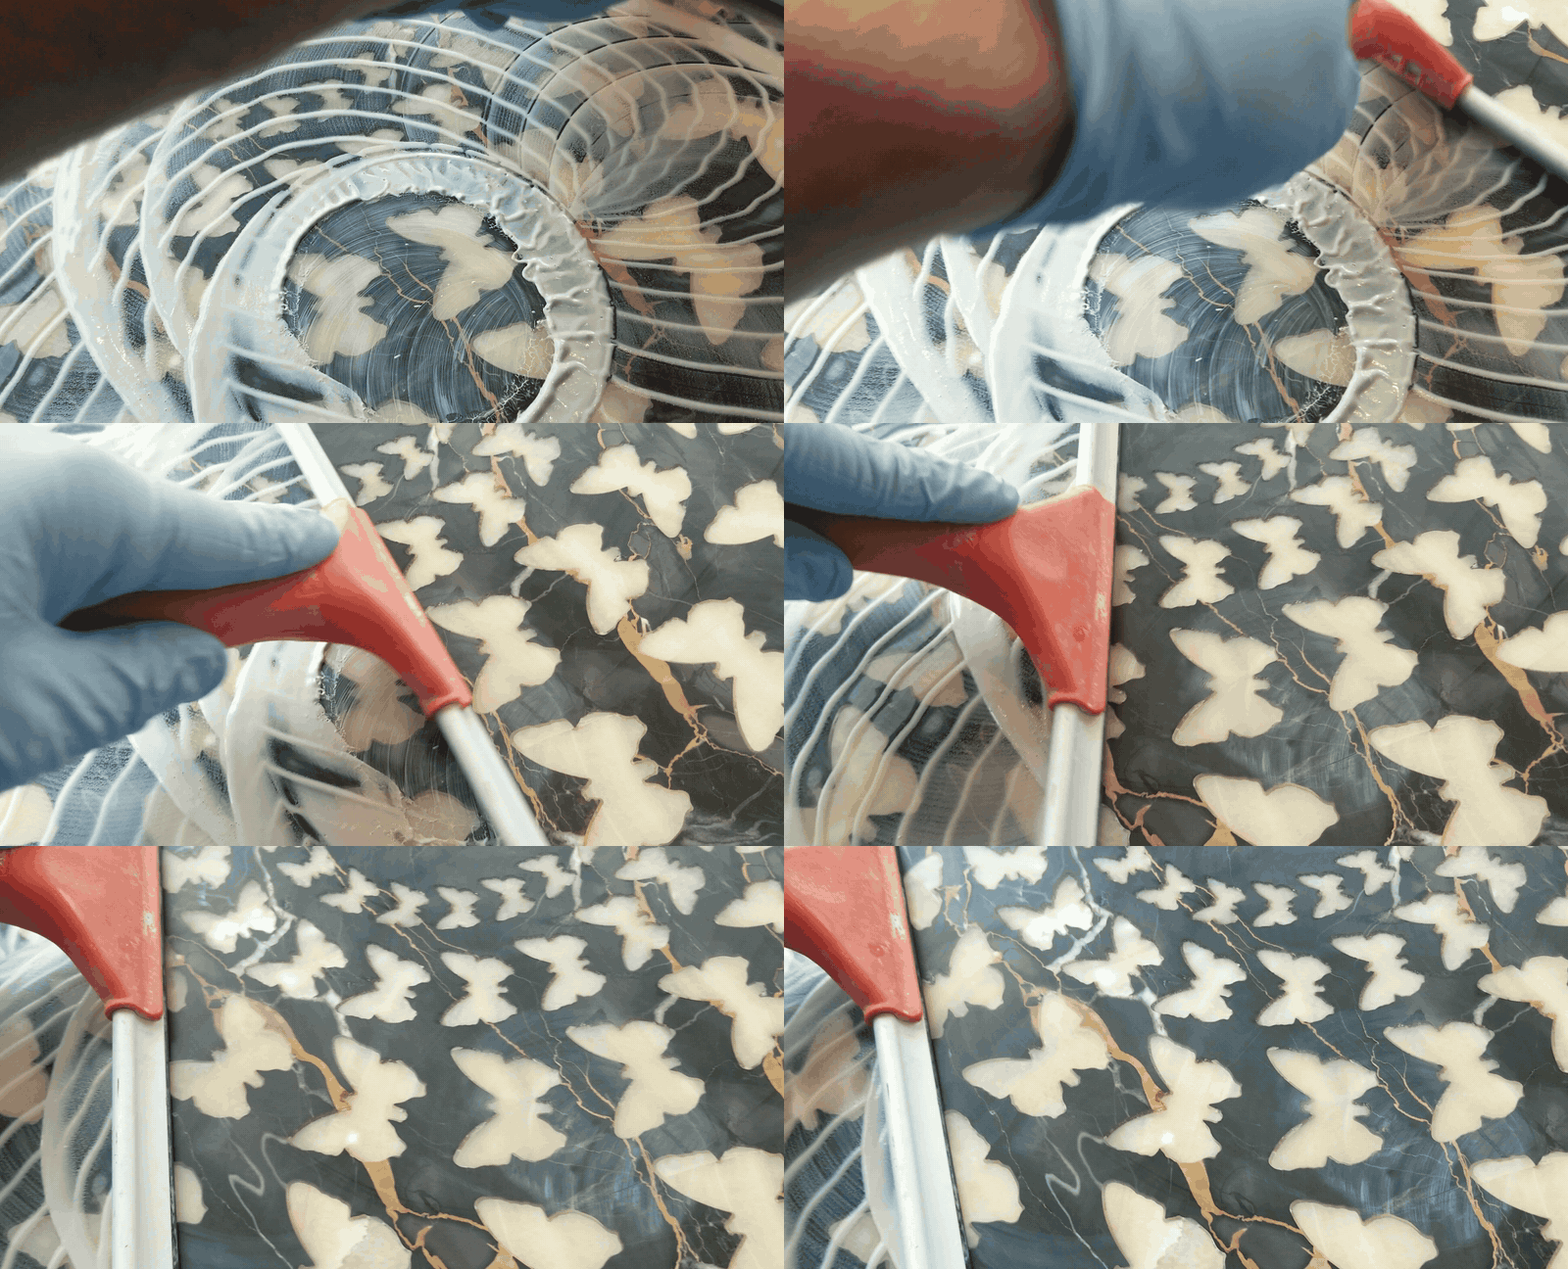
Grinding was performed with water, which contained the grinding residue while keeping the stone and repair epoxy cool. Excessive heat could cause the epoxy to shrink or fail and potentially introduce new cracking along the joints between the two very different materials.
Because the removal of stone is irreversible, we deliberately began with less aggressive diamond tooling. The process took longer, but provided greater control over the amount of material removed and reduced the risk of creating depressions in the surface.
Step 4: Polishing
The Portoro marble and white onyx both responded very well to polishing. A soft white polishing pad was used with a non-acidic polishing compound, with the process completed over approximately four to six stages.
The initial stages used a higher concentration of polishing compound with relatively little water, creating a thick slurry. At this concentration, the polishing compound still removes a very small amount of material and can almost be considered a final refinement of the grinding process.
As polishing progressed, progressively less compound and more water were used. Repeated passes continued to refine the surface until a uniform high-gloss finish was achieved. The gloss was produced mechanically within the stone itself, without topical coatings, waxes or other artificial layers applied to the surface.
Step 5: Sealing
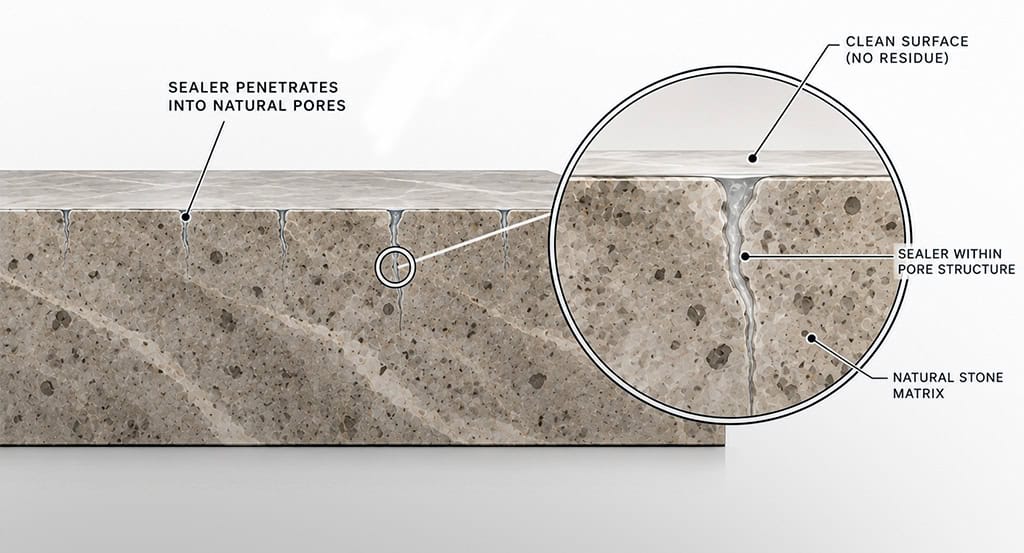
The polishing process had already restored much of the rich black colour of the Portoro marble, but we wanted to see whether the depth of colour could be enhanced further. A thin application of penetrating colour-enhancing sealer was applied, allowed to penetrate, and then thoroughly buffed from the surface.
The colour enhancer produced a subtle additional darkening of the marble—approximately 5% by our visual assessment. While the difference was relatively small, on a highly refined surface even a subtle improvement was worthwhile.
The colour enhancer was followed with a clear penetrating sealer. This additional treatment was not strictly necessary, but its lower viscosity allowed it to penetrate readily into the porous stone, providing an additional measure of protection.