INTEX SURFACE SOLUTIONS
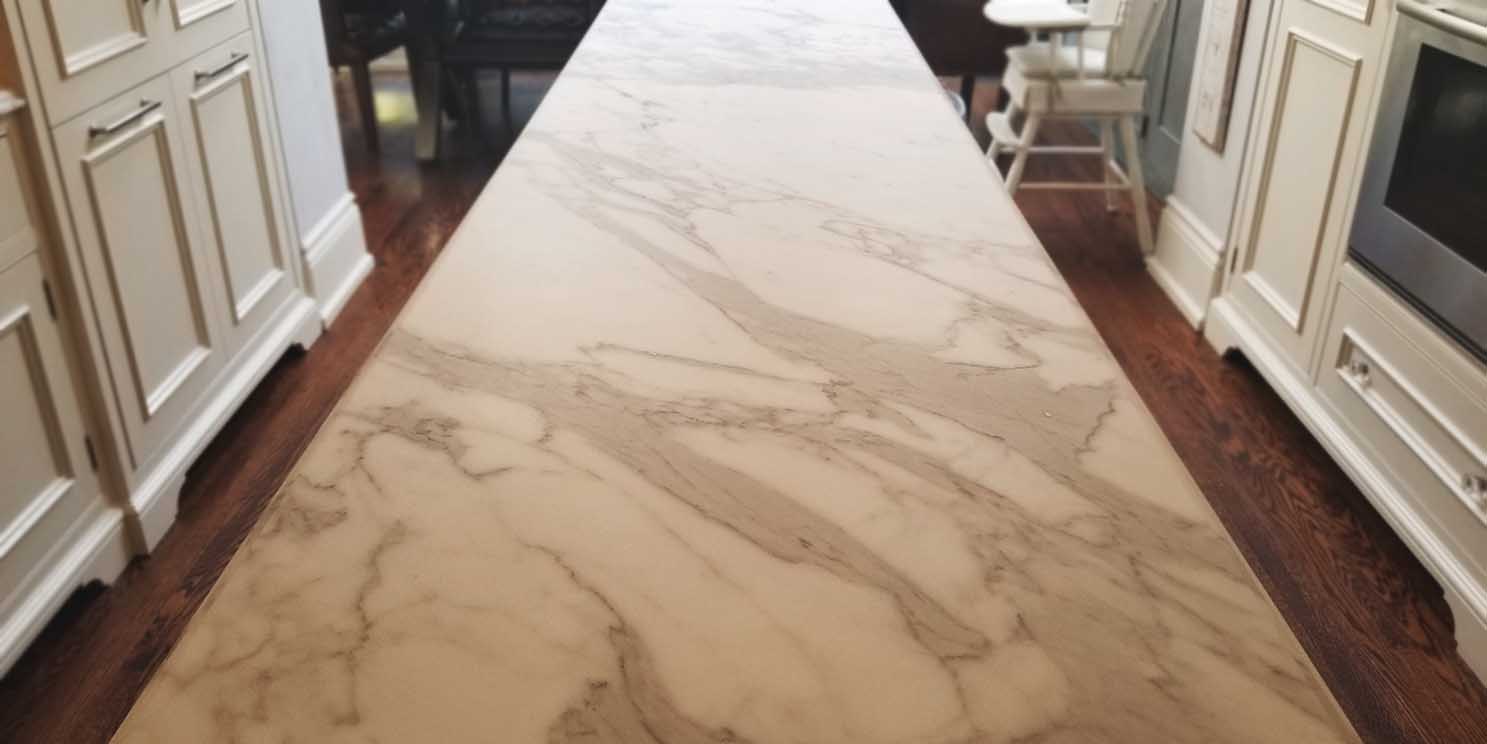
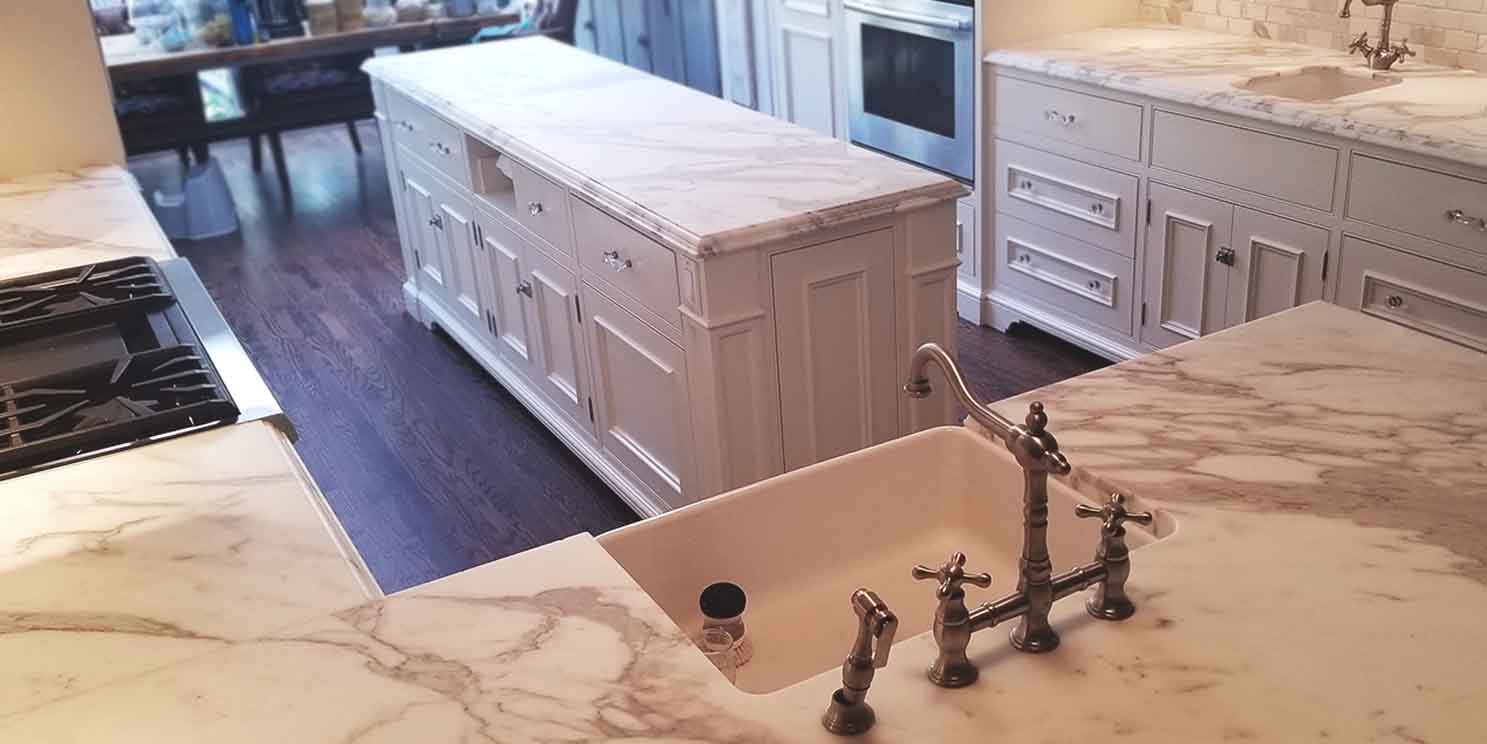
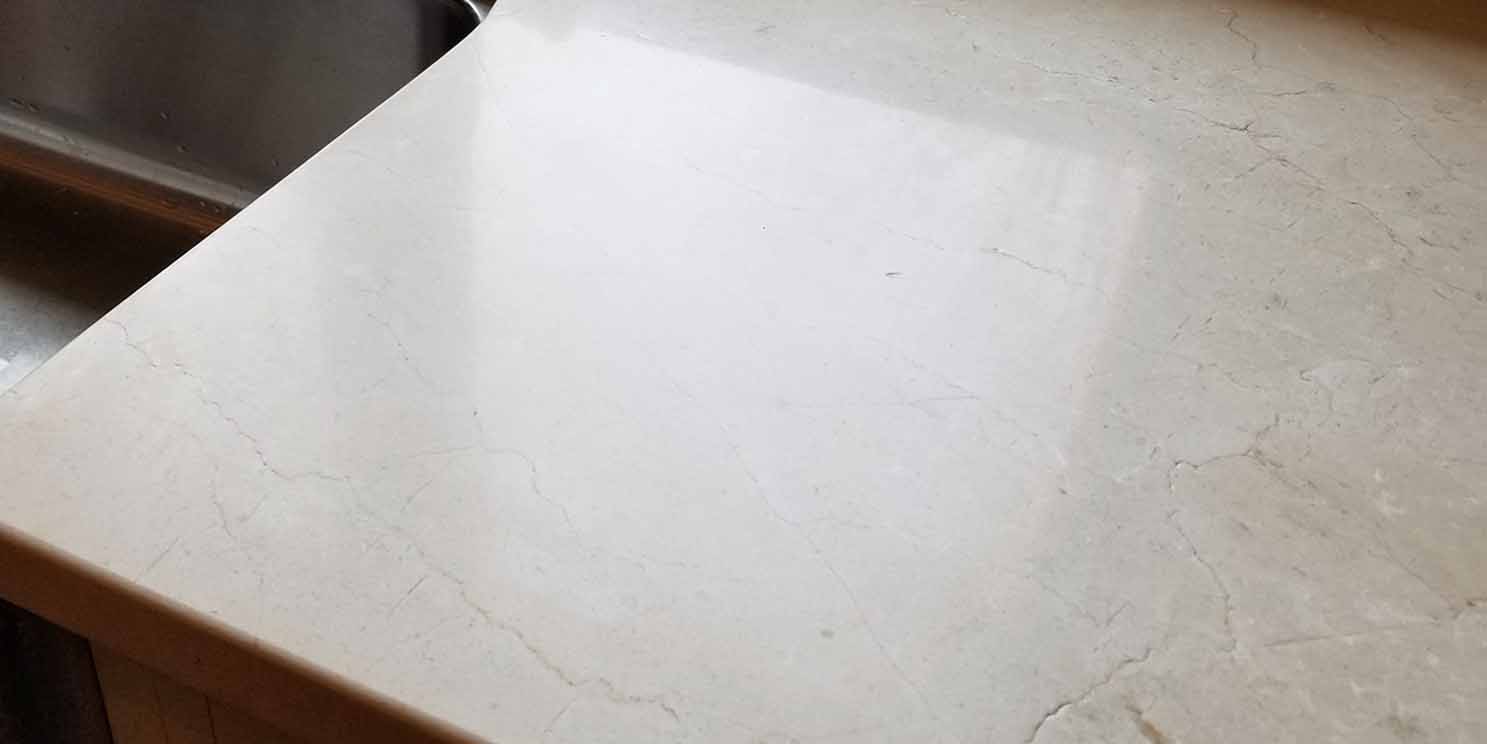
Before starting the project, it’s important to take a thorough look at the damage to the marble. Key things to look for are the depth of scratches and etches, where they are located and whether special equipment will be needed to access hard to reach spots. Once assessed, it’s helpful to make a quick sketch of the space noting any damage that needs special attention, this includes extremely deep scratches and etches as well as chips that should be prepared and filled before grinding.
• Assess level of wear, specificially the depth and locations of etches and scratches
• Determine equipment accessibility around fixture, corners etc.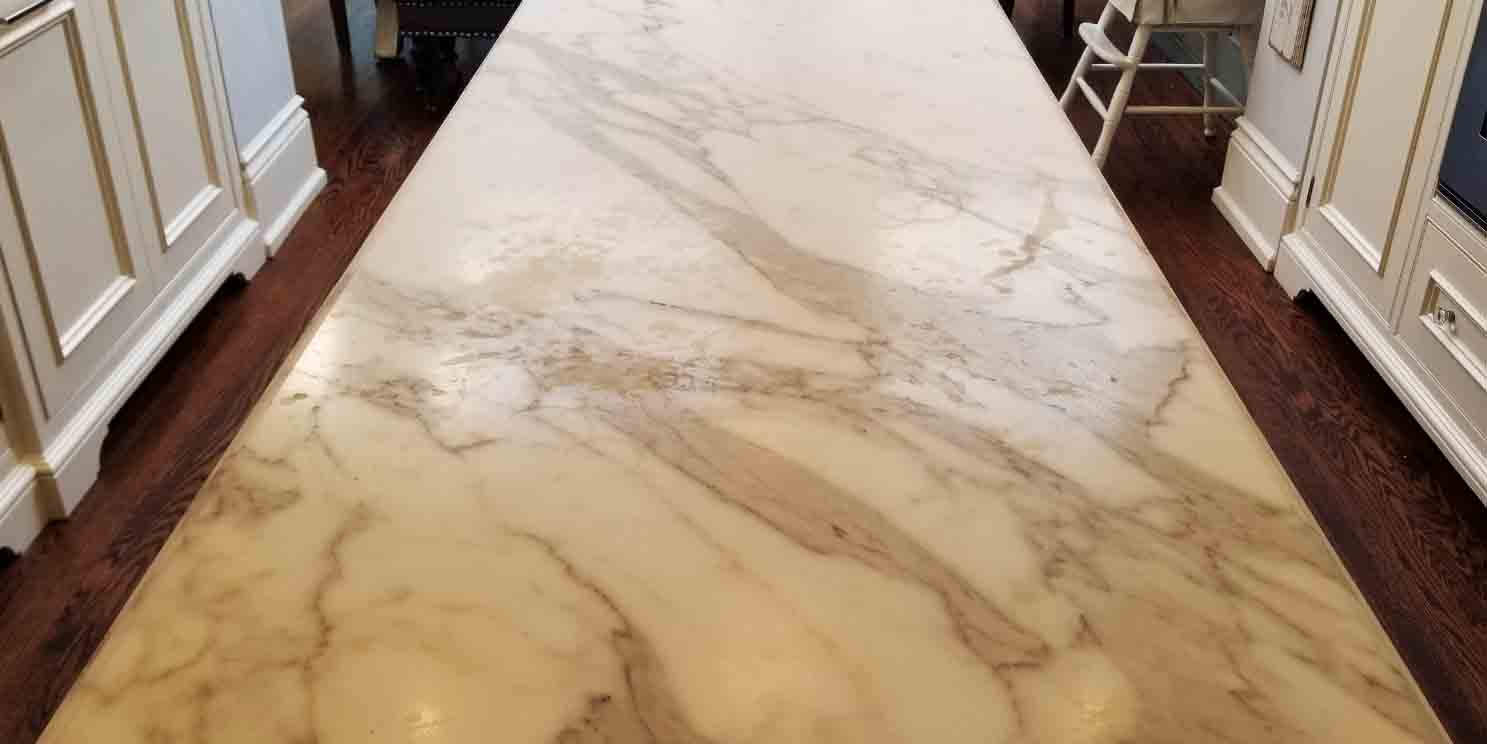

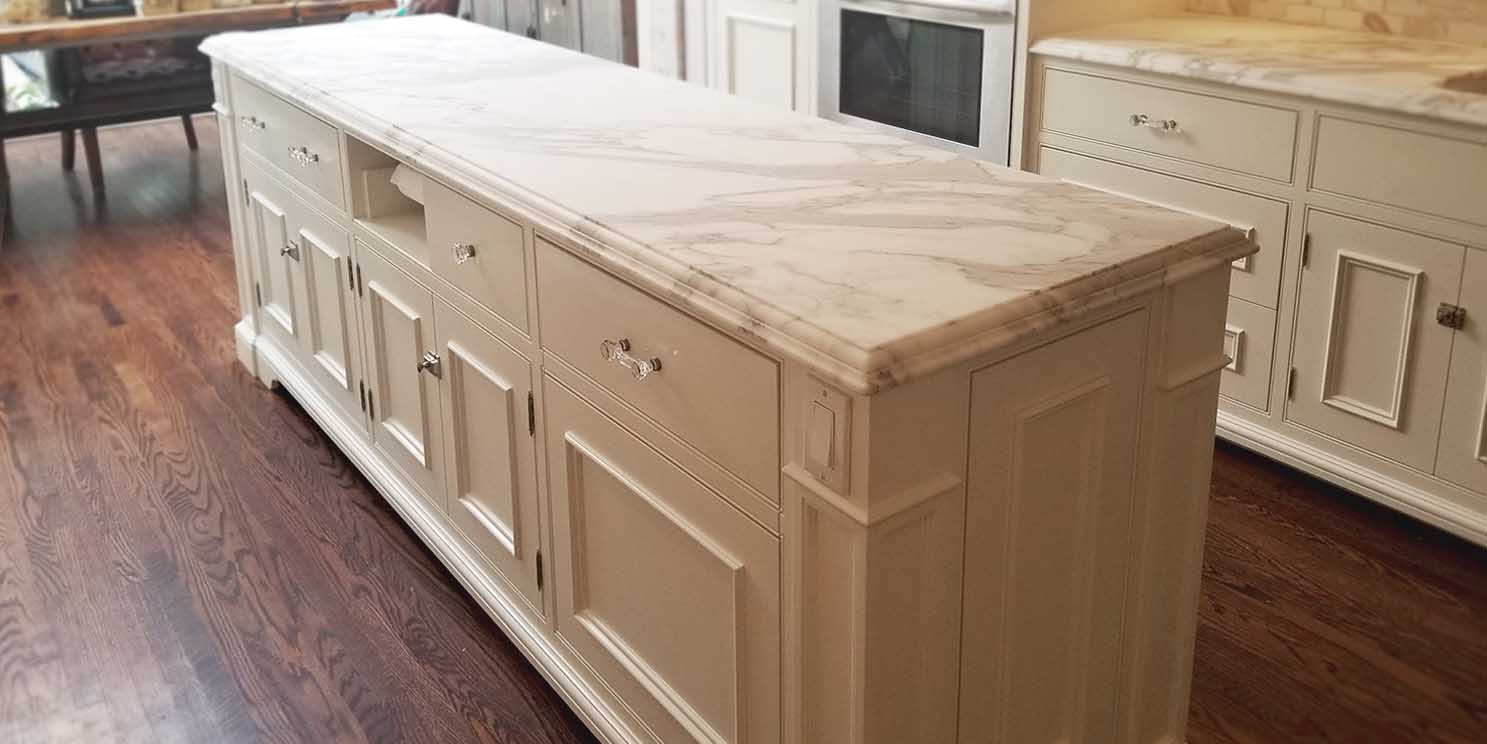
At this point, we briefly discuss the expectations for the repair as well as share any suggestions for the finish to promote longevity or to adjust the finish to better suit our clients vision. Regarding expectations this usually involves discussing permanent damage, such as a stain that had penetrated deeply into the material, or a bruise within the stone that cannot be repaired. Being upfront with you about our own expectations and capabilities makes for an honest and straightforward experience. With finishes, we will often ask clients the type of traffic their floor or countertop sees and whether a more durable finish is suggested, even if it’s only for a few years. Oftentimes we will hone a countertop if there are young children in the home with the plan to eventually re-polish it once they are older and a bit more careful not to spill things onto the counter. We make time to also answer any questions or concerns that may have come up with regards to the process, products used and expected timeframe for the work.
At this point, we briefly discuss the expectations for the repair as well as share any suggestions for the finish to promote longevity or to adjust the finish to better suit our clients vision. Regarding expectations this usually involves discussing permanent damage, such as a stain that had penetrated deeply into the material, or a bruise within the stone that cannot be repaired. Being upfront with you about our own expectations and capabilities makes for an honest and straightforward experience. With finishes, we will often ask clients the type of traffic their floor or countertop sees and whether a more durable finish is suggested, even if it’s only for a few years. Oftentimes we will hone a countertop if there are young children in the home with the plan to eventually re-polish it once they are older and a bit more careful not to spill things onto the counter. We make time to also answer any questions or concerns that may have come up with regards to the process, products used and expected timeframe for the work.
• Discuss longevity and ease of maintenance
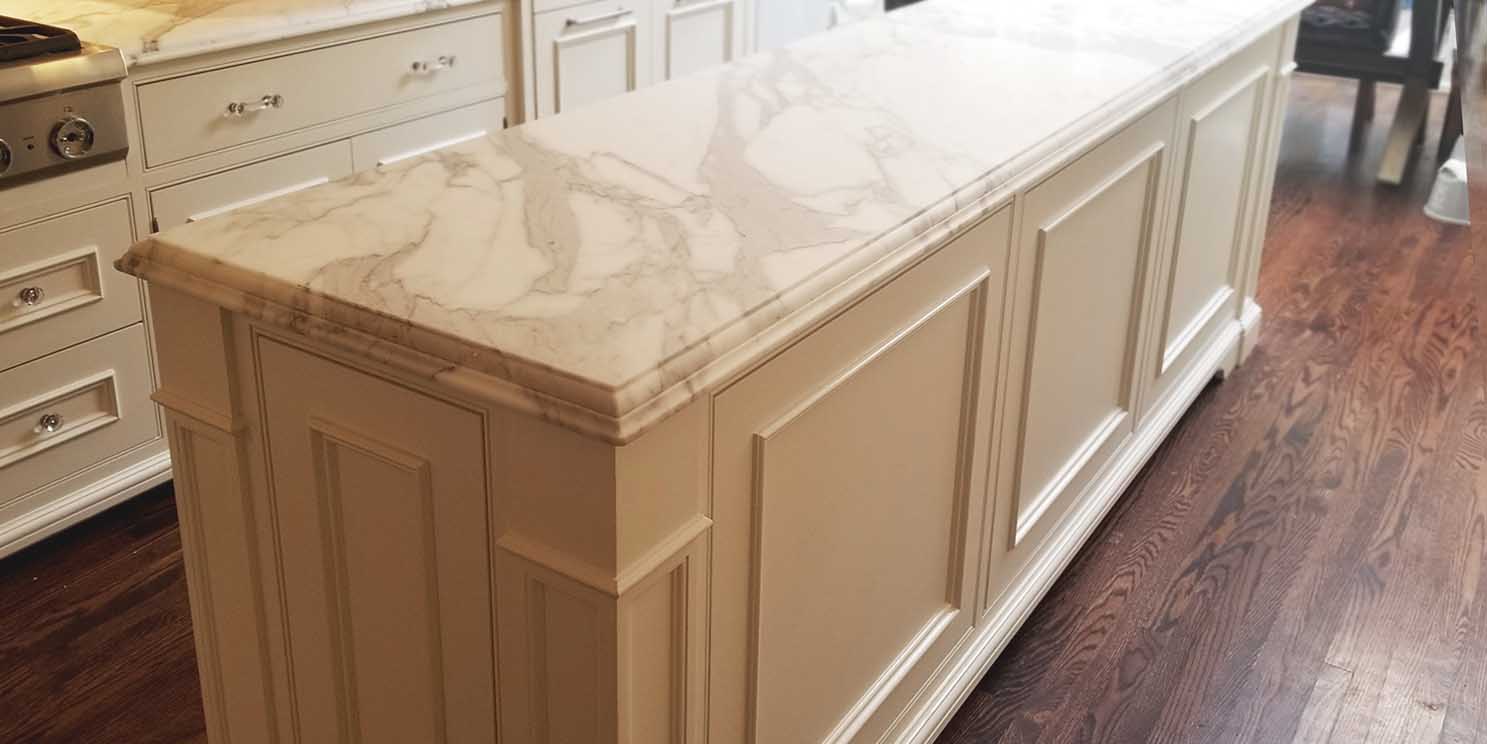
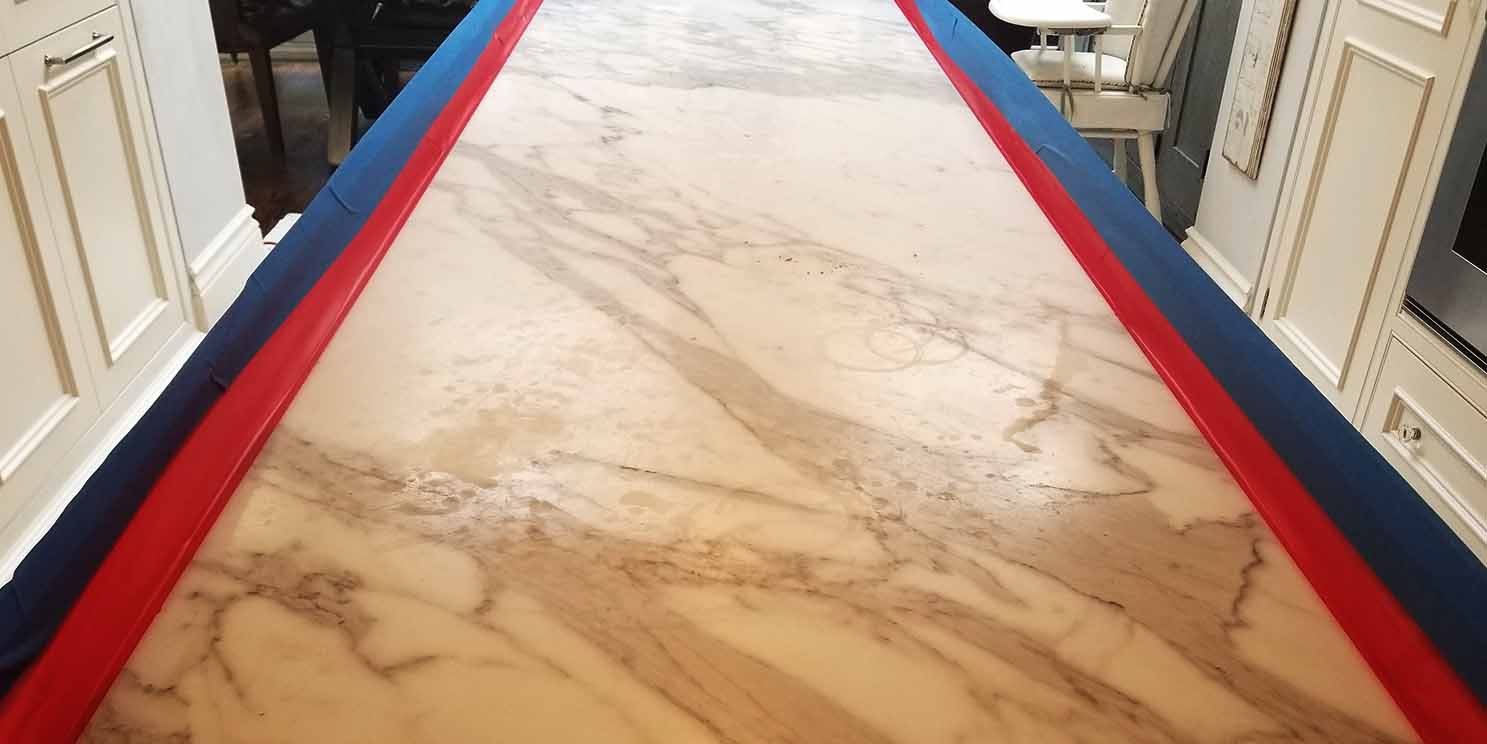
• Estimation on time-frameBefore bringing equipment into the space, clean drop cloths are put down wherever we are working or want to be sure doesn’t get dirty. Where possible, we use reusable, washable cloth drop sheets in leu of plastic to keep our environmental impact as low as possible. The next step is taping seams, edges, and fixtures. Like most detailed work, “it’s all in the prep”. In this case we put a tape wall across the edges of the countertop. Tape prep starts with a solvent wash across the edges to promote adhesion and prevent leaks. Applying a tape wall is time consuming, but allows us to work cleanly without putting rough layers of plastic across the cabinets throughout the kitchen, this is again to keep our waste down. We tape all junctions between our drop sheets and the work area. At this point we bring in our equipment.
• Drop cloths around work area
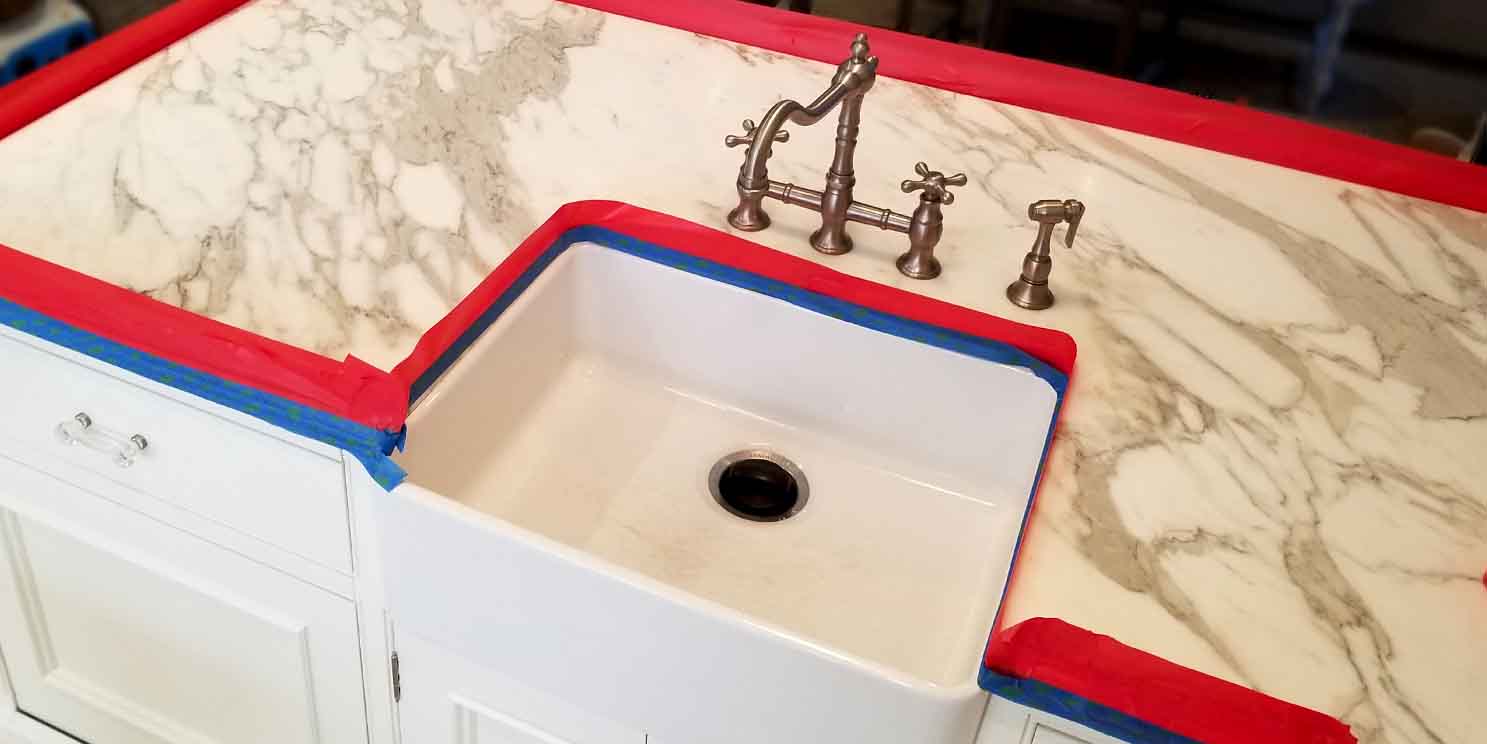
• Edge taping for water splash protection
• Protection of fixtures and adjoining surfaces
• Retrieve and allocate equipment
Our resurfacing and polishing equipment consists of various small grinding machines, full sized countertop machines and both single drive rotation and planetary floor machines. In essence they all perform the same task, but are used to access different sized areas or apply heavier or more aggressive grinding when needed. Water collection is done with powerful wet vacuums, typically with variable suction. Our tools are locally sourced whenever possible.
• Various sizes of grinding machines and accompanying drives, diamond discs and pads
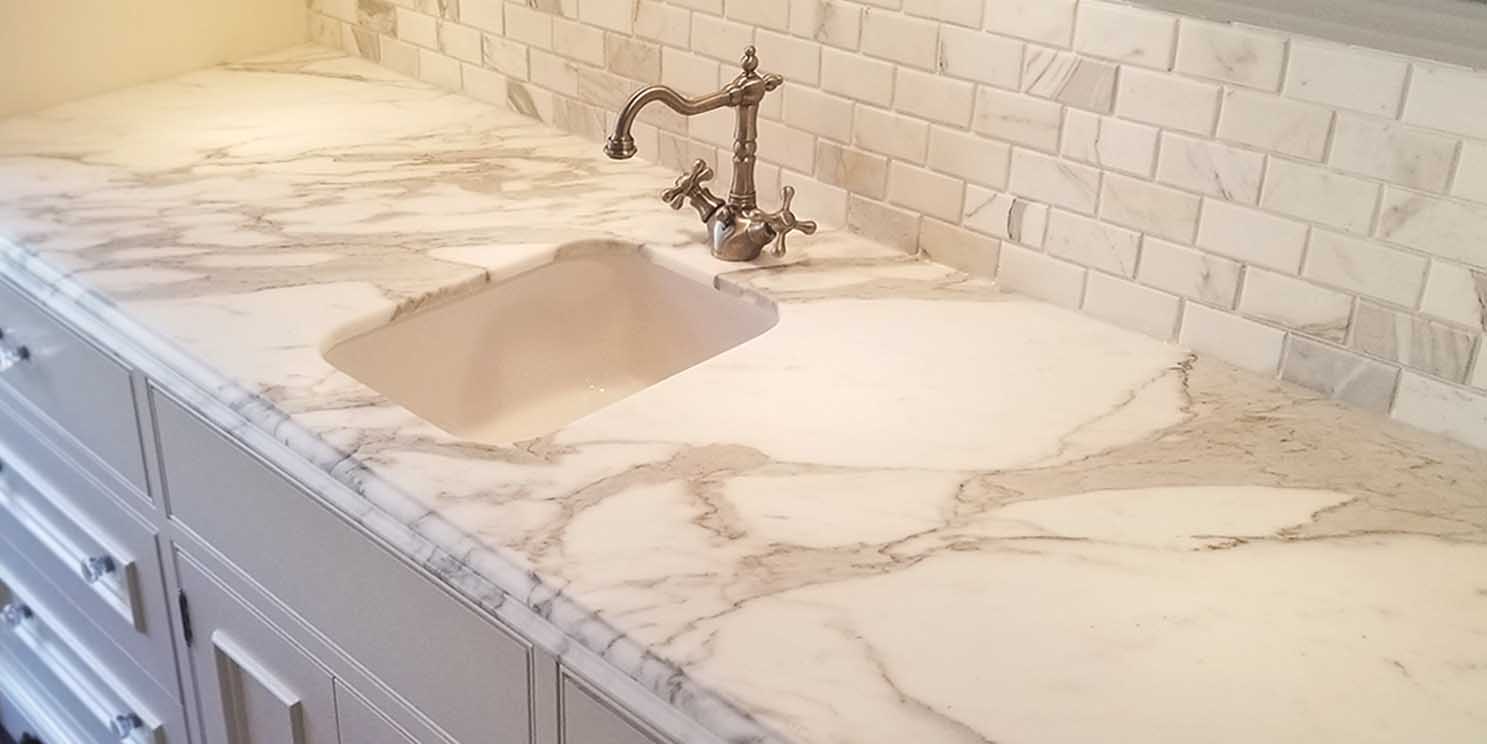
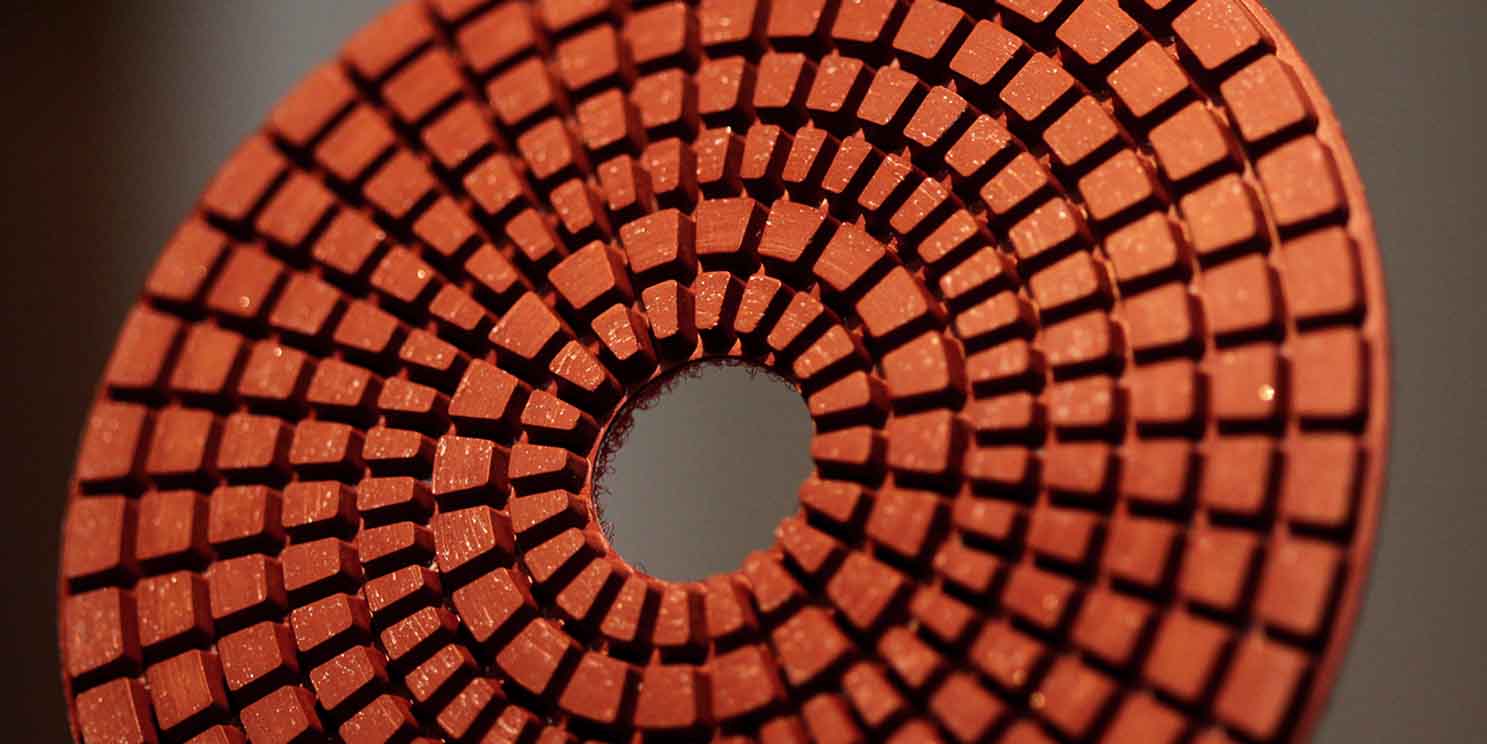
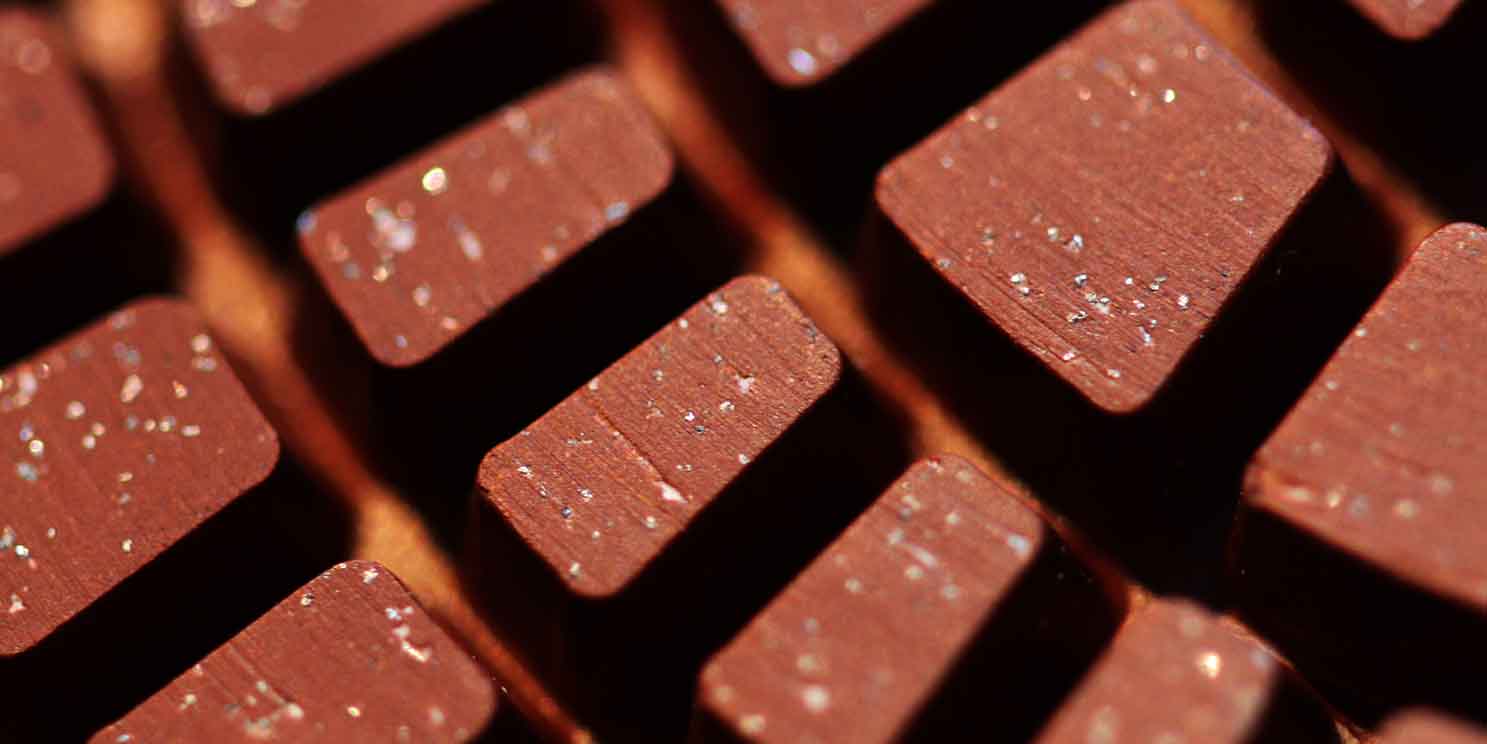
• We use both single disc and planetary equipment.Removing damage from a surface is a delicate process. Removing too much material will cause deflections and dips in the surface, while removing too little won’t remove scratches or etches. We use premium resin bonded diamond abrasive discs. These discs are composed of various grits of diamond abrasive, stabilized in a resin. The shape of the disc is meant to keep water under the machine and prevent overheating of both the resin and the stone. In hard to reach places we have small versions of these discs as well as hand pads and other specialized tools.
• Premium resin bonded diamond abrasive discs
• Discs composed of various grits of abrasive stabilized in a resin
• Used in succession of consecutively smoother grits until desired smoothness is achieved
• First step in the resurfacing process
• Removes damaged material, and reveals undamaged natural stone beneath
• Consecutively less aggressive diamonds until smoothness is achieved
• 1-8 stages of grinding depending on the depth of the damage and material being serviced: Typically 3 stages
• Colour matched epoxy should any natural holes appear in the stone
• Fully mechanical process
• No acids or powders used
• Smooth to the touch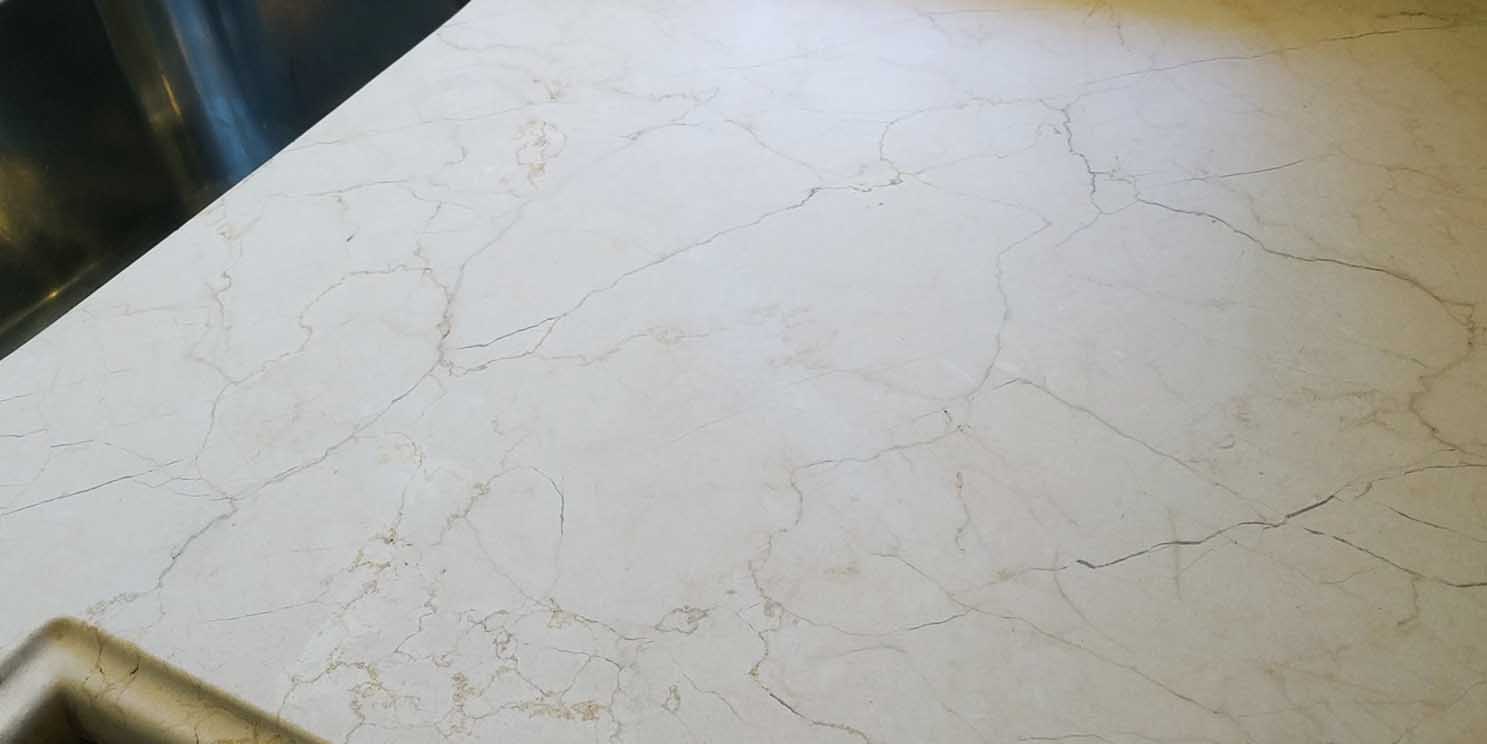
• Polishing compounds are mixed with water to prevent dust
• Specialized pads and compounds depending on the material being polished
• Typically 3 steps of polishing
• No crystalizing or dry polishing
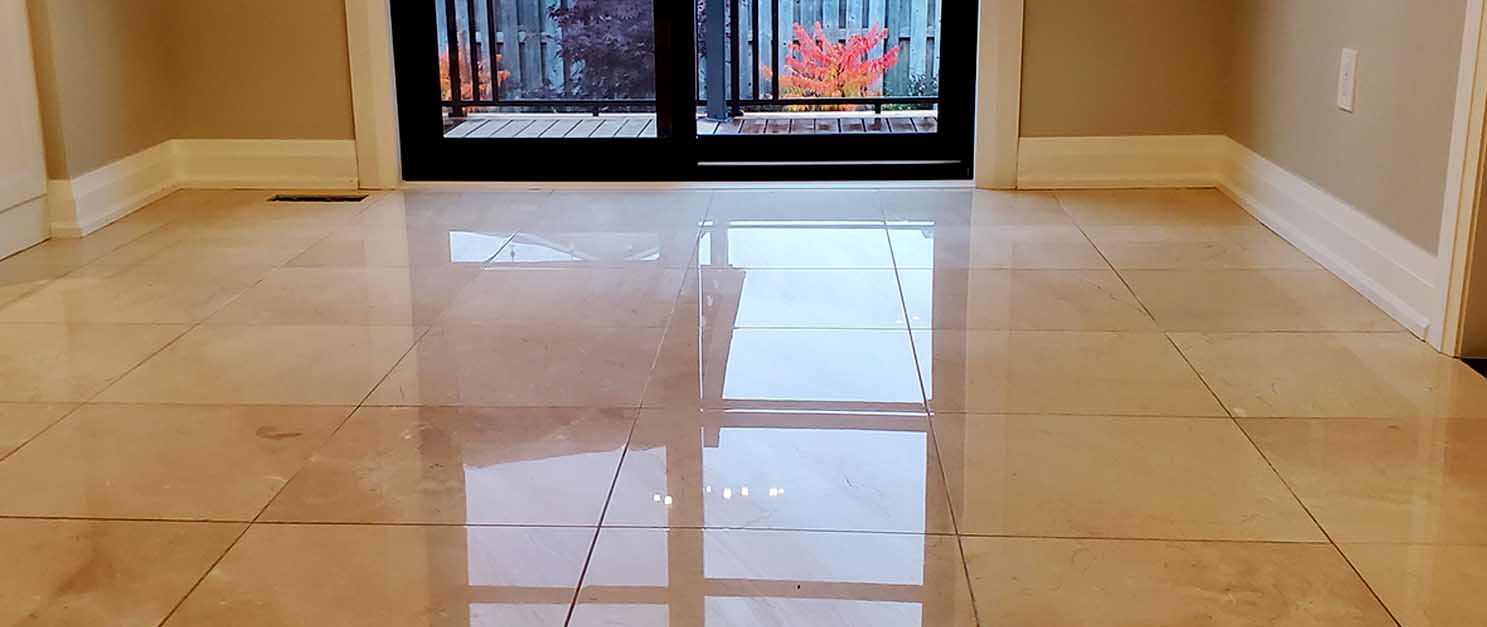
• Clear or colour enhancing
• Food safe
• Non-coating