Project Overview
Although our work is primarily centered on restoration, we also collaborate closely with some of the GTA’s most skilled natural-stone installers, designers and architects during complex new installations.
For this sprawling 30,000-square-foot home, our principal responsibilities included epoxy jointing throughout the marble installation, final polishing, repairs as they arose during construction, and the final cleaning and sealing of the completed surfaces. We became closely involved with the large backlit stone flower because of our experience with delicate, highly detailed work and our established relationship with the installation team. It was a striking piece and a challenge we thoroughly enjoyed.
The Material
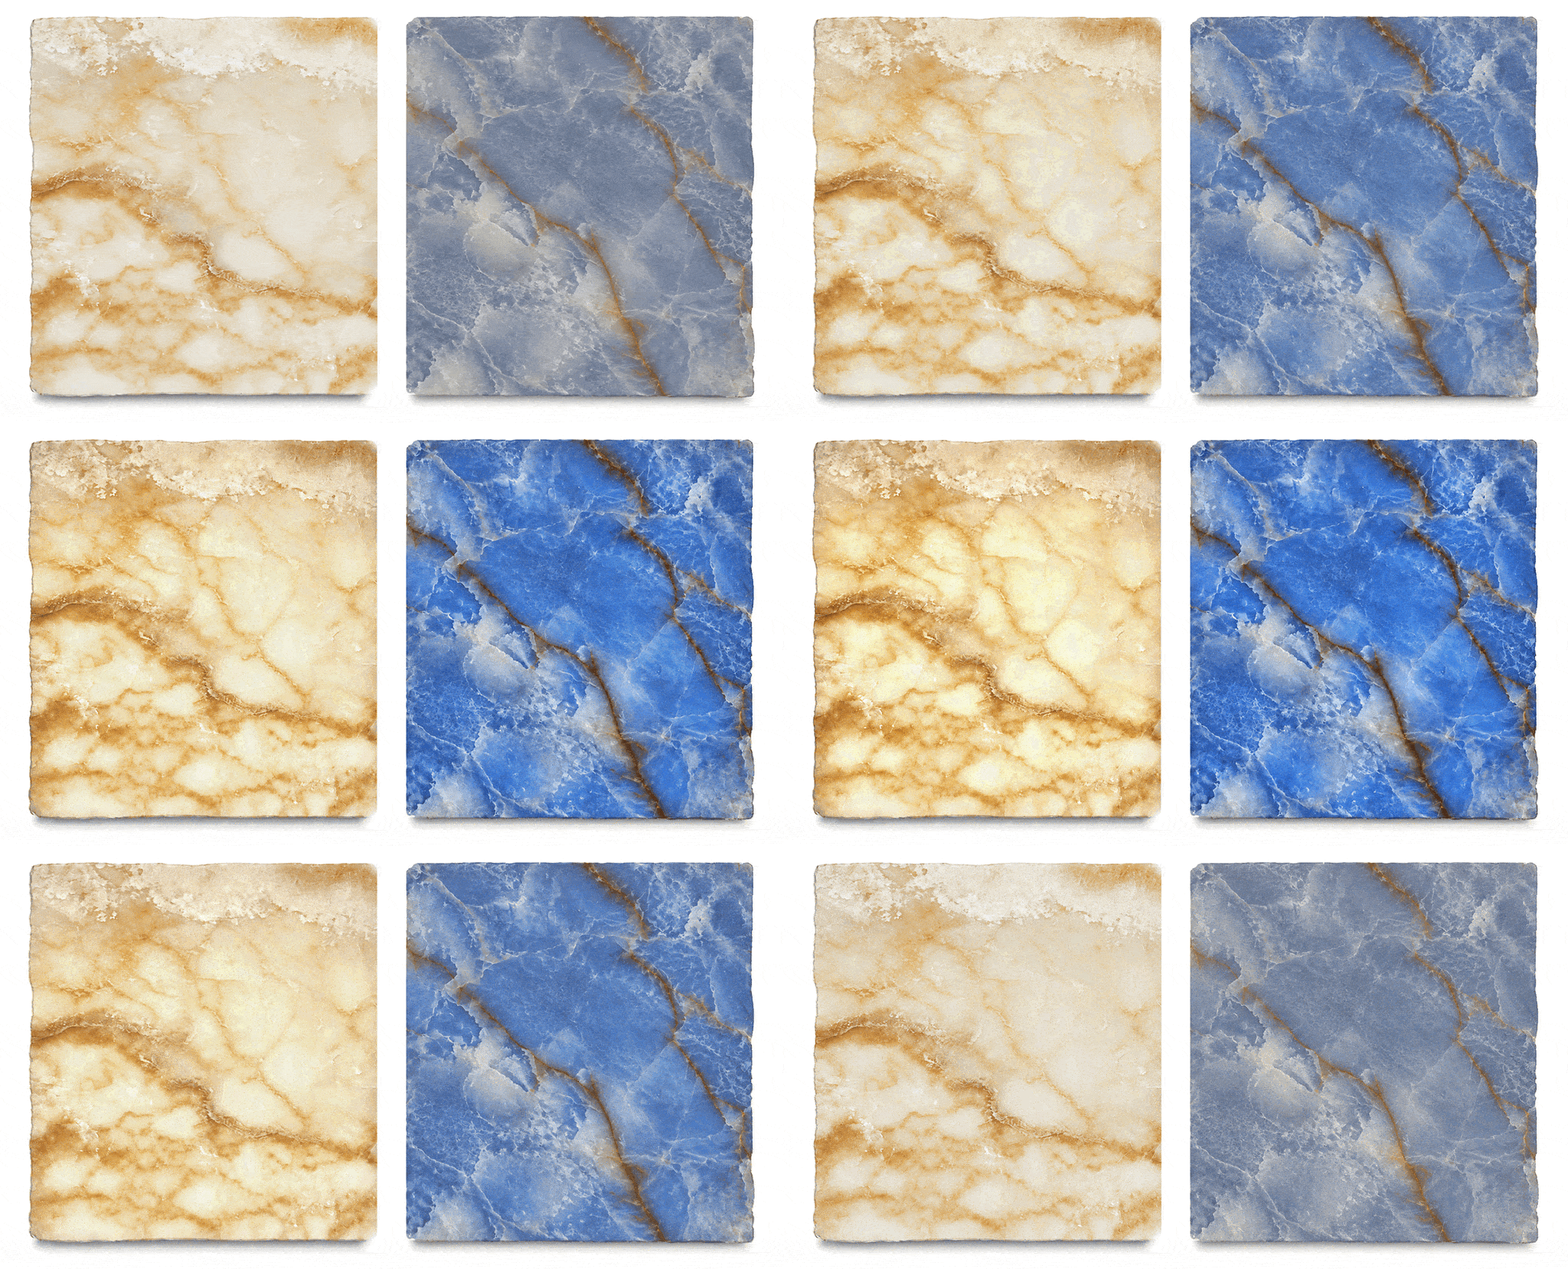
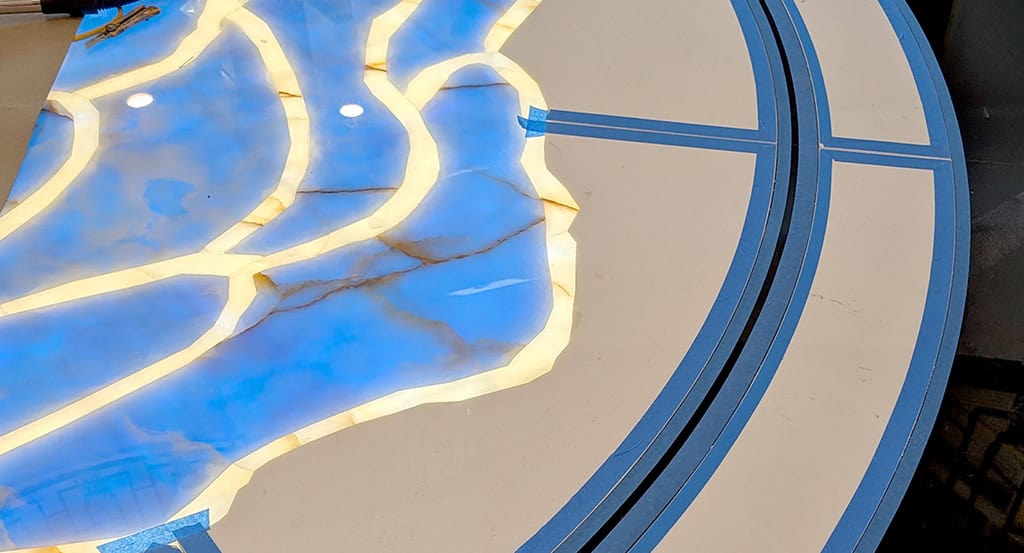
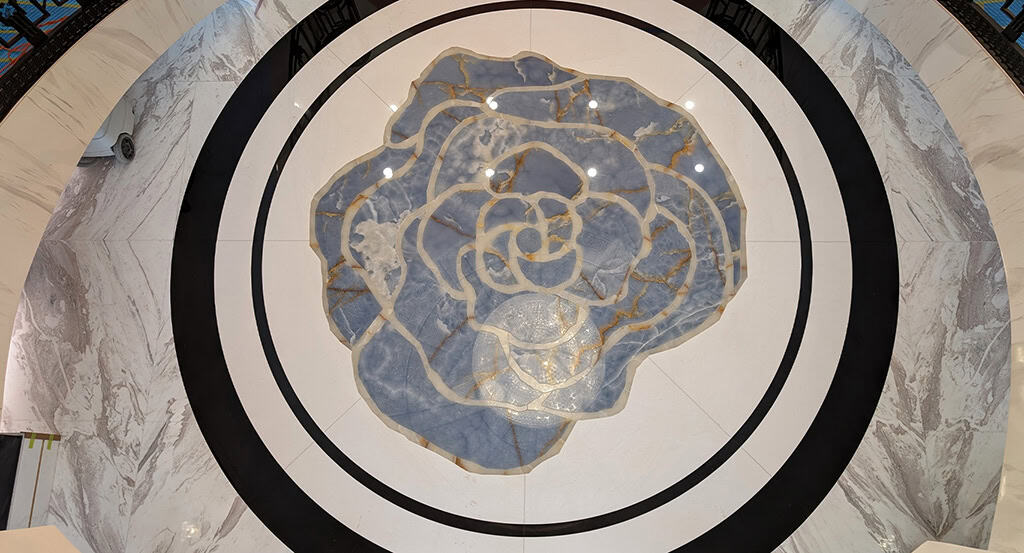
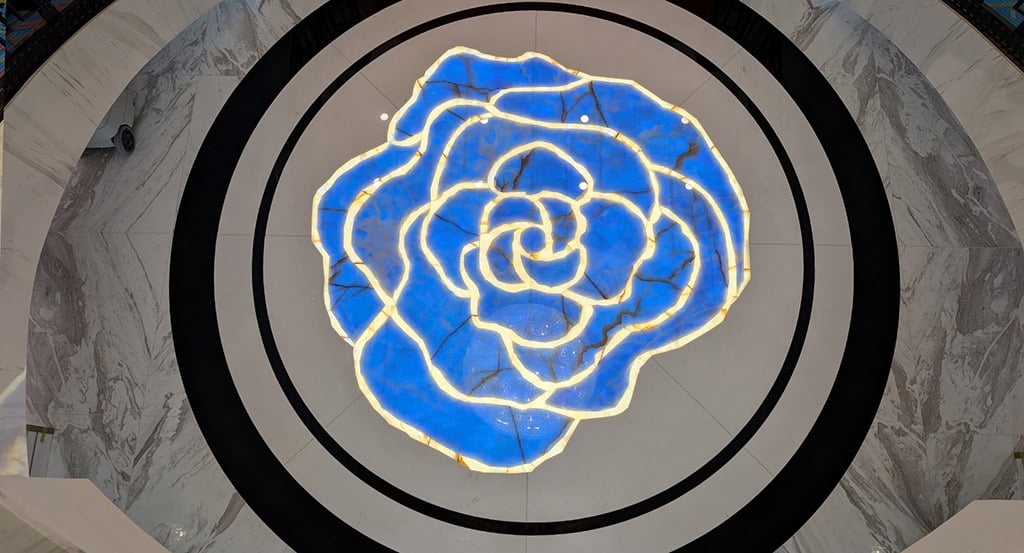
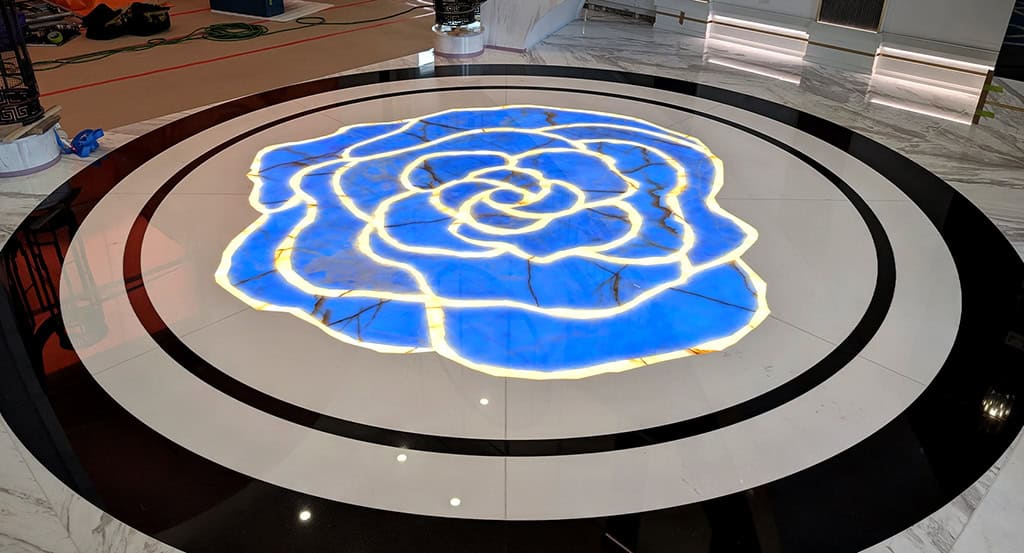
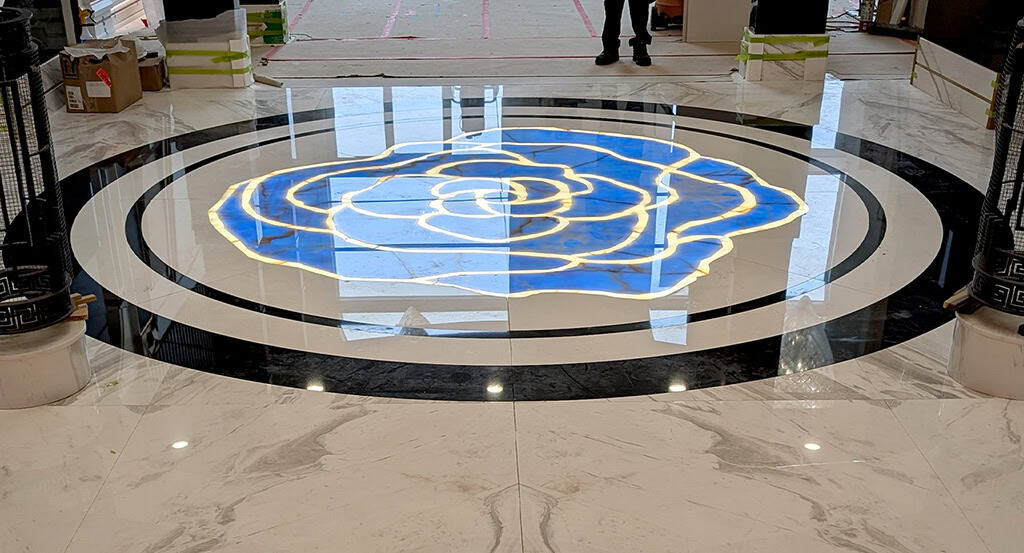
The flower was designed in CAD and precisely waterjet-cut by the fabricators from ¾-inch-thick white onyx slabs. The white sections retained their natural colour, while the blue sections were coloured on the back with translucent pigments, allowing light to pass through the stone.
Onyx’s natural translucency made it particularly well suited to this backlit application. However, the many veins and fissures running through the material made the long, narrow pieces exceptionally delicate to handle after cutting.
Installation
LED and Diffusion Panels
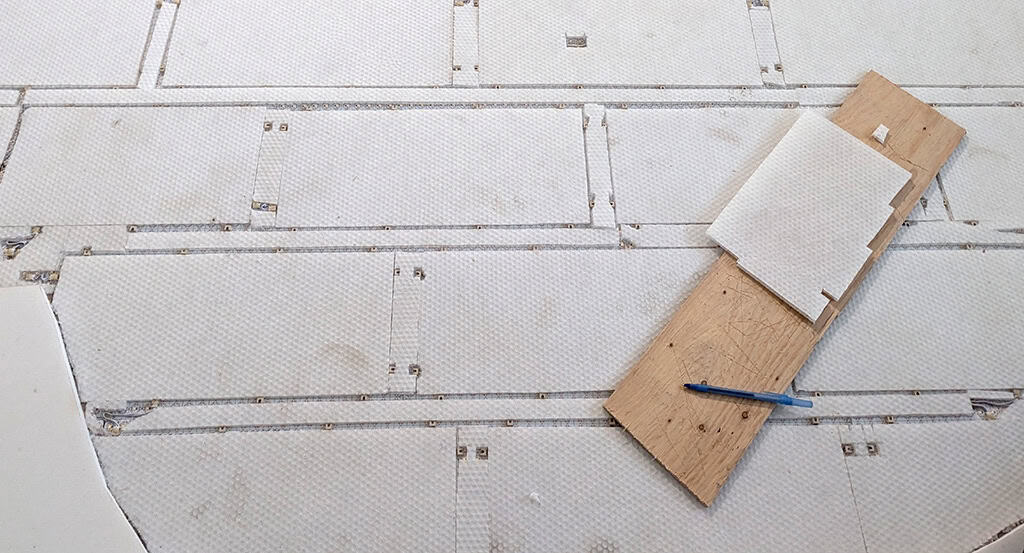
The installers began by laying the LED panels throughout the area of the flower and wiring them together. Diffuser panels were then installed over the lighting system to soften the light and minimize the visibility of the individual LEDs through the translucent onyx.
The height of the LED and diffuser assembly was precisely set to accommodate the final stone installation, allowing the surface of the onyx flower to align with the surrounding field of white Thassos marble.
Dry Fitting
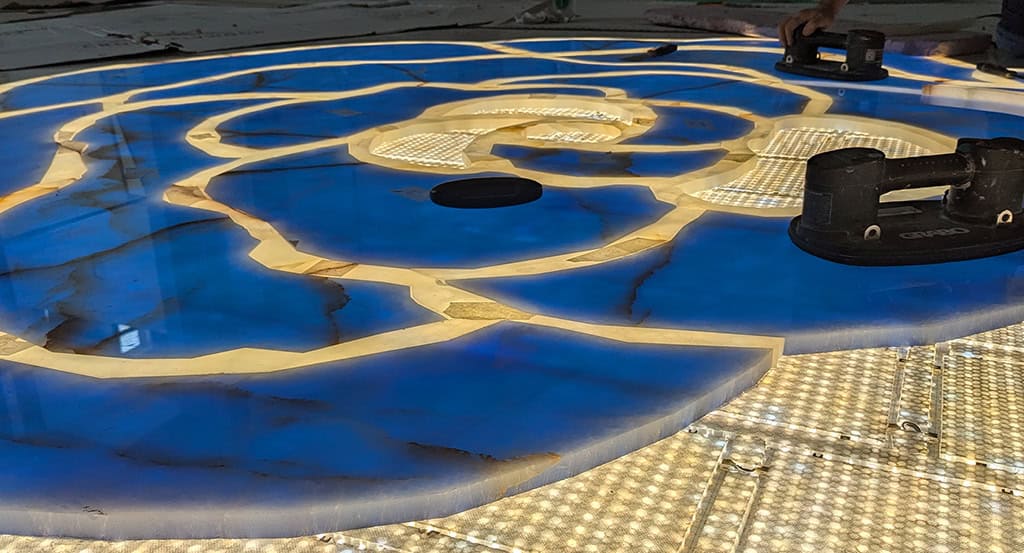
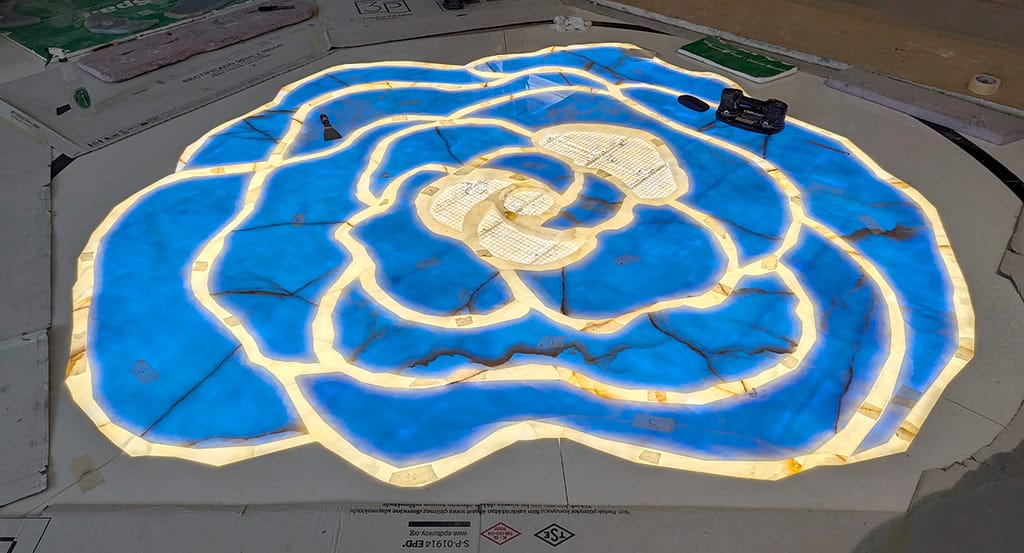
Before permanent installation could begin, the individual pieces of the flower were carefully dry-fitted. Each waterjet-cut section had been numbered and was laid out according to the drawings provided by the designer and fabricators. Because the surrounding Thassos marble had already been installed, the completed medallion had to fit precisely within the existing opening, leaving only millimetres of tolerance around its perimeter. The dry fit allowed the entire pattern to be checked for positioning, alignment and fit before any of the pieces were permanently set.
Once the final positioning had been established, the individual sections were permanently installed using clear RTV silicone. The clear silicone allowed the backlighting to pass through without introducing visible shadows or discolouration, while providing a suitable setting material over the delicate LED panels and electrical connections beneath the stone.
Epoxy Application
Once the individual onyx sections had been permanently installed, we took over the work on the flower.
Overall, the installation was in very good condition. There were no significant scratches, but some minor chipping had occurred during handling, along with a number of naturally occurring fissures that remained open within the onyx. These areas would also need to be filled and repaired as part of the epoxy work.
Our first challenge was deciding how the joints should look once the flower was illuminated. We initially considered an opaque, colour-matched epoxy, with the thought that the individual sections could be subtly framed within the overall design. With the lighting off, the effect was reasonably subtle, but once illuminated the epoxy created a pronounced dark line between the translucent pieces.
This made clear epoxy the better direction, but it introduced another unknown: whether completely transparent joints would disappear naturally into the backlit onyx or become distracting in their own way.
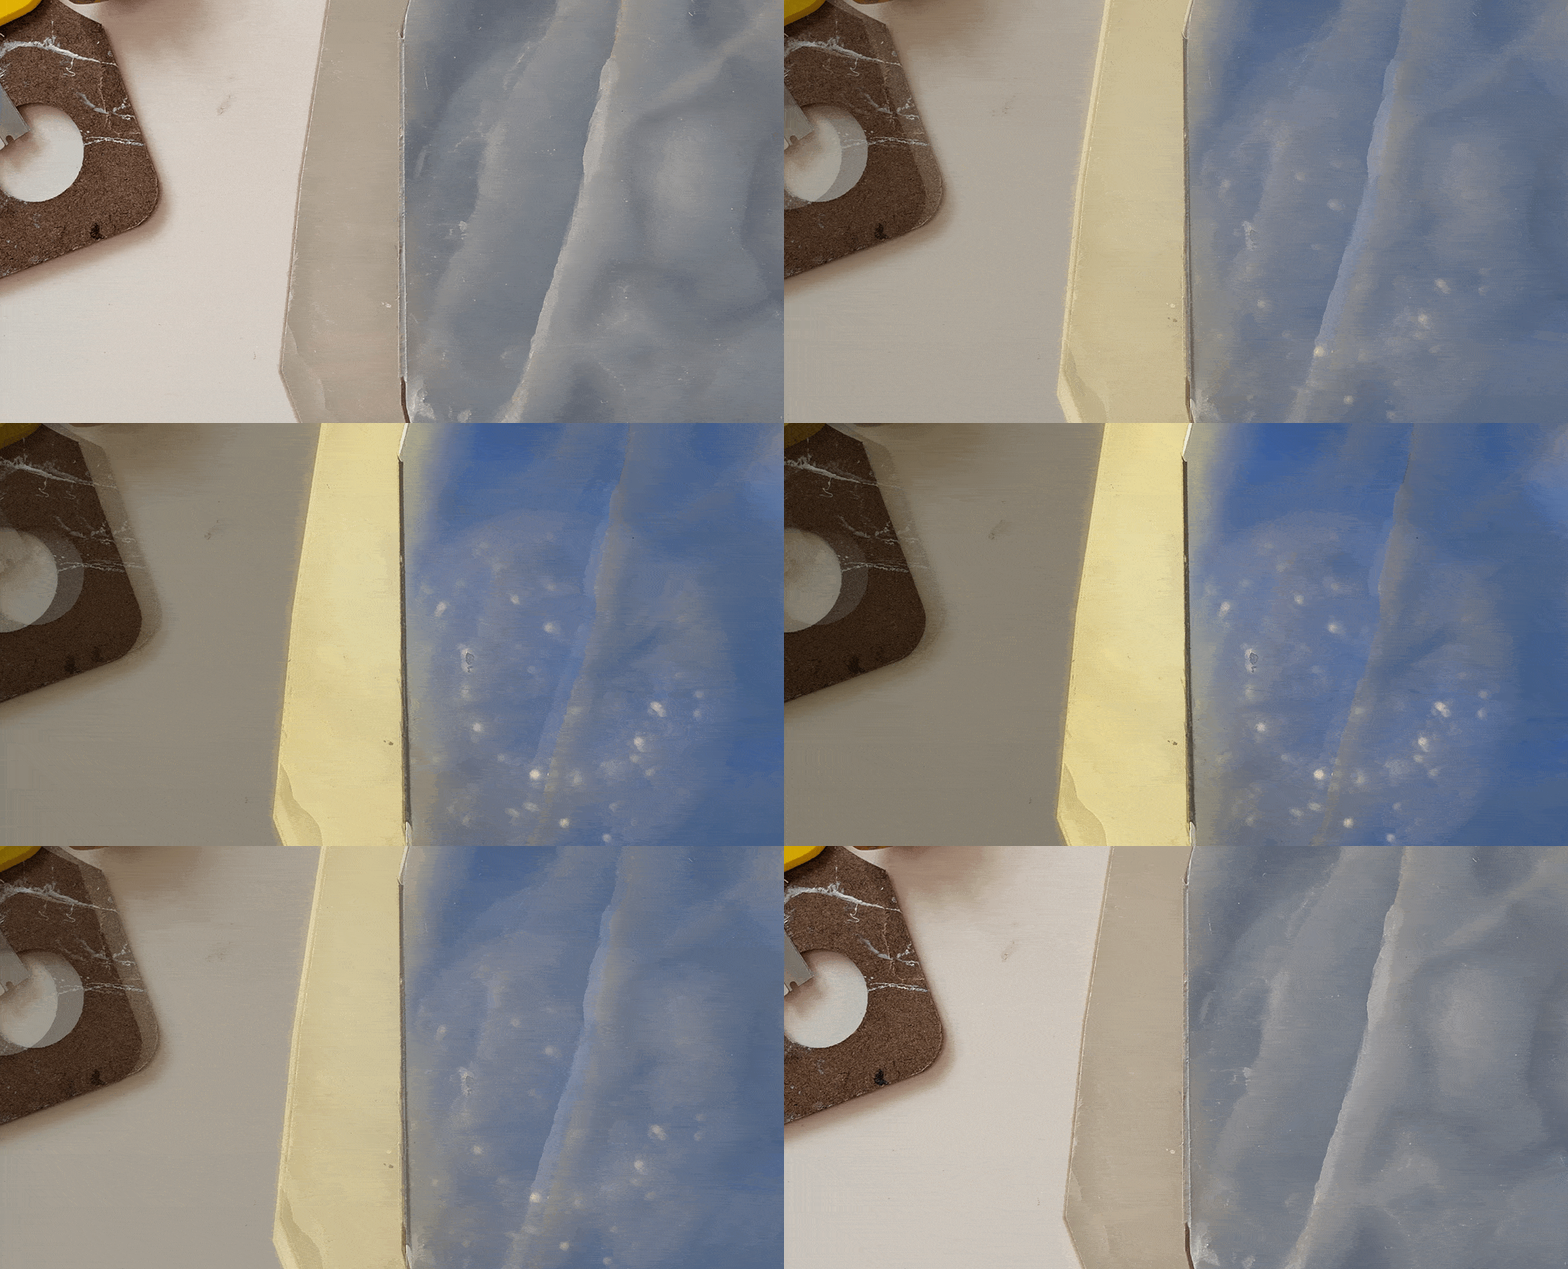
Before committing to the entire flower, we needed to see how the clear epoxy would behave under both normal and backlit conditions.
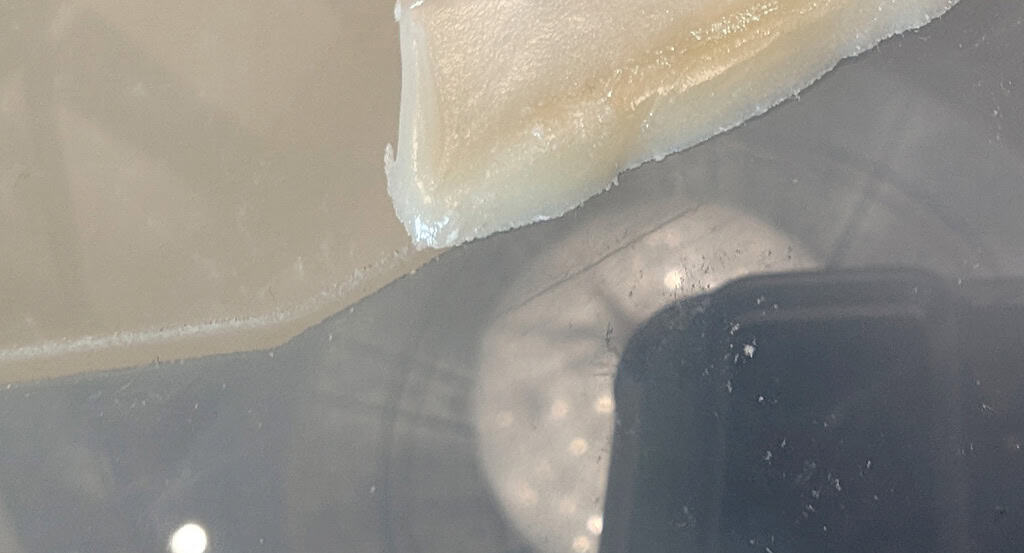
We ultimately chose a transparent, exterior-grade epoxy. As the hardener was added, the otherwise clear epoxy developed a slight yellow tone that worked particularly well with the natural warmth of the white onyx. By carefully adjusting the mix for the site conditions, we were able to use this colour shift to our advantage, achieving a nearly perfect match without adding any pigment while maintaining the transparency needed for the backlighting.
The image below shows one of the completed joints with the lighting off, alongside a small test chit we made while developing the epoxy mix.
The next step was exceptionally tedious. Every individual section of the flower had to be taped with absolute precision, following the edges of the waterjet-cut onyx as closely as possible. With so many individual pieces, curves and intersecting joints, even preparing the surface for epoxy became a painstaking process.
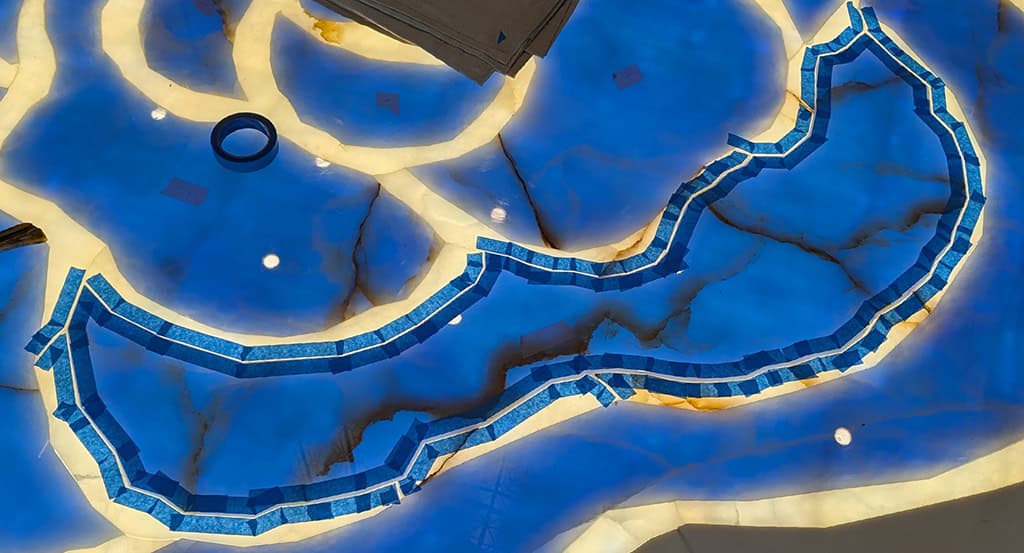
Once the hardener was added, we had roughly three minutes of working time, so the flower had to be divided into sections that could realistically be completed within that window. Each area was taped and prepared in advance, the epoxy and hardener were mixed, and the joints were filled. The tape then had to be removed before the epoxy hardened into its edges; waiting too long would lock the tape into the curing epoxy and make it extremely difficult to remove cleanly.
Adding to the challenge, all of this was being done in the middle of an active construction site. Each section had to be repeatedly cleaned of dust and debris before the epoxy was mixed and applied, as any contamination left behind could become permanently suspended in the transparent joints.
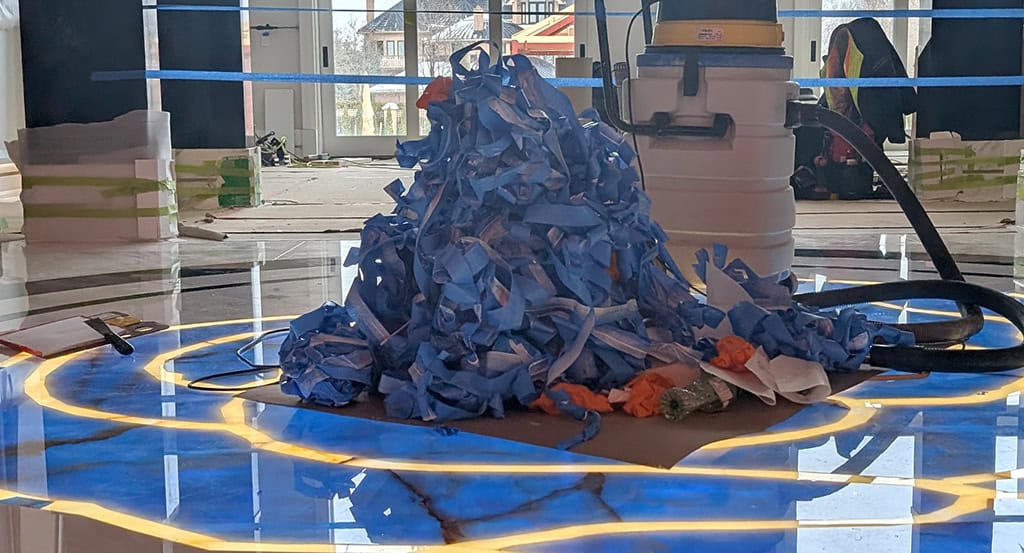
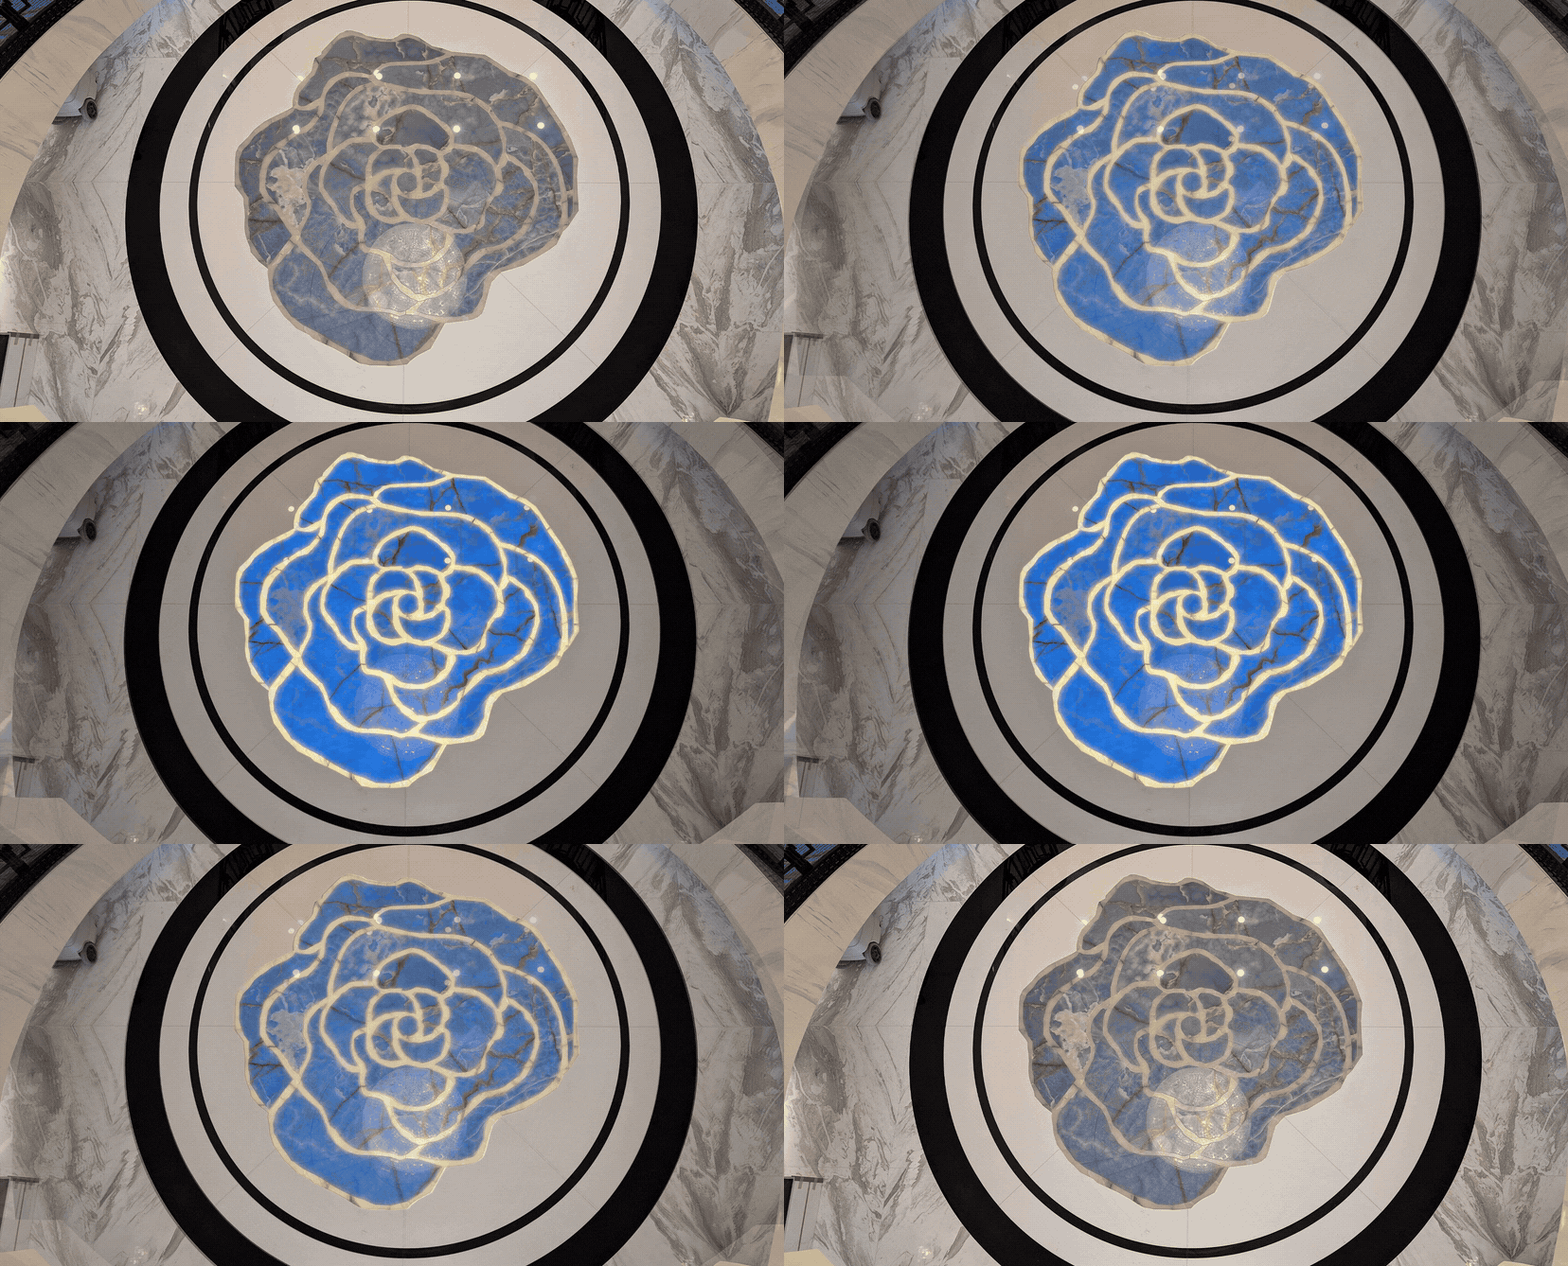
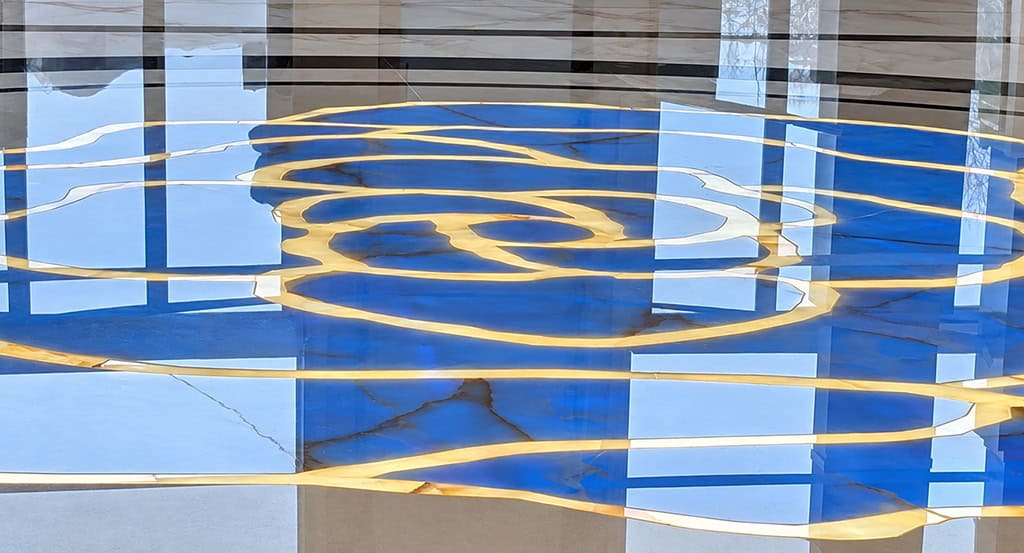
In the image below, even with the backlighting turned on, the epoxy joints almost disappear. They cast only a very slight shadow, while the translucency of the epoxy blocks just enough light to blend naturally with the surrounding onyx. With the onyx jointing complete, we moved on to the surrounding white Thassos marble and Nero Saluto black granite. Each material was carefully taped and filled with its own colour-matched epoxy.
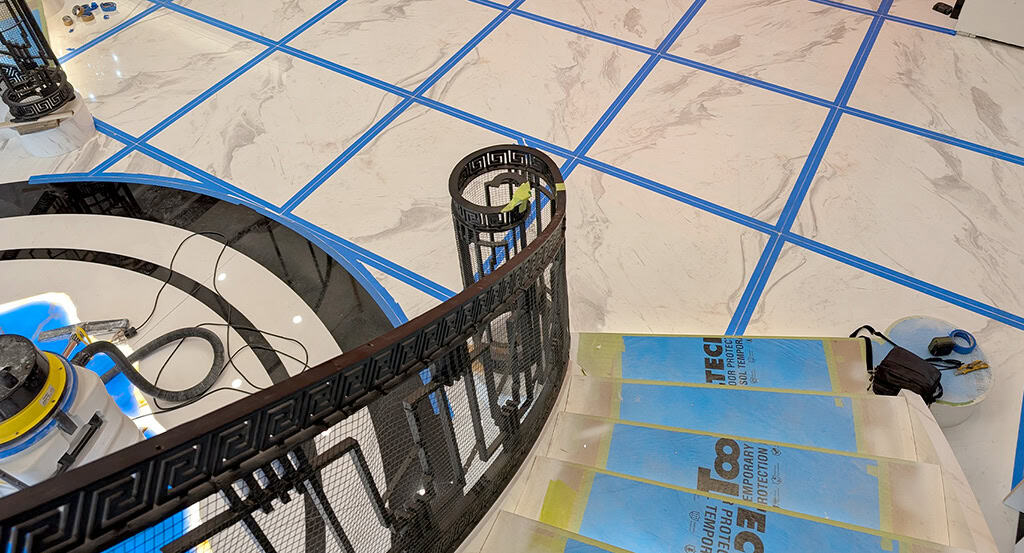
For the time being, our work on the medallion was complete, and we moved on to other areas of the home while construction continued around it. The photo below shows a later stage of the epoxy work, with the book-matched Volakas marble surrounding the medallion carefully taped in preparation for joint filling.
Final Restoration
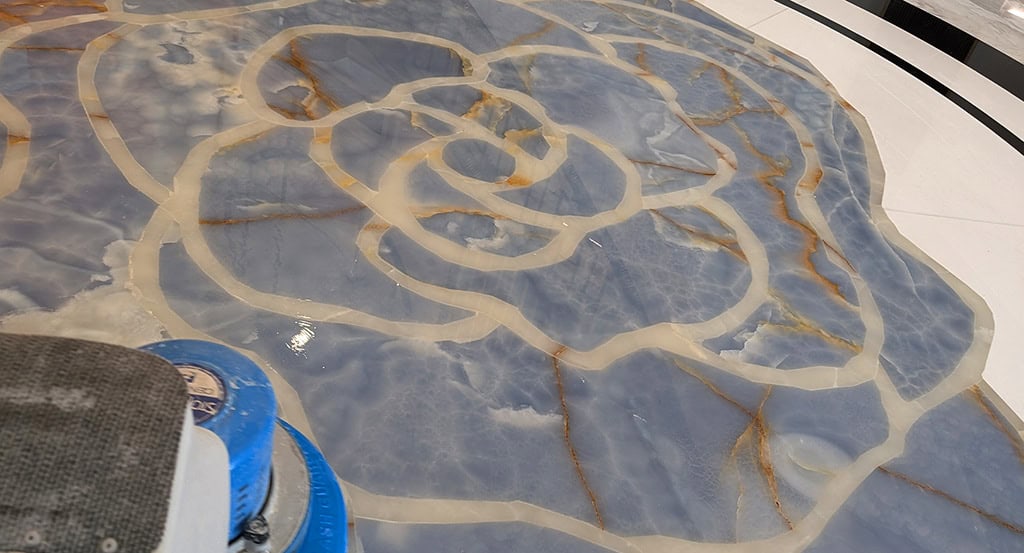
A few months passed with the floor protected while the remaining construction was completed. We then returned to give the main floor and medallion area a final wash using neutral cleaners, followed by a thorough inspection for any damage that may have occurred during construction.
The main challenge during the final washing and polishing was preventing water from reaching the electrical connections directly beneath the floor. The onyx pieces had been installed with silicone, and the slightly flexible exterior-grade epoxy used for the joints provided a strong opportunity for complete encapsulation. Even so, any water penetration could be devastating, potentially causing the backlighting system to fail entirely.
Before introducing water, we carefully inspected the floor for holes or other possible points of entry. Open fissures were capped with epoxy, and the joints were assessed for variations in light opacity that could indicate thin or failed epoxy.

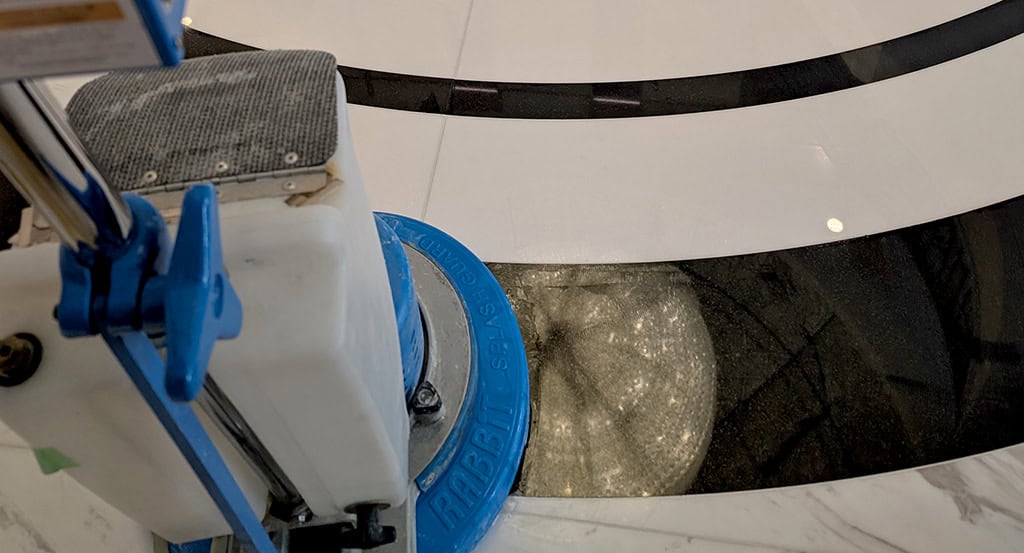
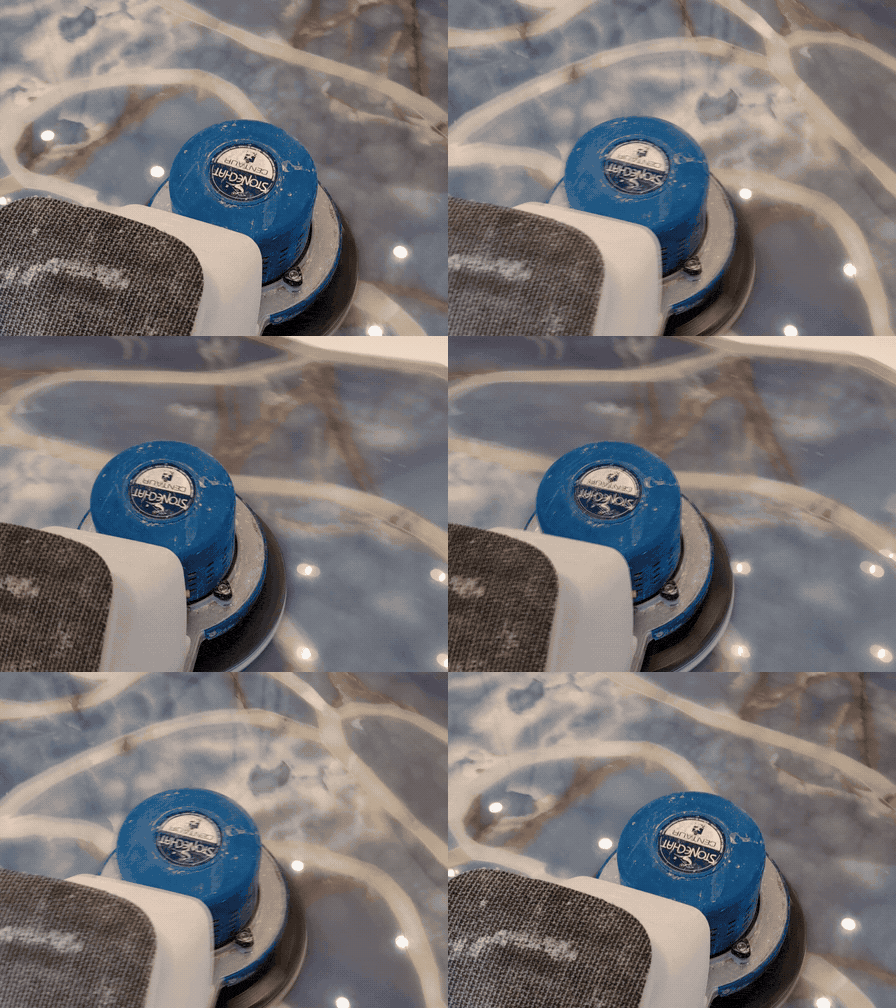
Once we were confident the surface could be safely worked, the floor was washed in narrow sections, with a wet vacuum following immediately behind the machine. It was then polished using very little water, again keeping the wet vacuum close behind to remove moisture as quickly as possible. A final application of sealer completed the work, and the LED backlighting was checked to confirm that it was operating normally.