Project Overview
We were involved in the original installation of the bathroom, completing the epoxy jointing, epoxy mitres, final cleaning and sealing. Approximately five years later, we were called back to restore the stone to its original condition. By that point, nearly every surface showed some level of wear, with most areas requiring resurfacing or, at minimum, repolishing across the floors, walls and countertops, along with repairs and renewed waterproofing within the shower.
The approach was to use the least aggressive method necessary for each surface while restoring a consistent overall finish. Cleaning, silicone replacement and sealing formed part of the maintenance work, while etching, scratches, chips and other visual inconsistencies were corrected as required. Given the calibre of the home and the expectations for the finished work, even relatively minor imperfections could not simply be overlooked.
The Material
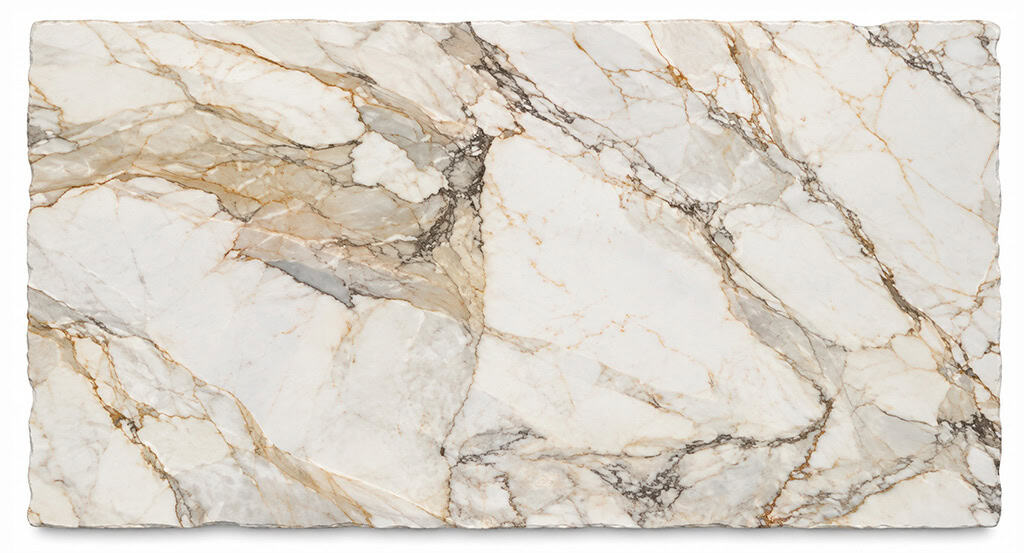
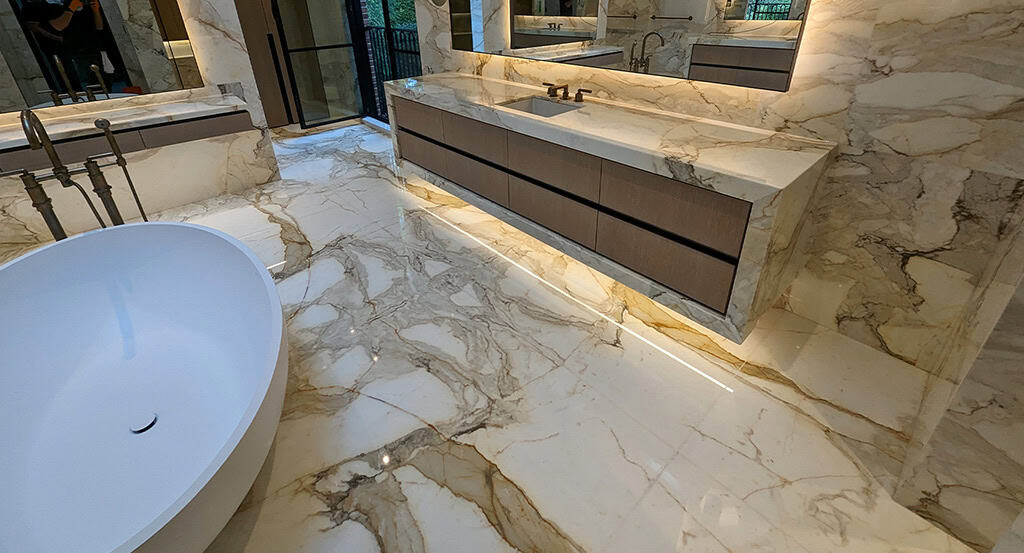
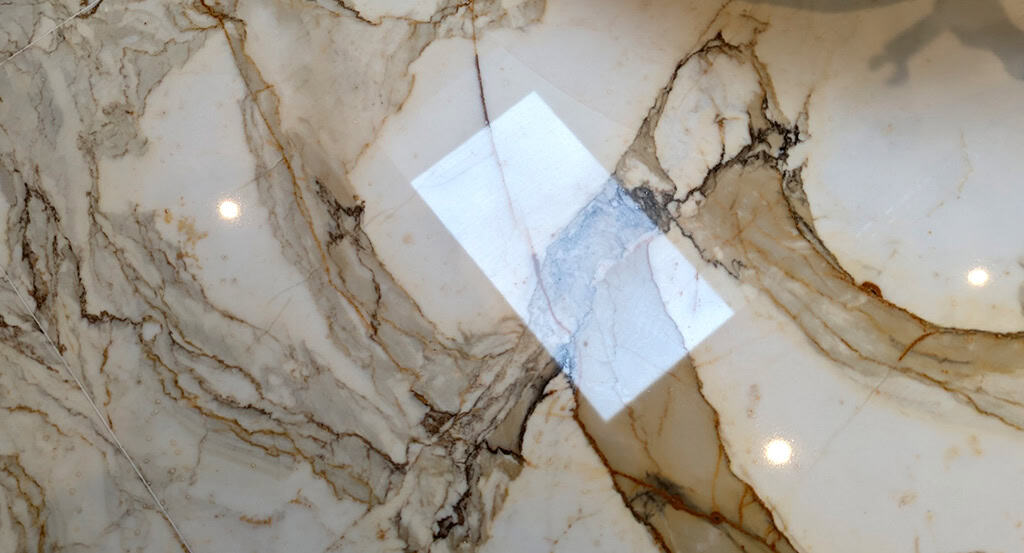
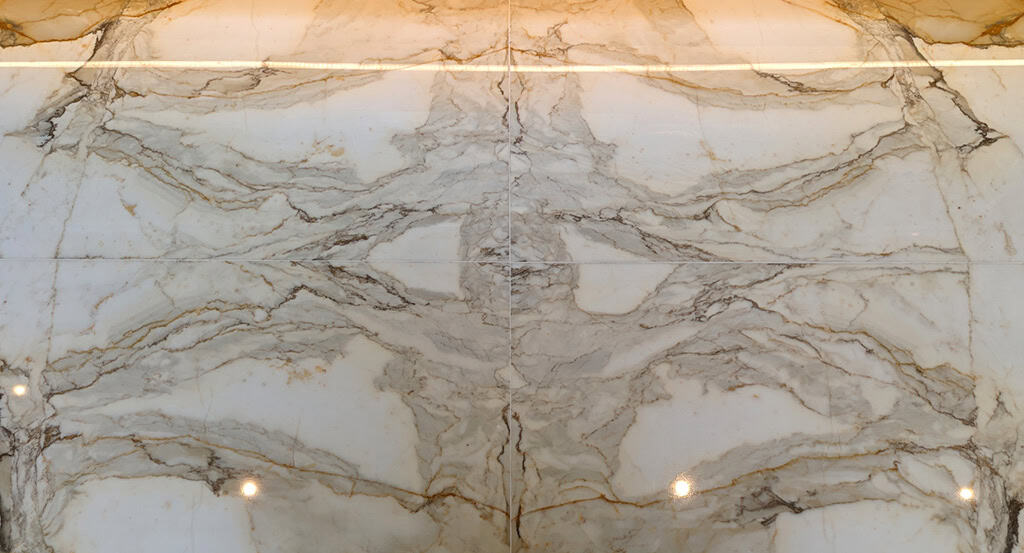
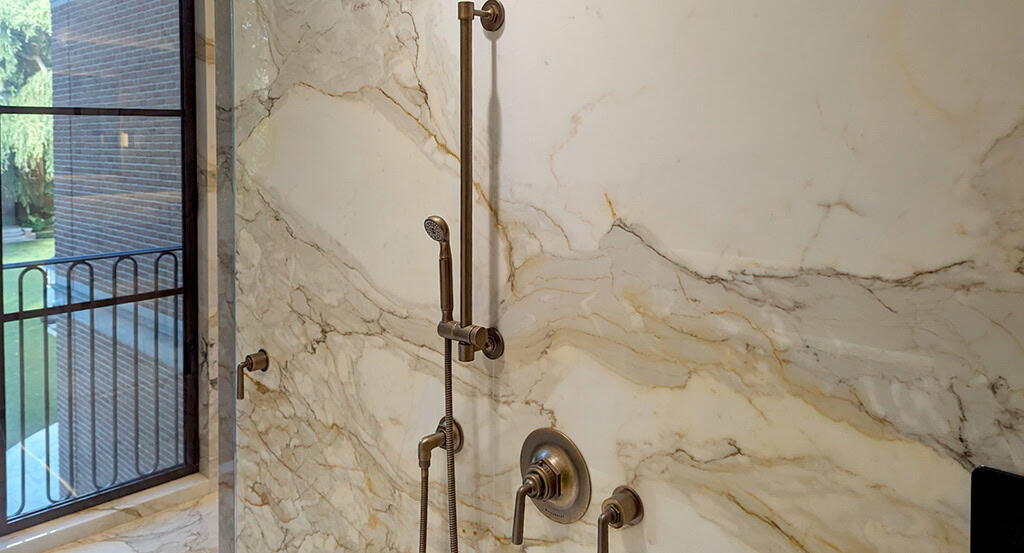
Calacatta Macchia Vecchia is a warmer, more expressive variation of Calacatta marble, differing from the classical grey-veined appearance most people associate with the name. Its long gold-toned streaks and broader movement give the stone a much more dynamic character.
This particular marble is somewhat harder than many others we encounter, at approximately 4 on the Mohs scale. It is still highly prone to etching and moderately susceptible to scratching, but its relatively low porosity allows it to perform very well in bathrooms and showers when properly sealed and maintained.
Shower Restoration
Shower Ceiling and Walls
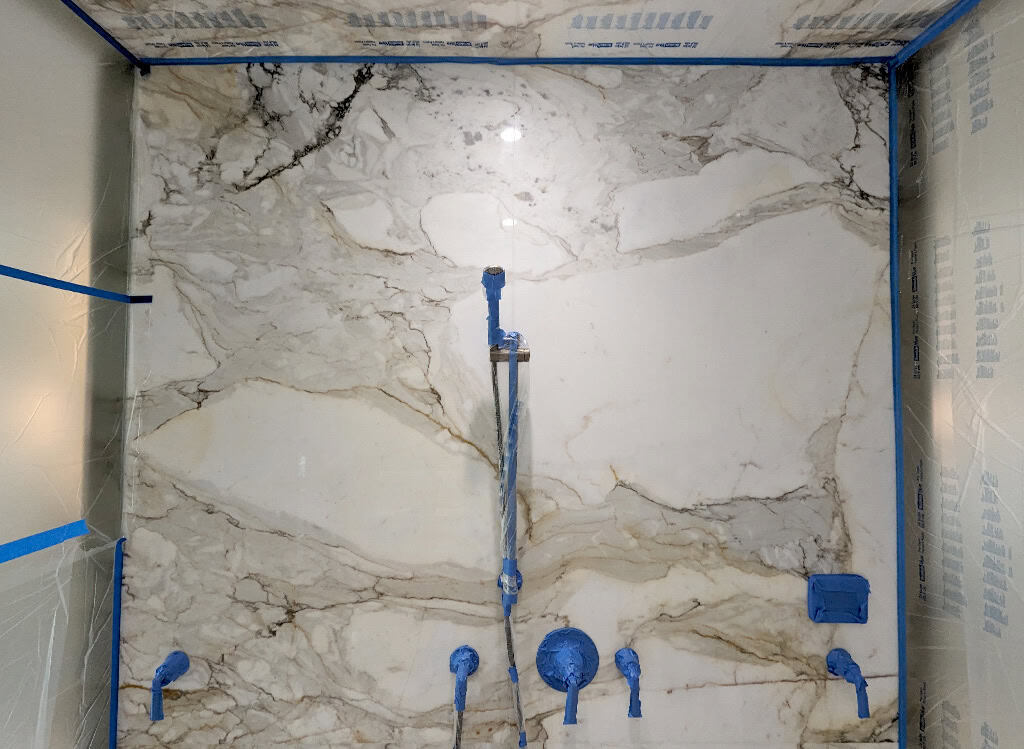
We began by protecting the fixtures, glass and surrounding surfaces that were not being polished using a combination of low-tack tape and plastic. The wall damage was limited enough that grinding was unnecessary; several controlled passes using water and polishing compound were sufficient to remove the etching and restore the finish.
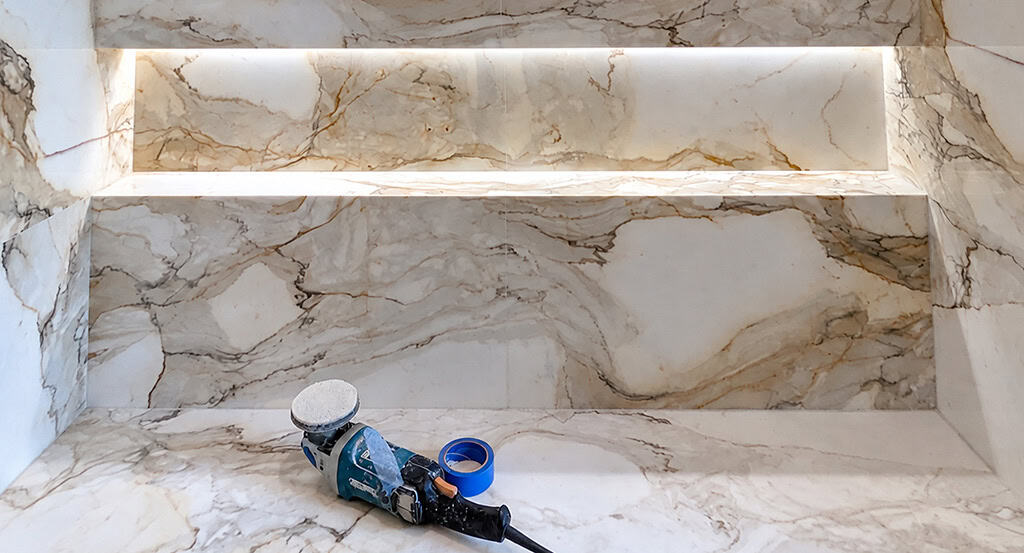
Shower Niche and Seat
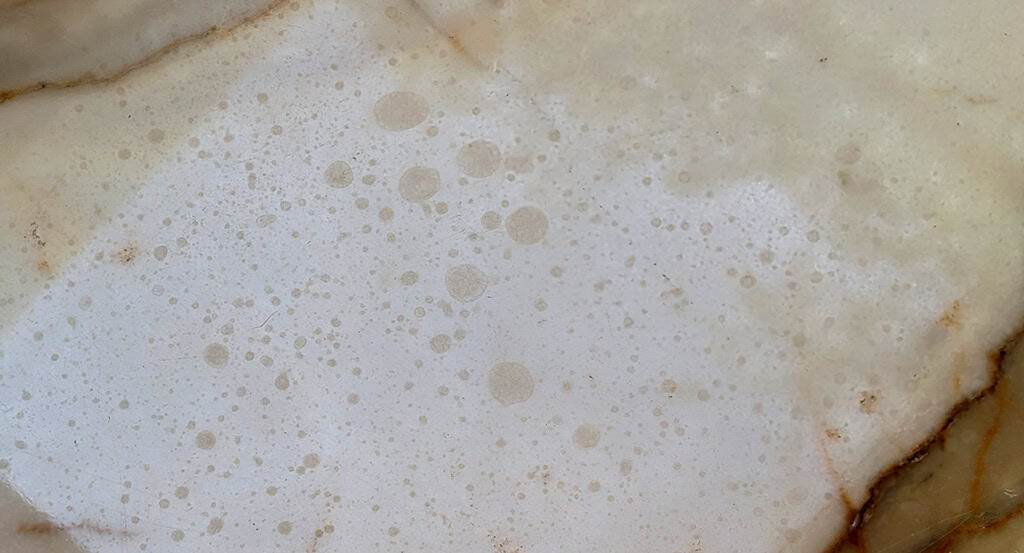
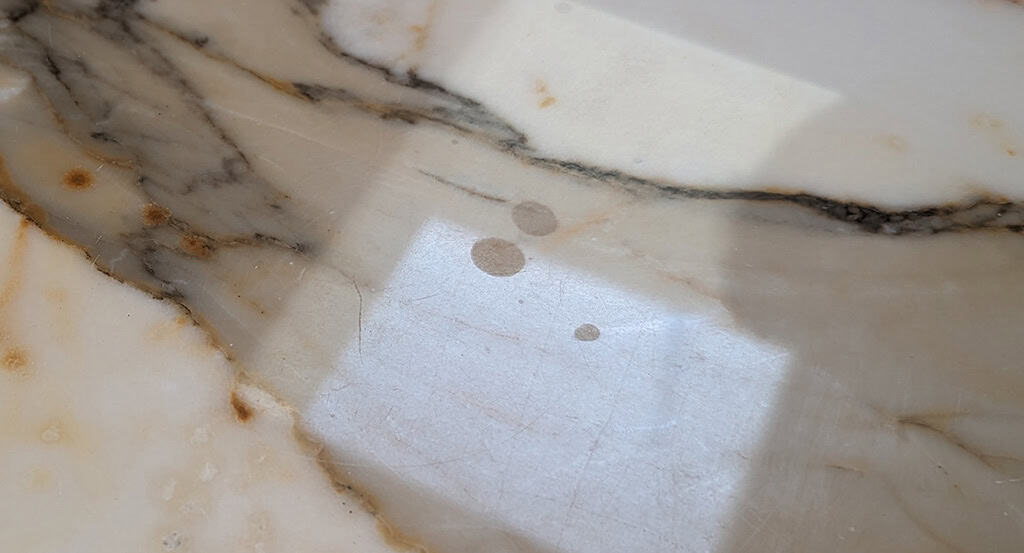
The niches and shower seat showed much heavier etching, with rings and splatter patterns caused by repeated contact with acidic products. Some naturally derived soaps and shampoos can be surprisingly aggressive on calcite-based marble, particularly when they contain ingredients such as citric acid.
We went ahead with a full grind and resurface of these areas
Shower Floor
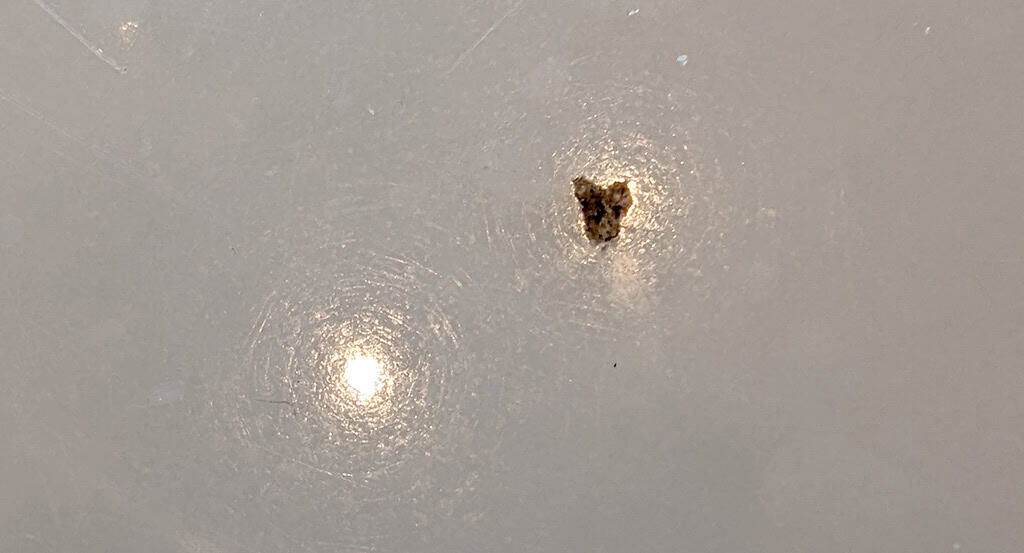
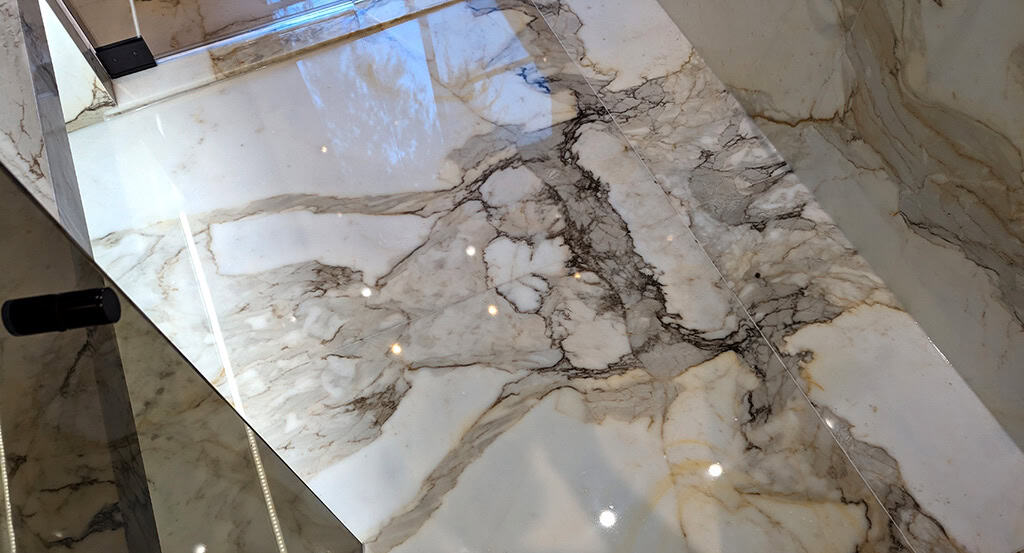
The shower floor contained a considerable number of naturally occurring voids that had originally been filled with epoxy during fabrication. After years of exposure to water, steam and regular use, many of these fills had deteriorated or opened completely.
The damaged areas were cleaned out using a rotary tool with a carbide bit, then washed with solvent and scrubbed with a small brush before being refilled with exterior-grade epoxy colour matched to the surrounding stone.
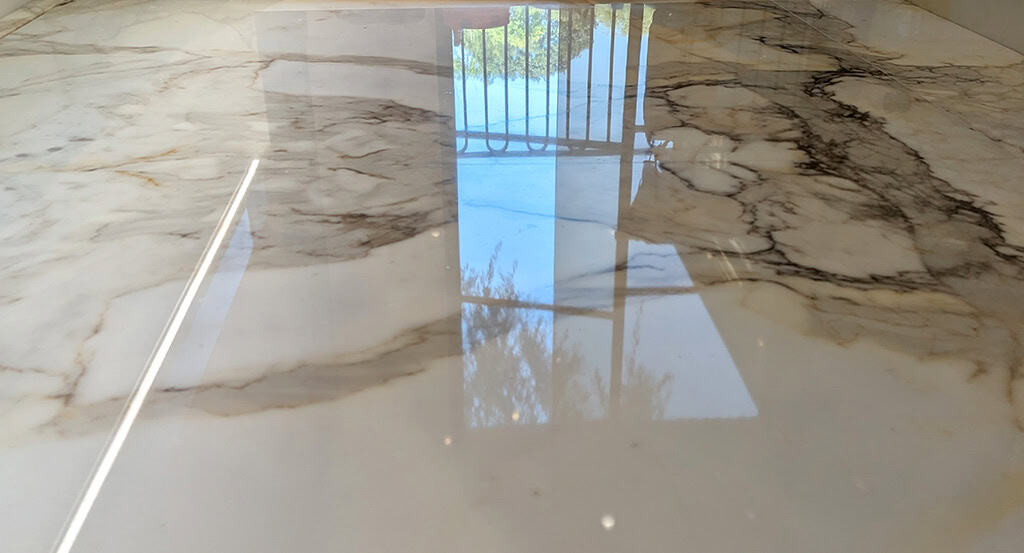
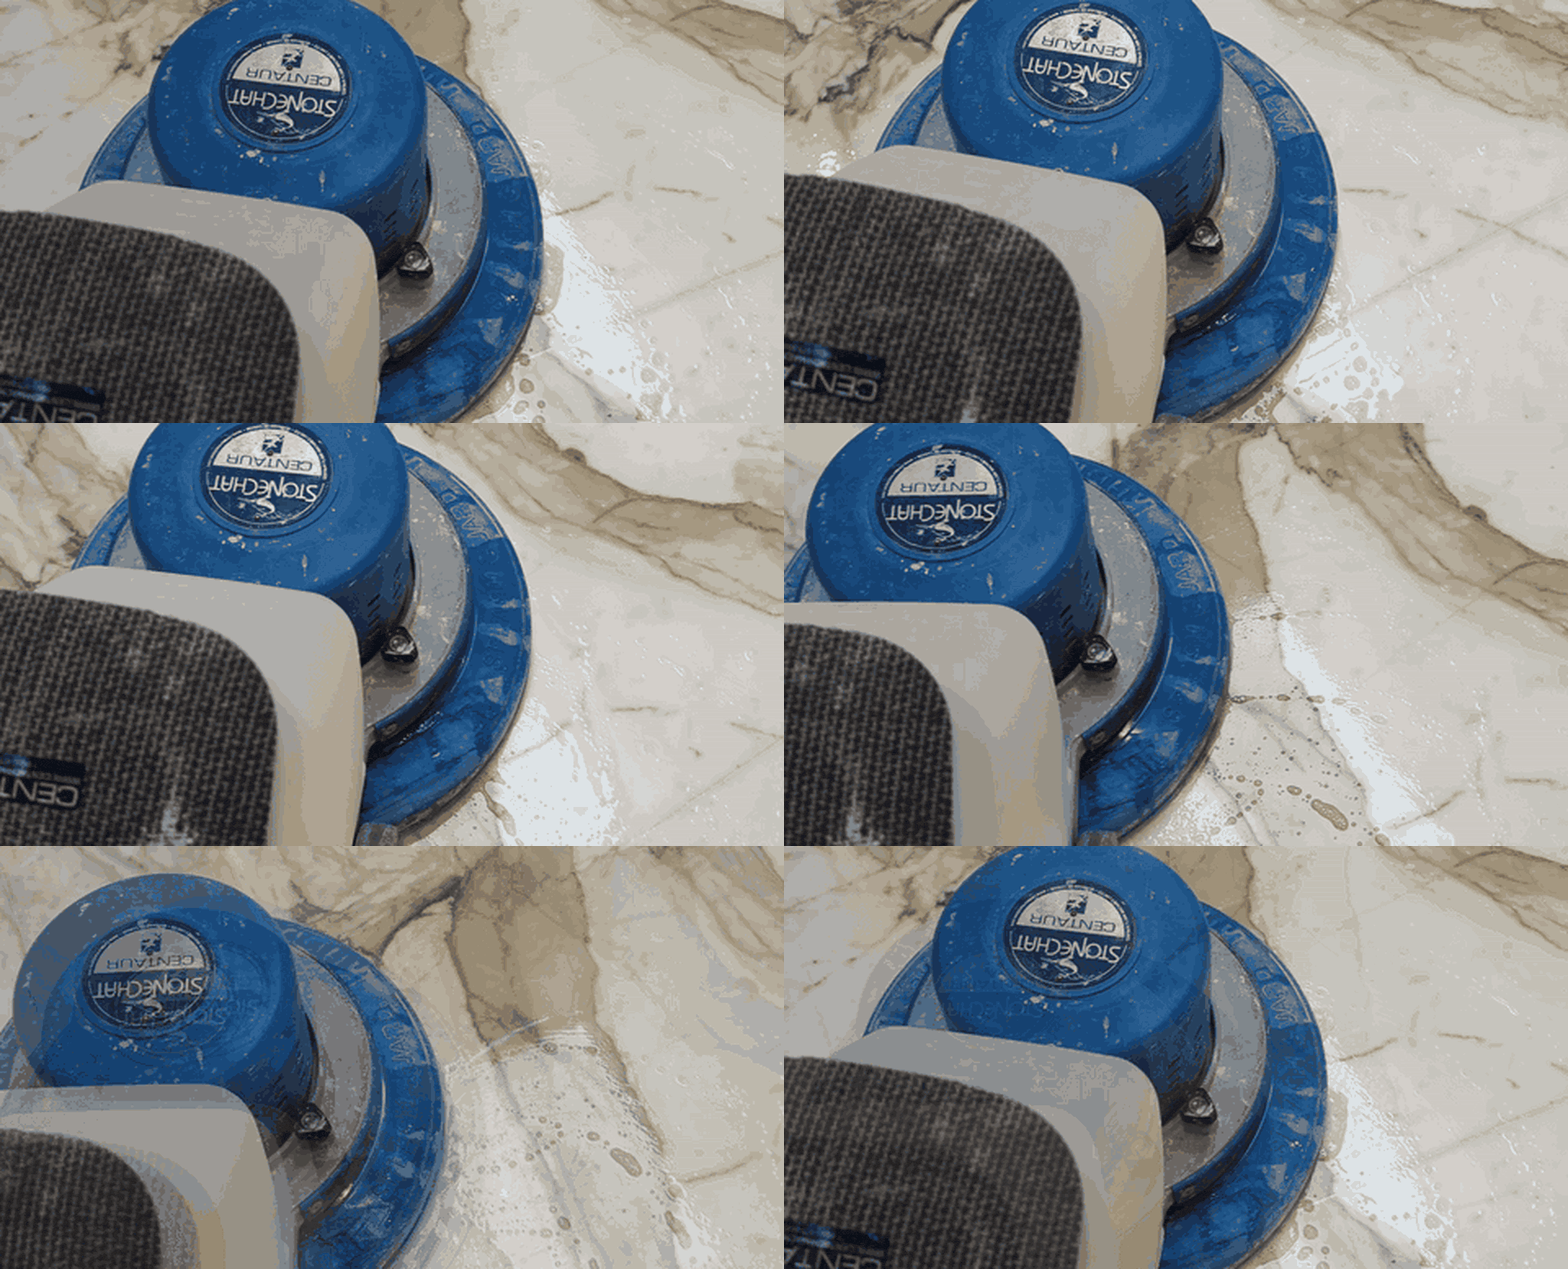
Once the repairs had cured, the floor was ground to level the new epoxy fills and remove the surrounding etching at the same time. The surface was then refined and polished back to a uniform finish.
Linear Drain and Waterproofing
At approximately 10 feet wide, the shower incorporated a large marble linear drain tucked beneath the seat. Weighing roughly 50 lbs, the drain can be difficult for regular maintenance staff to remove and clean.
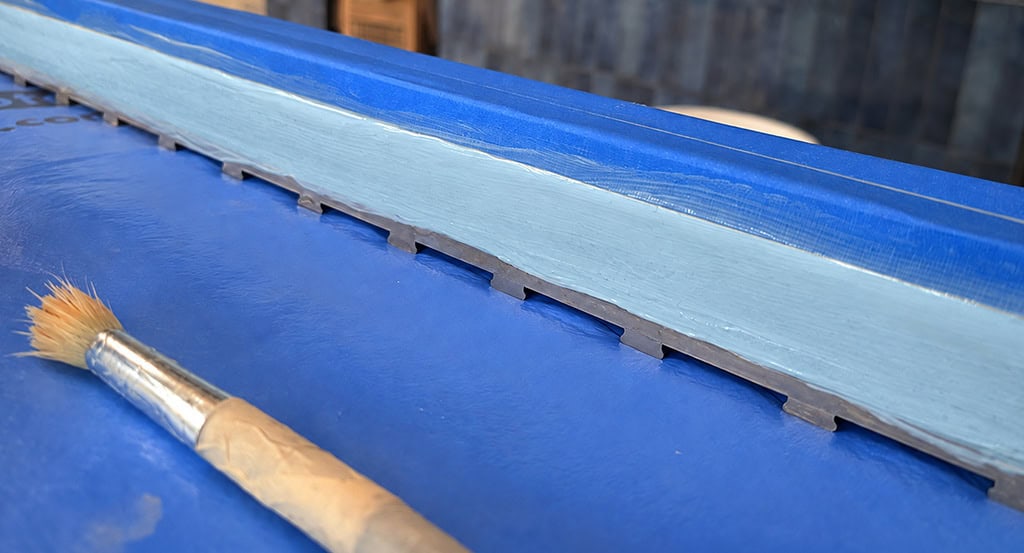
After five years of use, the drain showed significant discolouration and staining, along with cracking through portions of the surrounding waterproofing layer. The entire drain assembly was removed, thoroughly cleaned and taken off site, where an advanced liquid-rubber waterproofing and crack-isolation membrane was reapplied before reinstallation.
Sealing and Silicone Replacement
The final steps in the shower restoration were sealing and silicone replacement. The stone was treated with a very low-viscosity, solvent-based penetrating sealer, while the perimeter joints and other vulnerable edges were finished with translucent RTV silicone.
Countertop Restoration
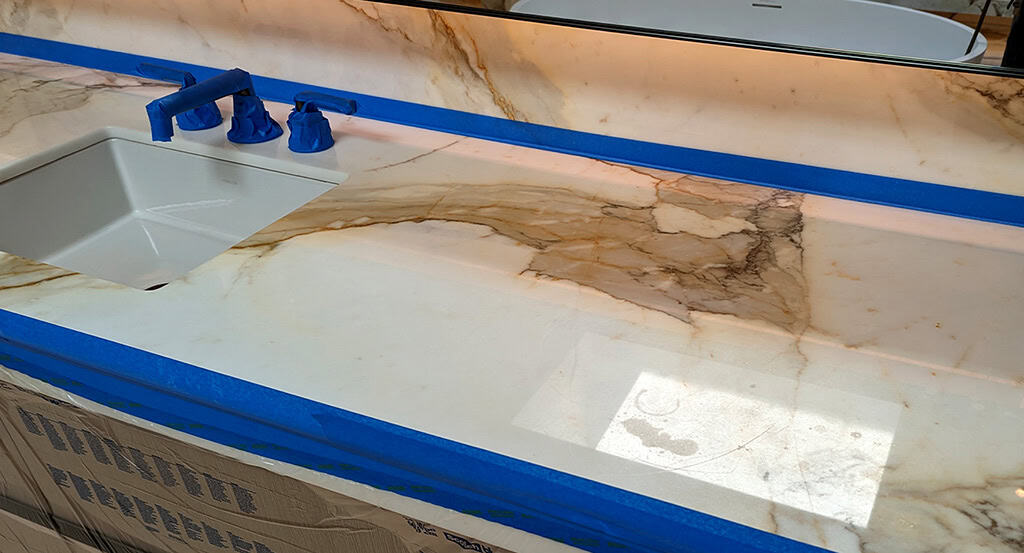
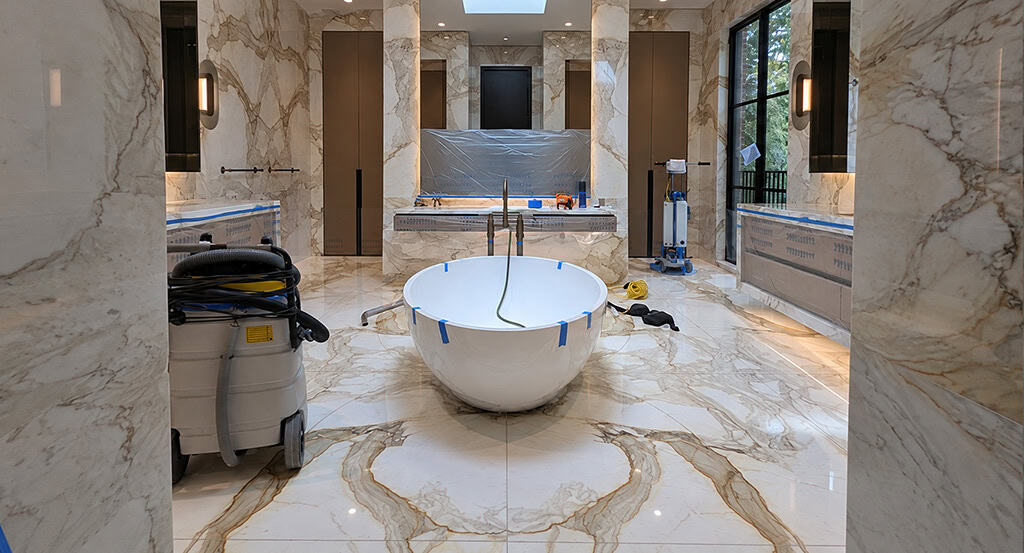
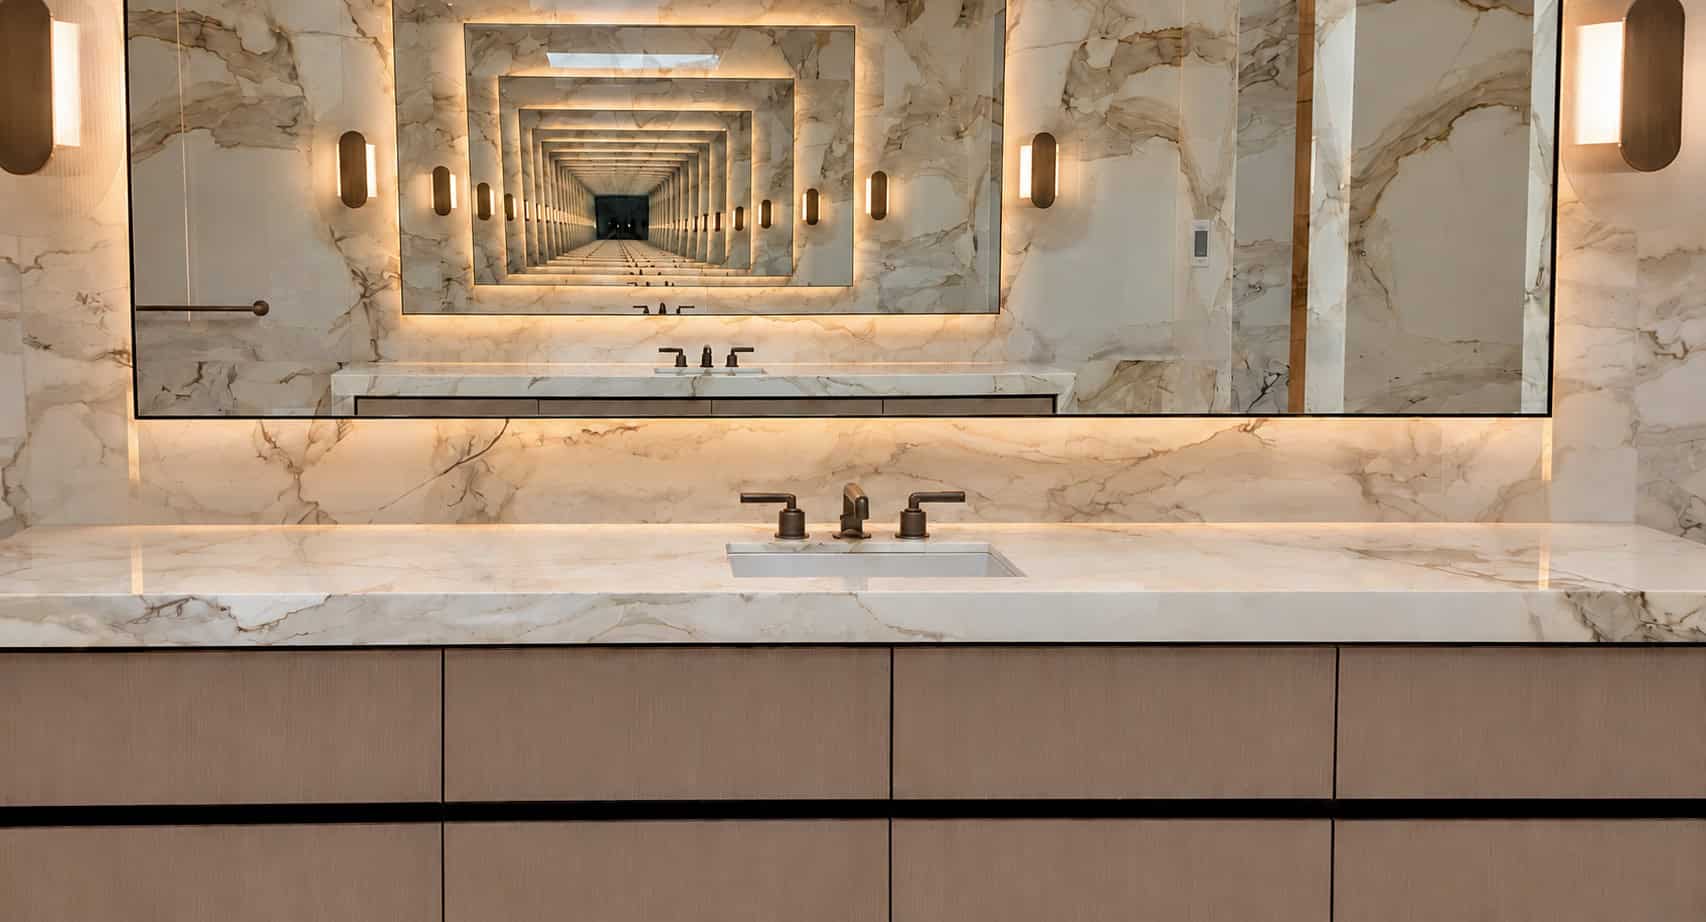
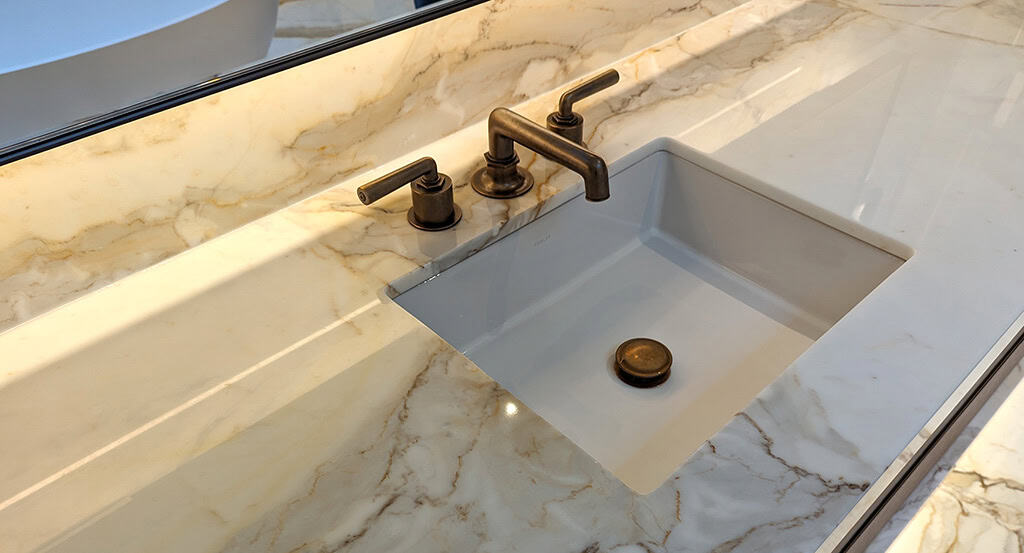
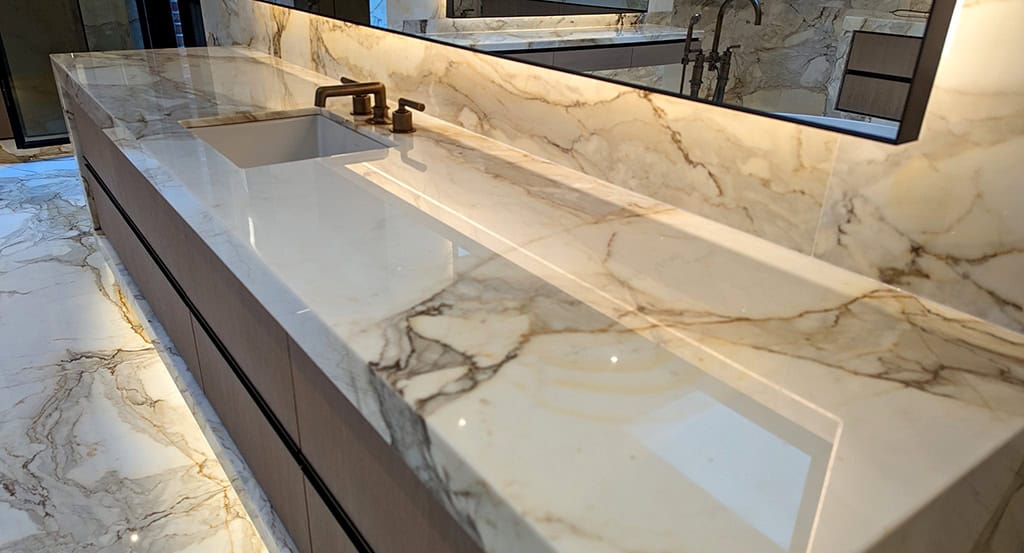
Three marble countertops were positioned around the perimeter of the approximately 500-square-foot bathroom. Two incorporated sinks, while the third served as a makeup table. After approximately five years of regular use, all three displayed typical wear patterns, including etching and scratches.
We began by protecting the fixtures, cabinetry and surrounding surfaces in preparation for wet grinding. The most heavily etched and scratched areas were then ground using a moderately aggressive diamond disc, followed by progressively finer diamonds, gently feathering into undamaged areas. Once grinding was complete, the countertops were polished edge to edge and sealed with a solvent-based penetrating sealer. The existing silicone was also replaced with translucent RTV silicone.
Floor Restoration
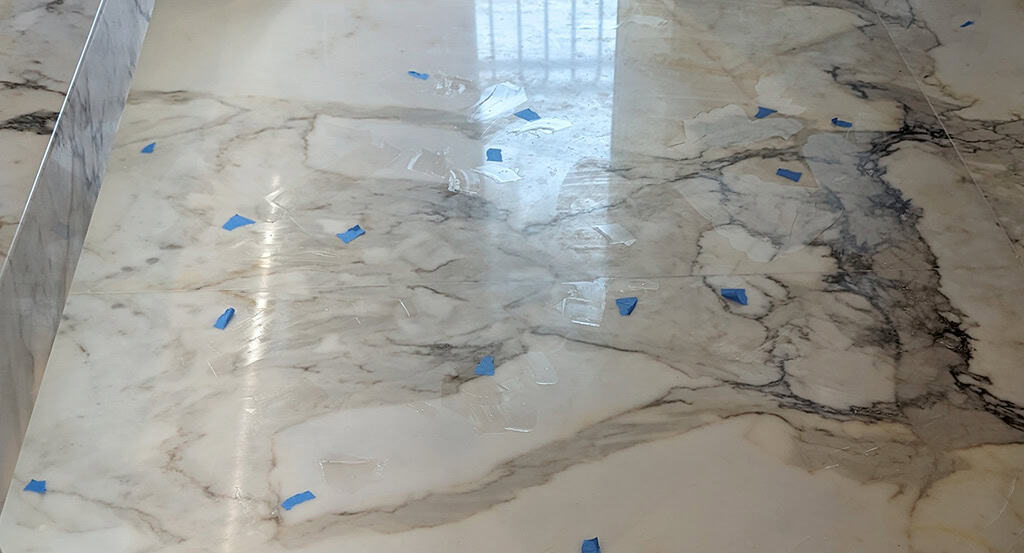
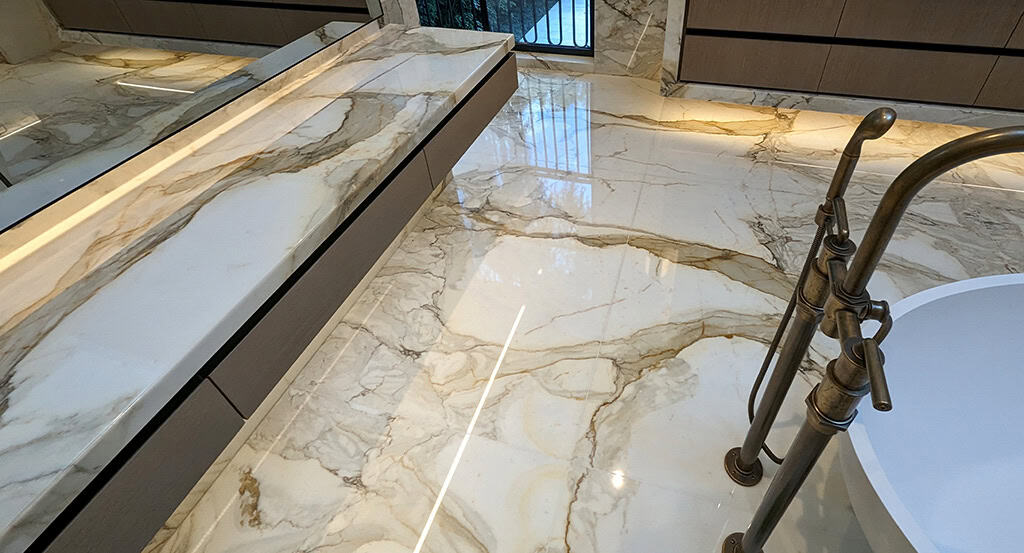
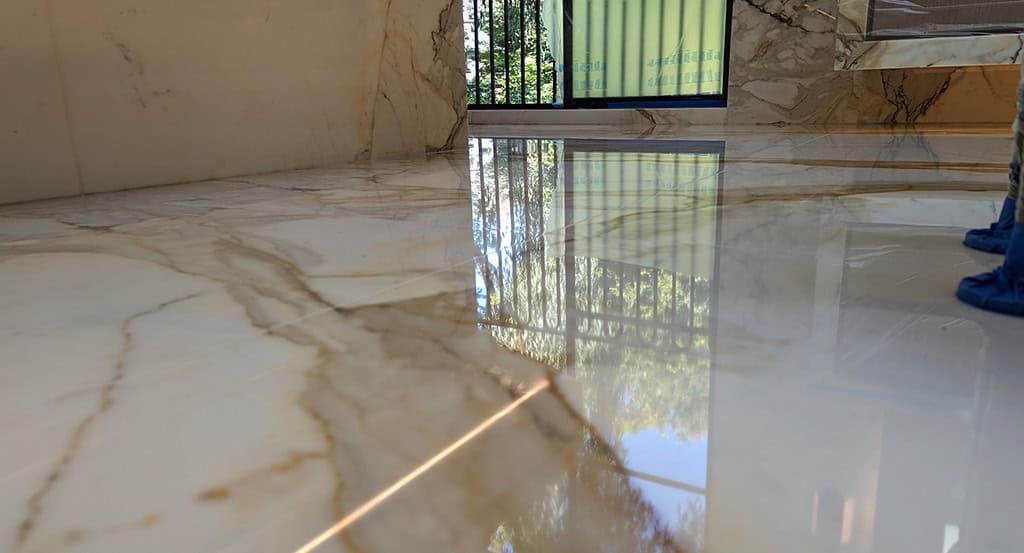
The marble floor showed considerable wear, with visible traffic patterns, darkened epoxy seams, light scratches and etching throughout most of the bathroom. We began by protecting the surrounding surfaces with poly sheeting and low-adhesion tape in preparation for wet grinding.
We began by thoroughly cleaning the epoxy joints with a moderately strong solvent, followed by a full wash of the floor with a degreaser. The floor then received a relatively light grind using 400-grit diamonds. As with the countertops, we followed with progressively finer diamonds before polishing and sealing the floor.