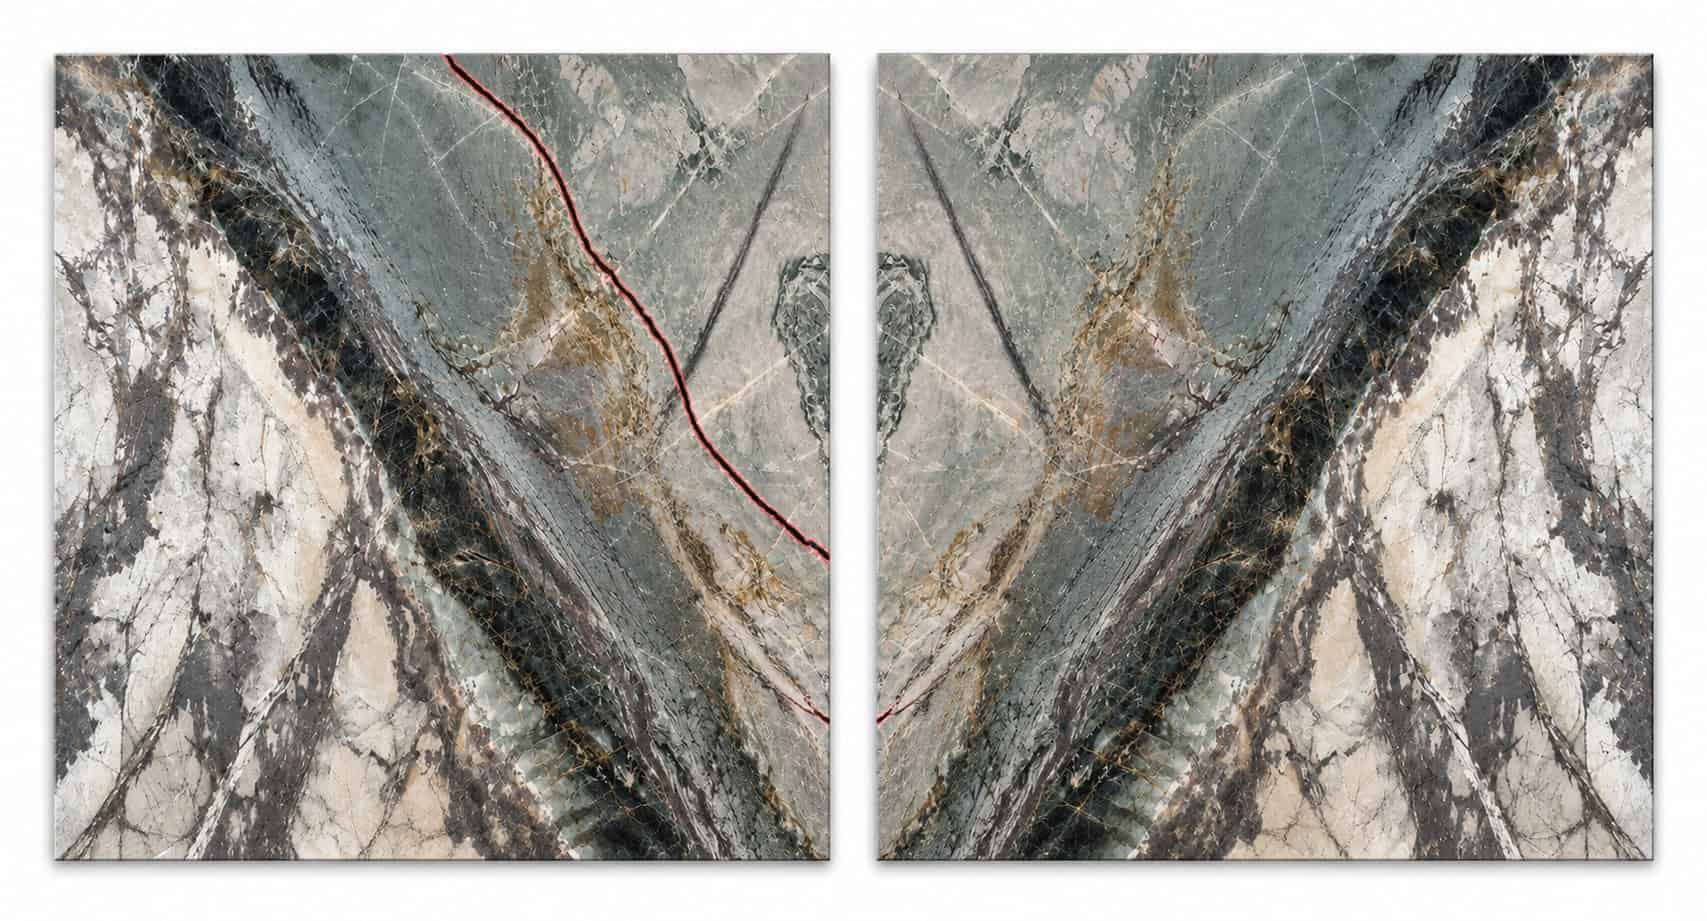
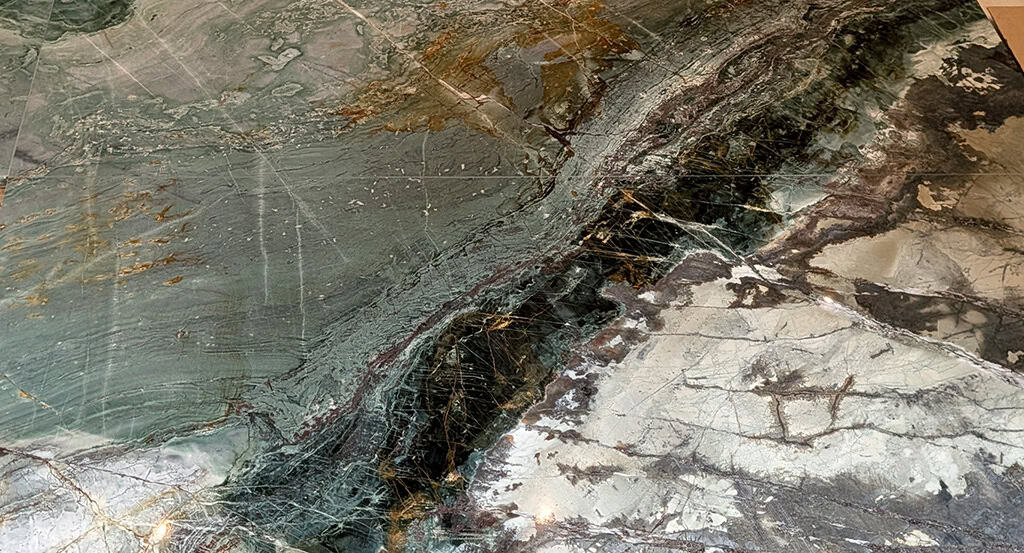
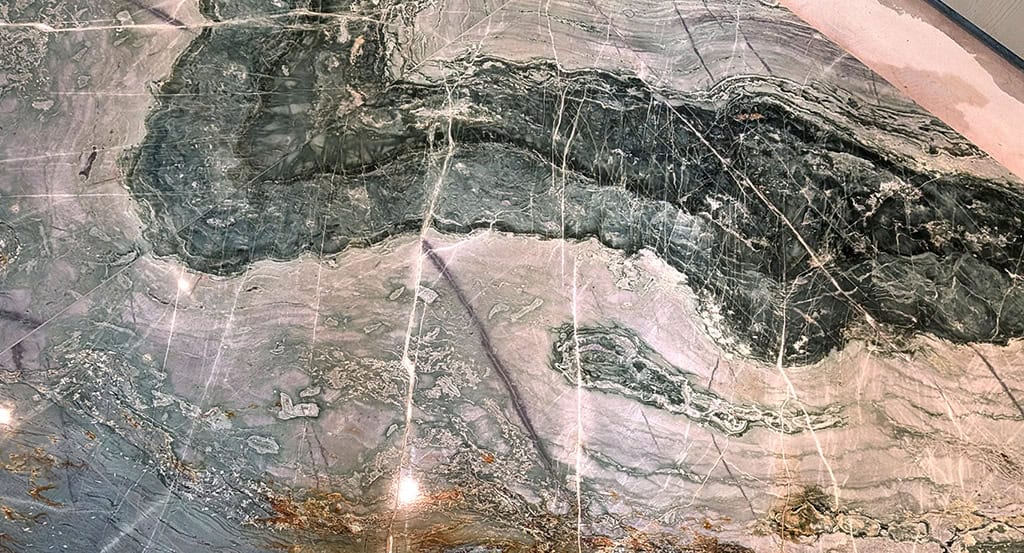
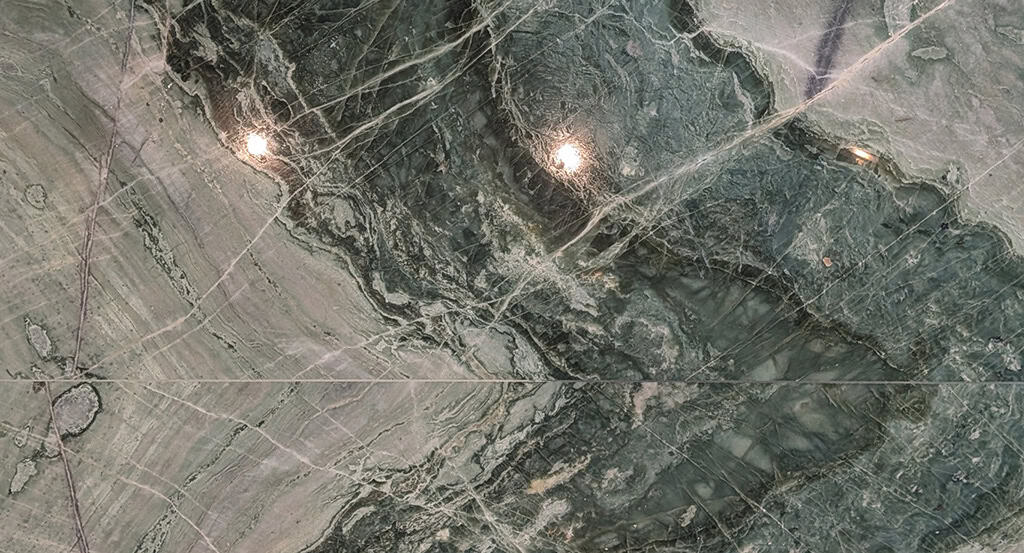
We were called to a high-value Muskoka residence to repair a major crack running through a bookmatched installation of Brazilian marble cut from large slabs. The crack had developed through one of the slabs, likely as a result of handling, natural fissures within the stone, or a combination of both.
Our task was to colour-match the repair to the surrounding veining and blend the crack into the stone as naturally as possible, while minimizing any visible distortion to the surrounding surface.
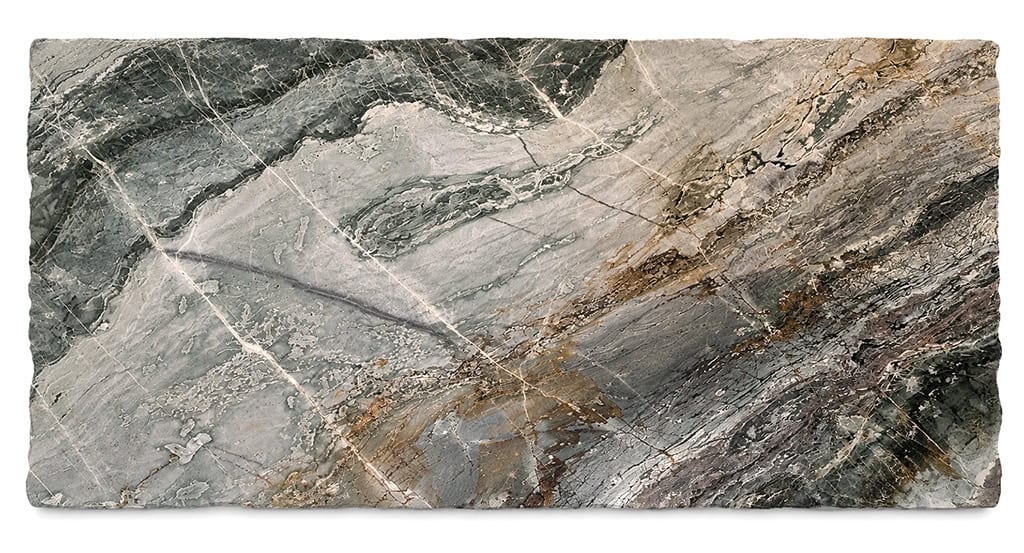
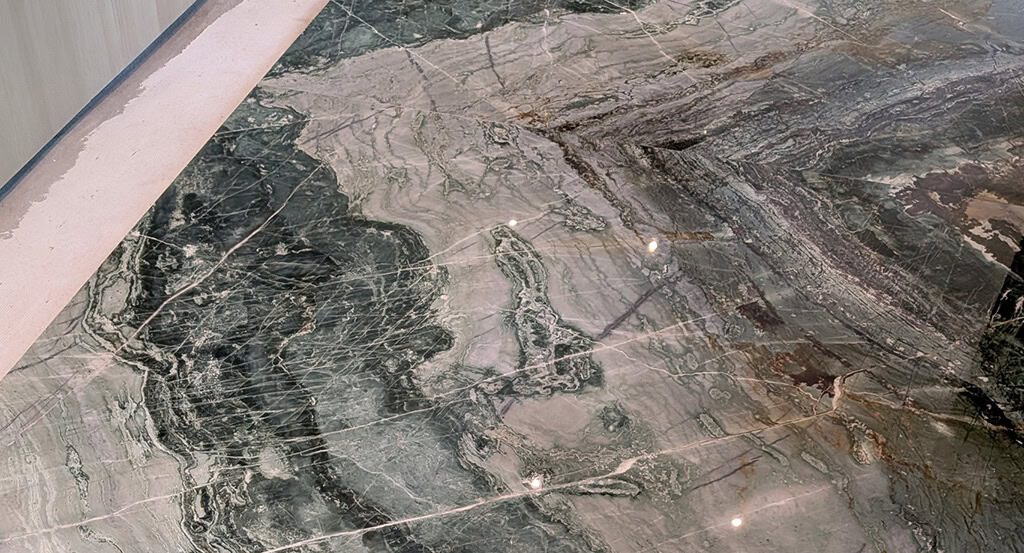
This striking green stone was imported from Brazil in slab form, carefully laid out in a bookmatched pattern, and then cut to size for the project. The finished pieces were approximately 5 × 5 feet.
Although the material was often referred to as quartzite, it behaved much more like marble during restoration. It was relatively soft, moderately porous, and responded extremely well to polishing compounds formulated for marble. Based on how the stone responded during grinding and polishing, our working conclusion was that the material was marble rather than quartzite.
The repair began by carefully cleaning the crack of loose stone fragments and any contaminants left from the installation, including cement residue and dirt. This created a clean surface for the epoxy and reduced the risk of trapping debris within the repair.
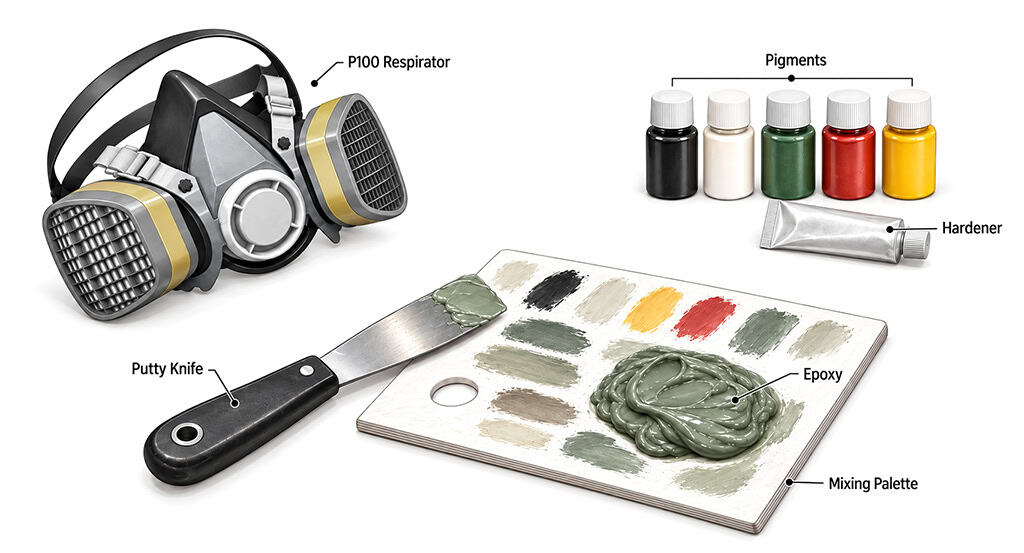
An exterior-grade epoxy was then pigmented on site to follow the surrounding veining as naturally as possible. Because the stone contained constant shifts in colour and pattern, we avoided trying to reproduce every small variation. Instead, a general field colour was selected and adjusted approximately every 6–12 inches along the crack. In our experience, attempting to follow every individual vein too literally can actually make an epoxy repair stand out more rather than less.
Step 2: Grinding the Crack
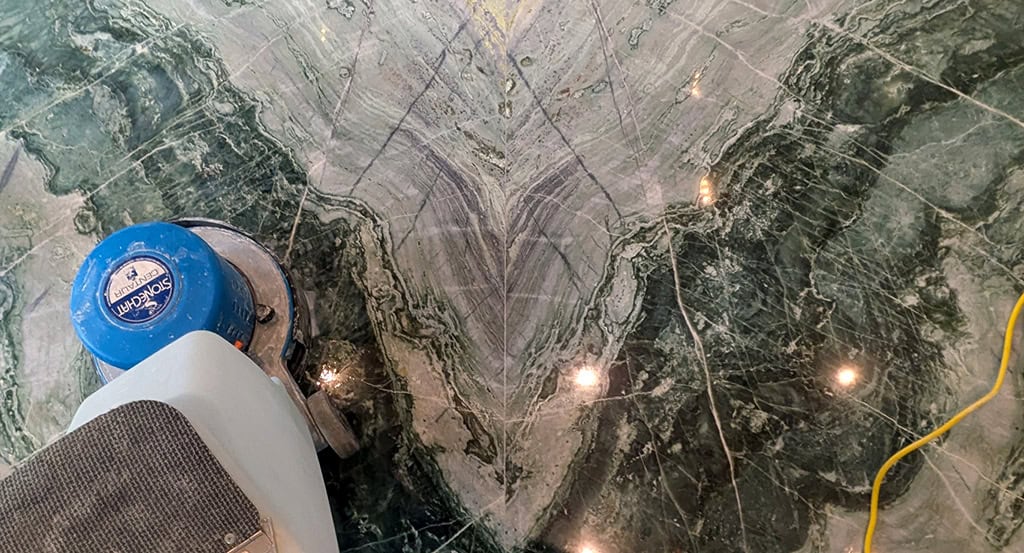
Crack-repair grinding is similar in principle to lippage removal: a rigid diamond drive helps force the surface to follow the flatness of the machine rather than the contours of the damage. For the initial passes, however, we deliberately used a smaller grinding head so the most aggressive work remained concentrated close to the repair. The goal was to gradually lower the high side of the crack while leaving the low side largely untouched until the two were nearly flush.
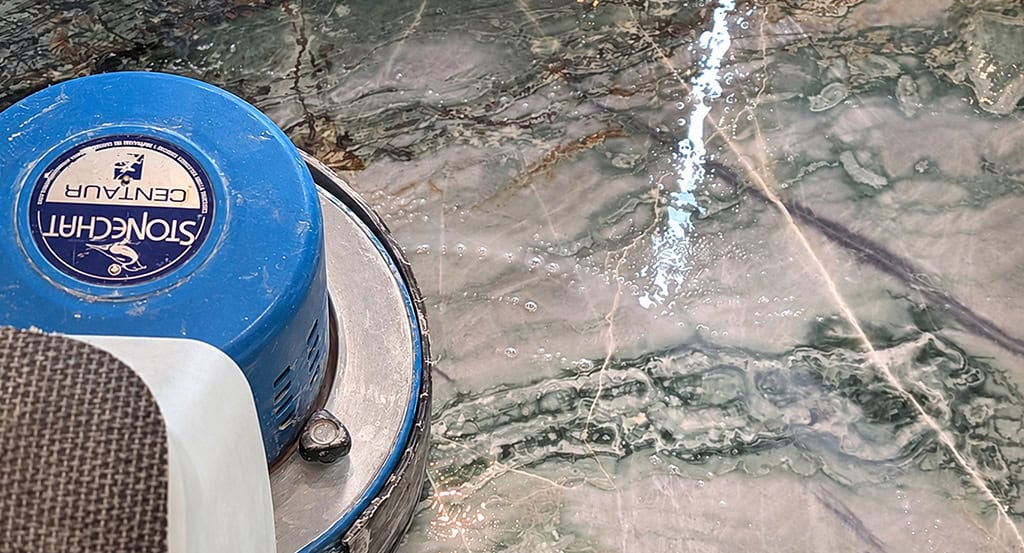
The grinding sequence began with a very light 100-grit pass, followed by a slower 200-grit pass to establish the flatness of the repair area. Once the surface was sufficiently level, we progressed through 400-, 800- and 1500-grit diamonds in preparation for polishing.
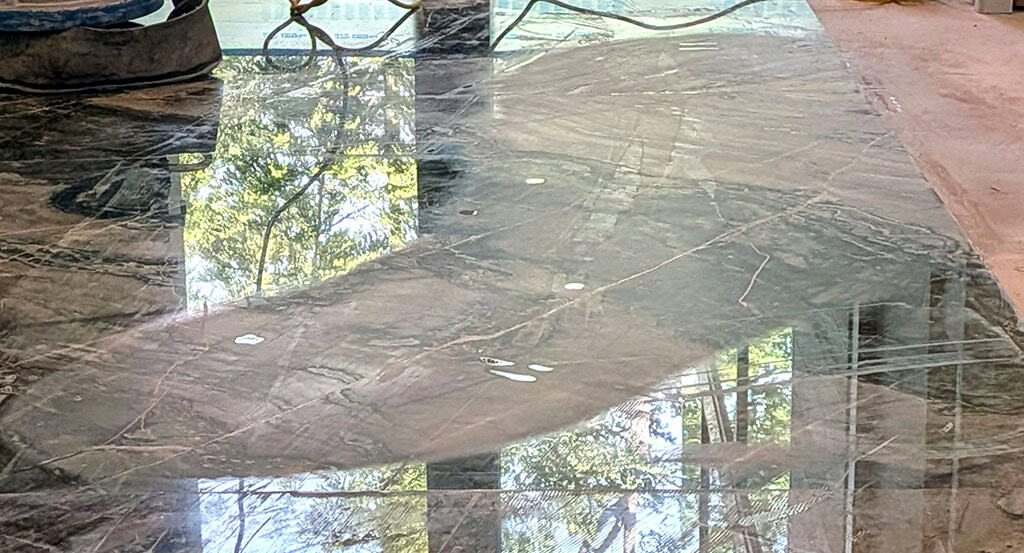
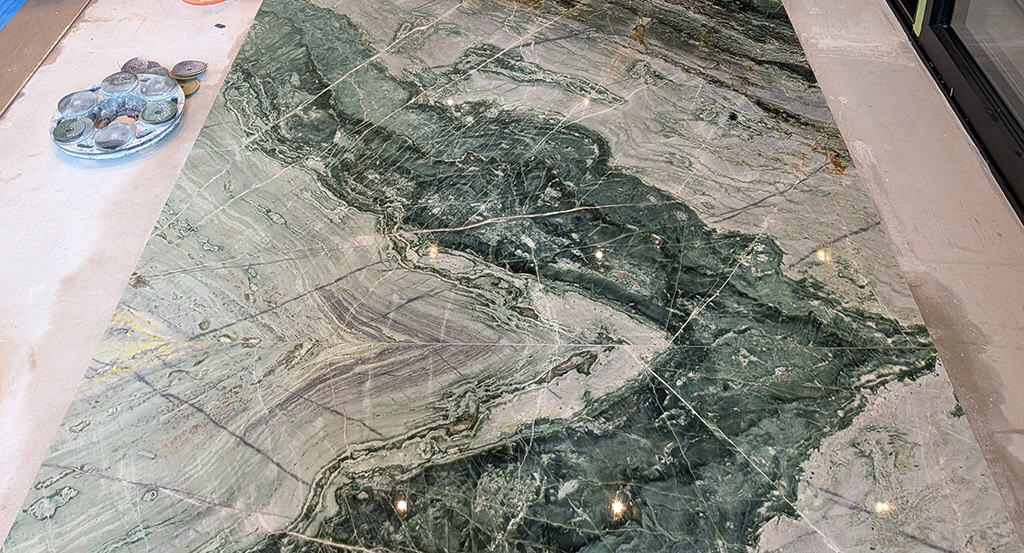
The image below shows the grind area at approximately the 400-grit stage. As the refinement continued, the grinding was feathered progressively farther into the surrounding stone to soften the transition and minimize visible deflection. By the final stages, the worked area extended to roughly twice the size shown here.
Step 3: Blending the Polish
Using powder-based polishing compounds with water, we started with a heavier concentration of compound directly over the repaired area.
As the polish developed, each successive pass used less compound and more water while extending farther into the surrounding stone. This gradually blended the newly polished area into the existing finish rather than creating a sharp transition around the repair.
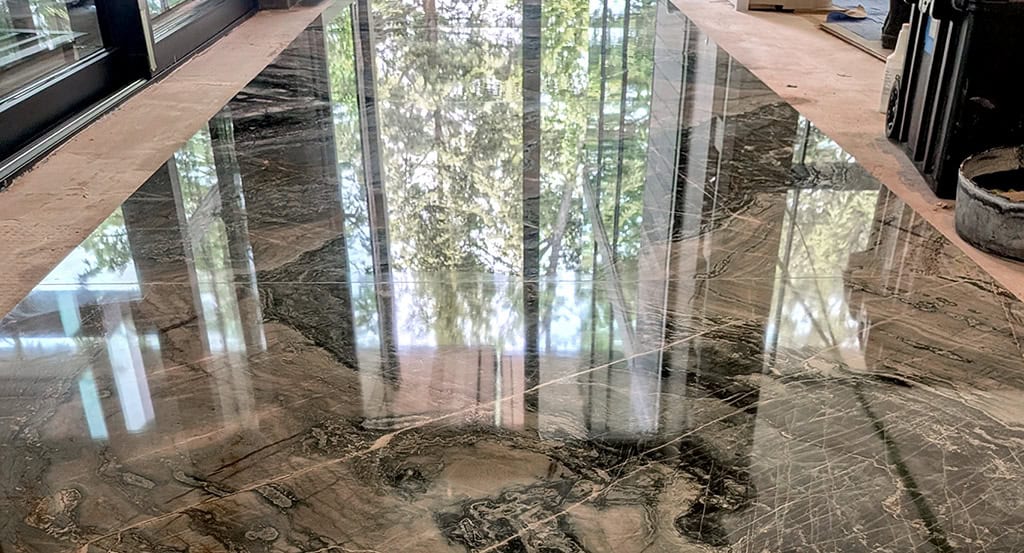
Once the repaired section had been fully blended, the entire floor received a final pass using water only to even out the reflection and leave the surface with a consistent overall appearance.
Step 4: Sealing
Once the repair and polishing were complete, a solvent-based penetrating sealer was applied to the floor as the final protective treatment.