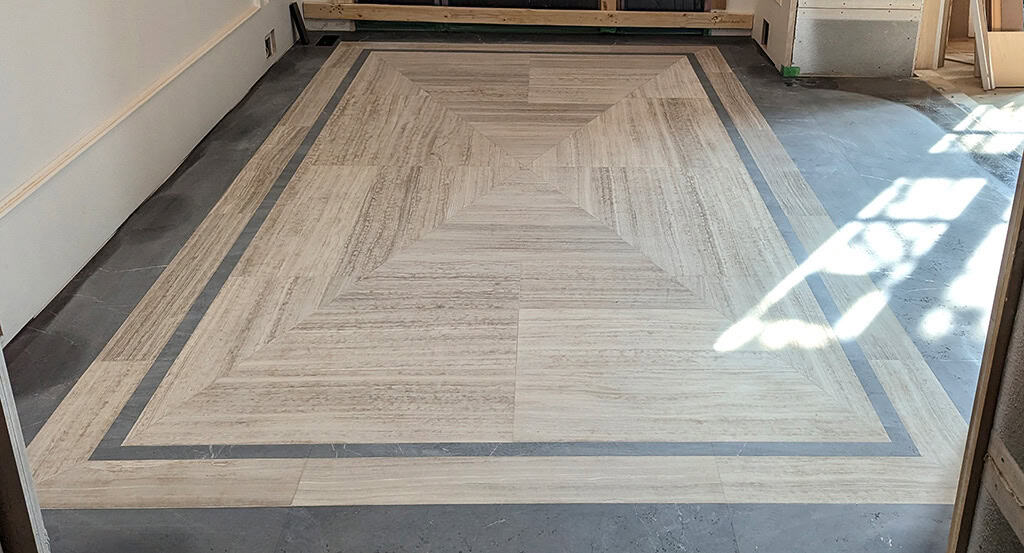
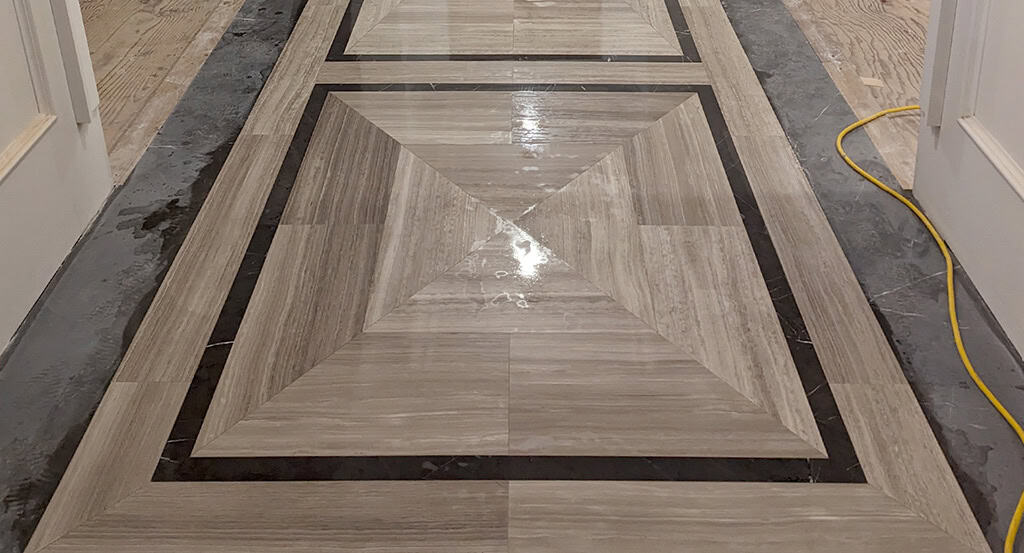
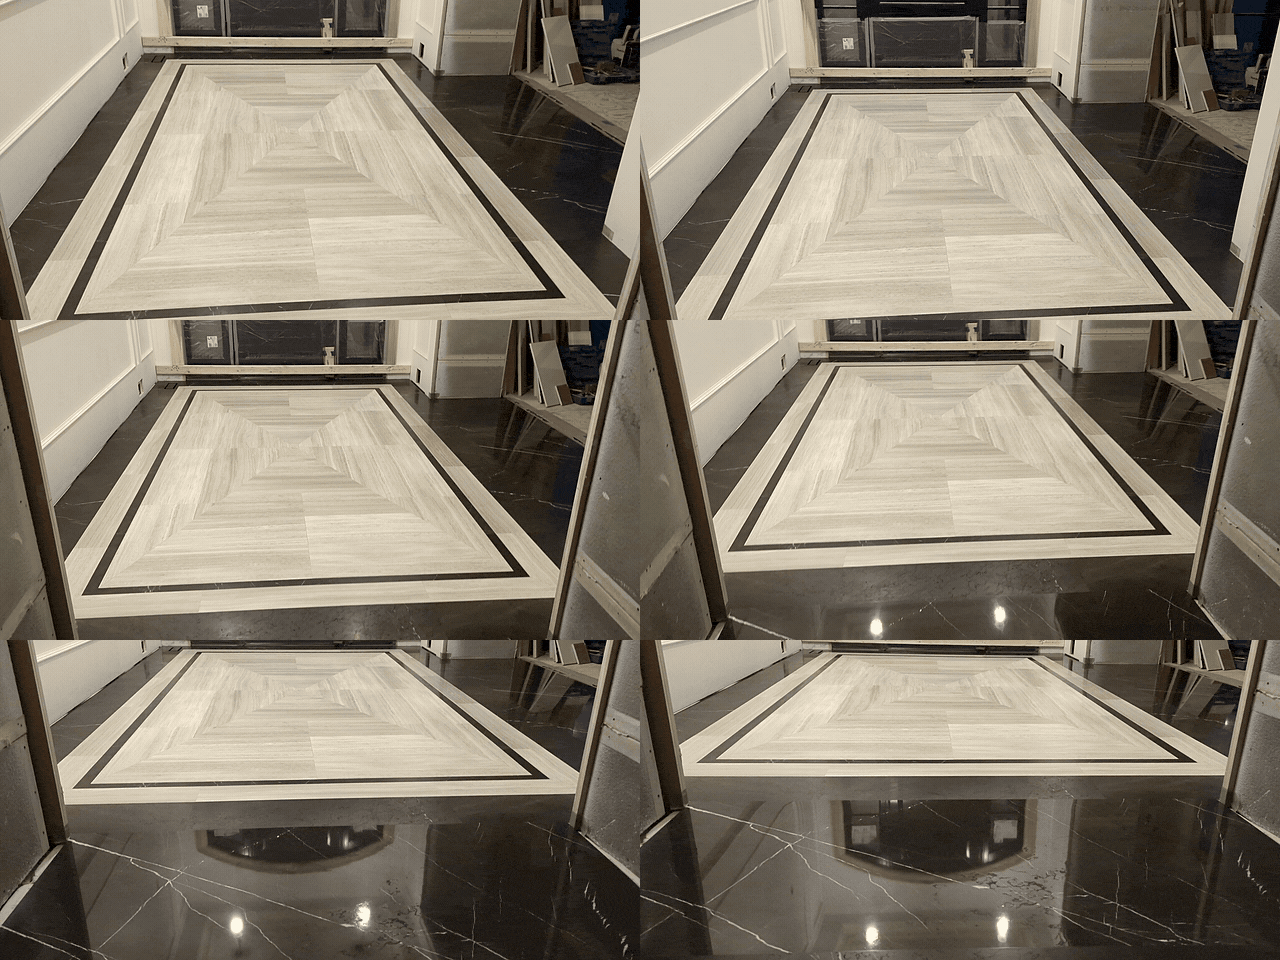
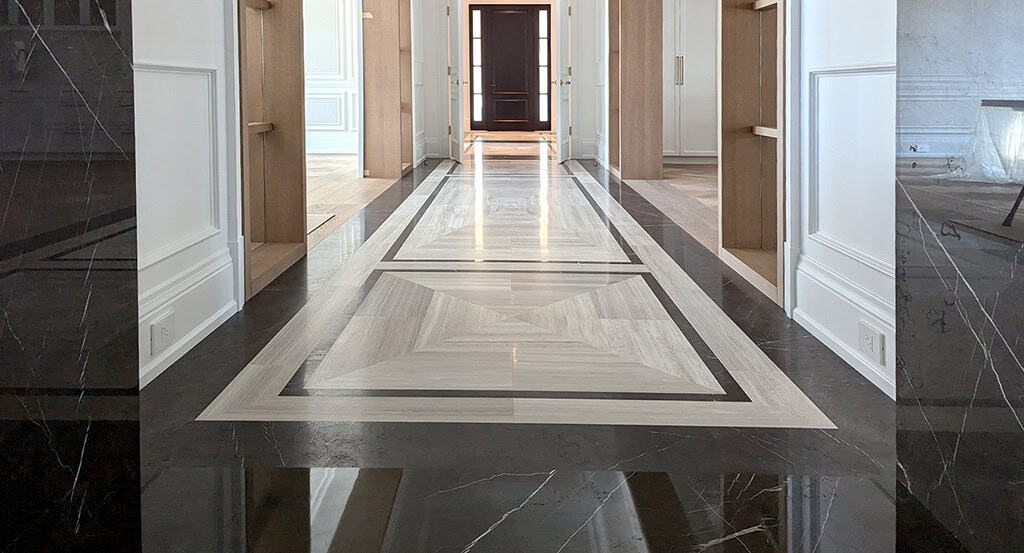
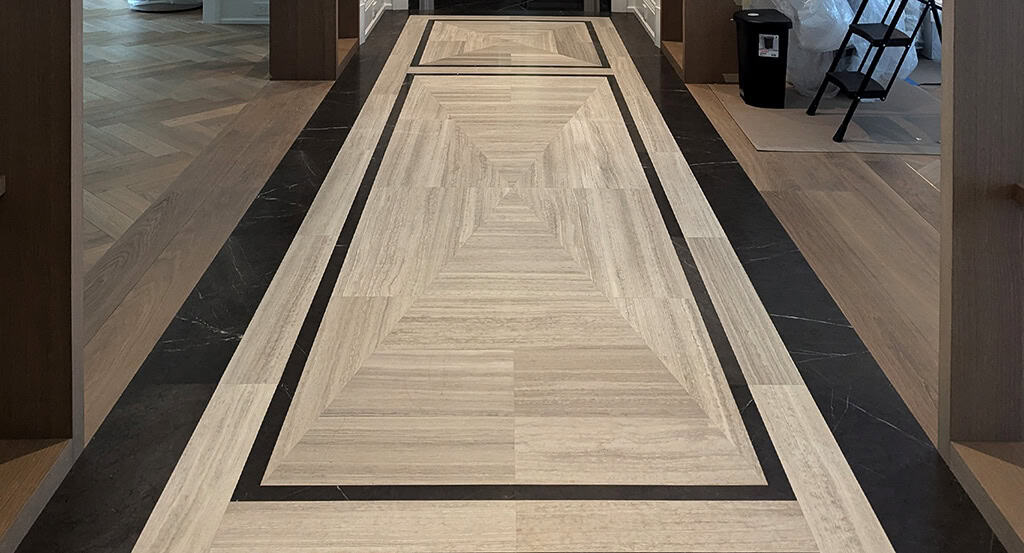
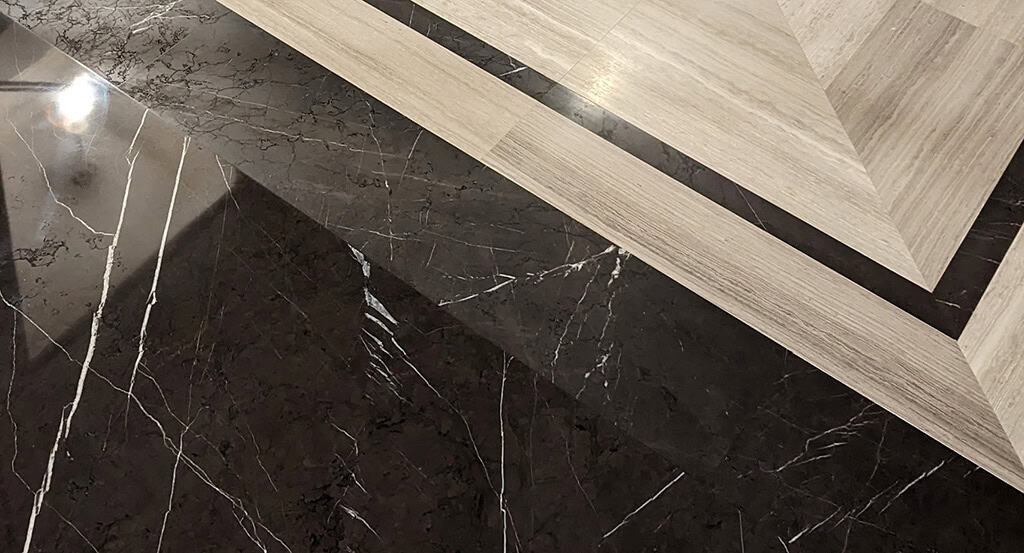
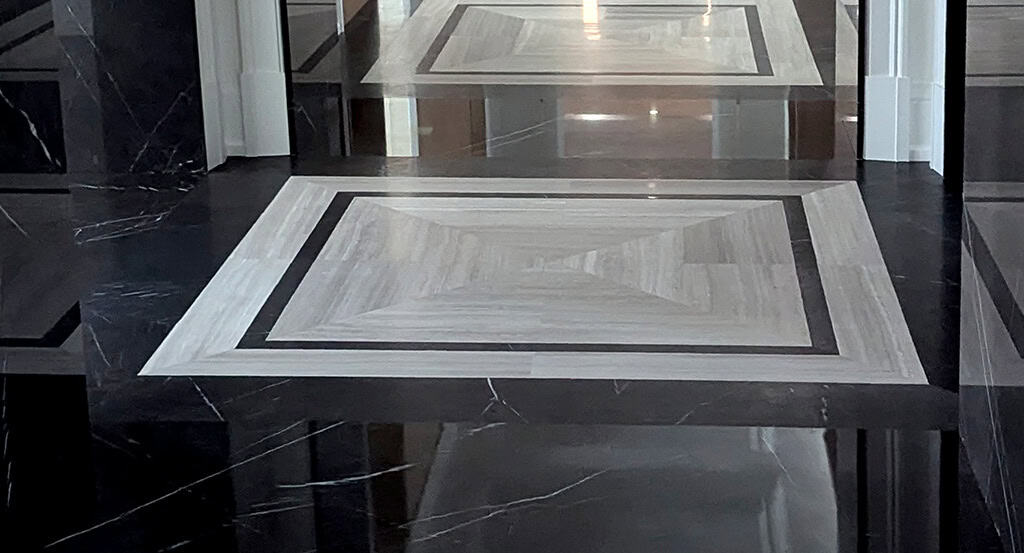
We were called in by a reputable marble installer to level approximately 1,000 square feet of newly installed Escarpment limestone in the personal residence of one of the GTA’s largest home builders. The work included the foyer, main hall, laundry, mud rooms, and a powder room.
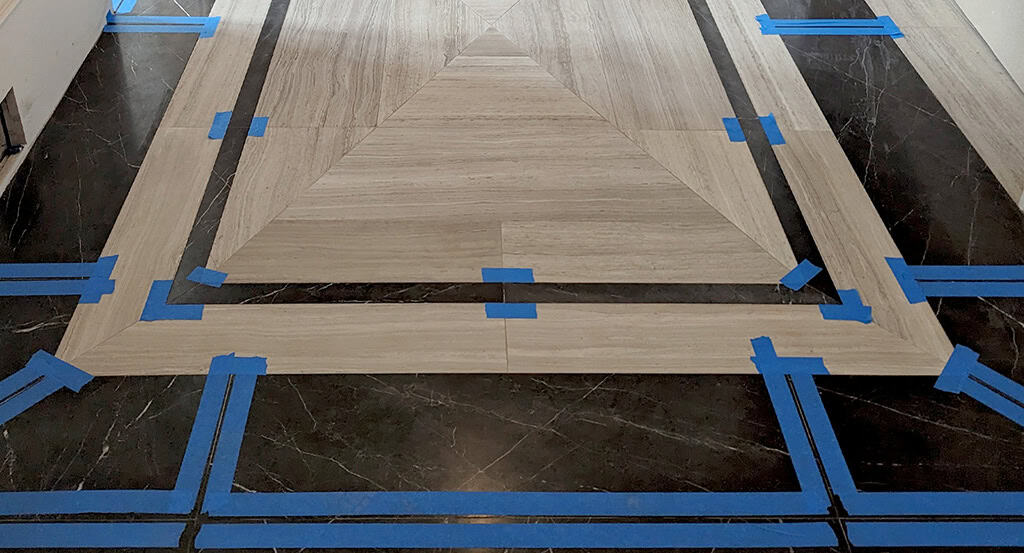
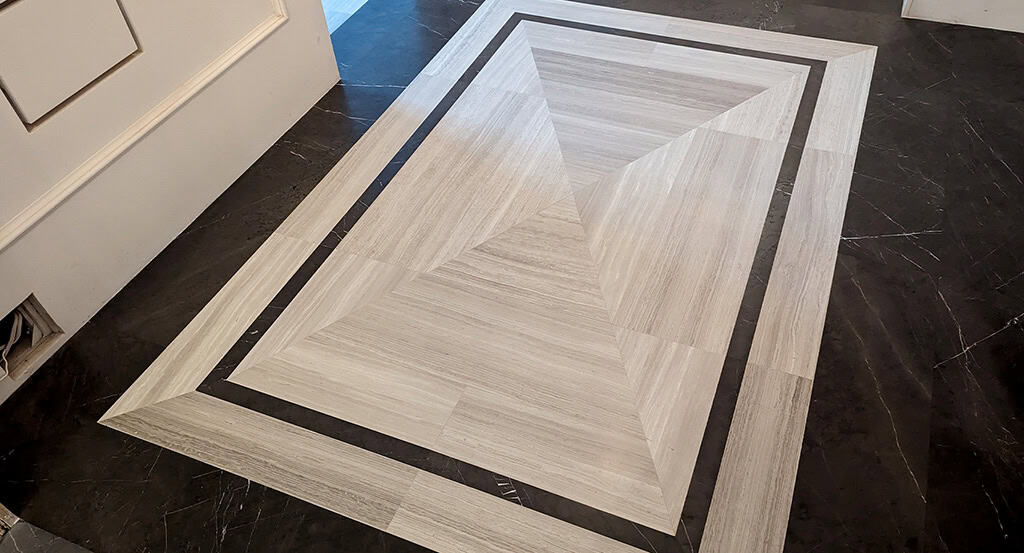
The elaborate geometric layout, designed around the stone’s natural cross-cut veining, combined with significant bowing in the material, made achieving a sufficiently flat installation impossible without grinding the floor in place. The project also incorporated a very dark brown, contrasting marble, requiring different approaches to grinding, joint filling, and sealing.
The Materials
Two distinct types of natural stone were used side by side, creating a striking visual contrast in both colour and veining. While the combination worked beautifully as a design, the two materials responded very differently to resurfacing and required separate approaches throughout the restoration.
Escarpment Limestone
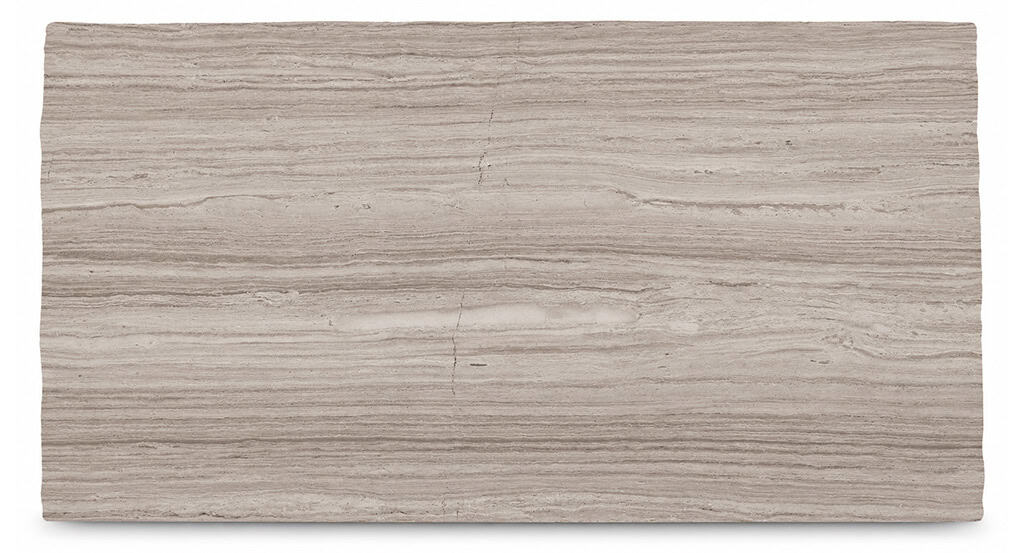
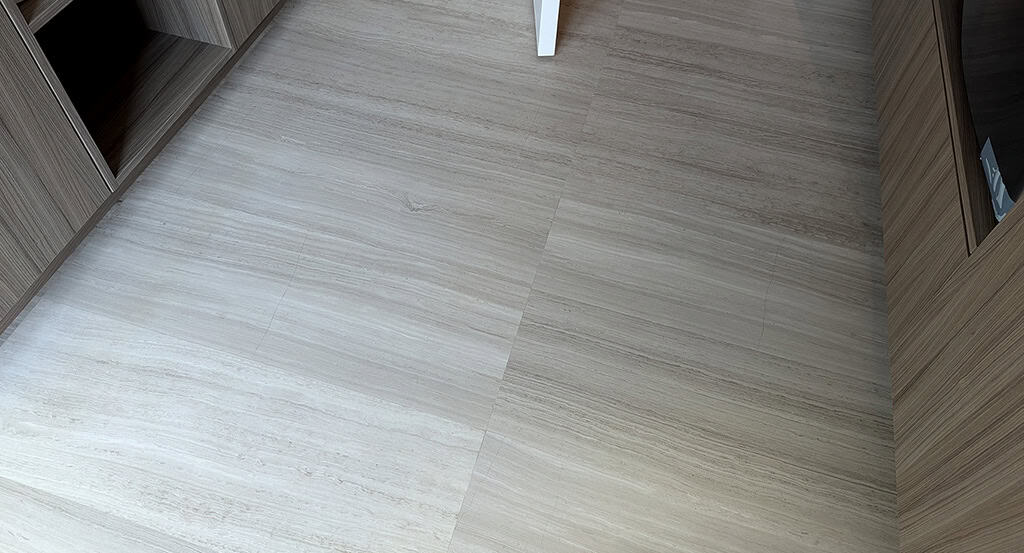
The beige stone is Escarpment limestone. This sedimentary stone is cross-cut, giving it the distinctive long striations visible throughout the material. It is extremely soft and among the most porous natural stones we have encountered. As a result, it requires very specific treatments that differ significantly from those used on most other limestones and marbles.
St. Laurent Marble
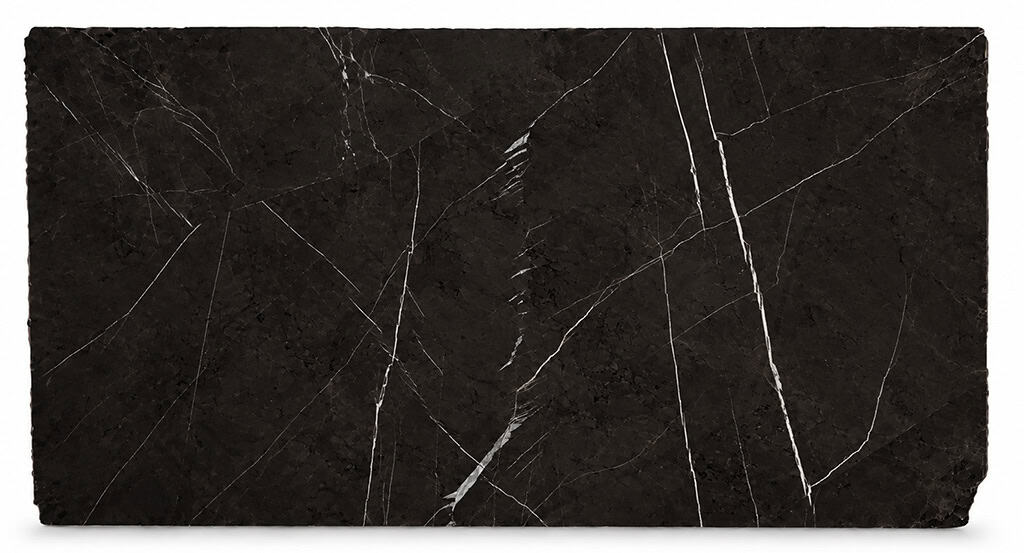
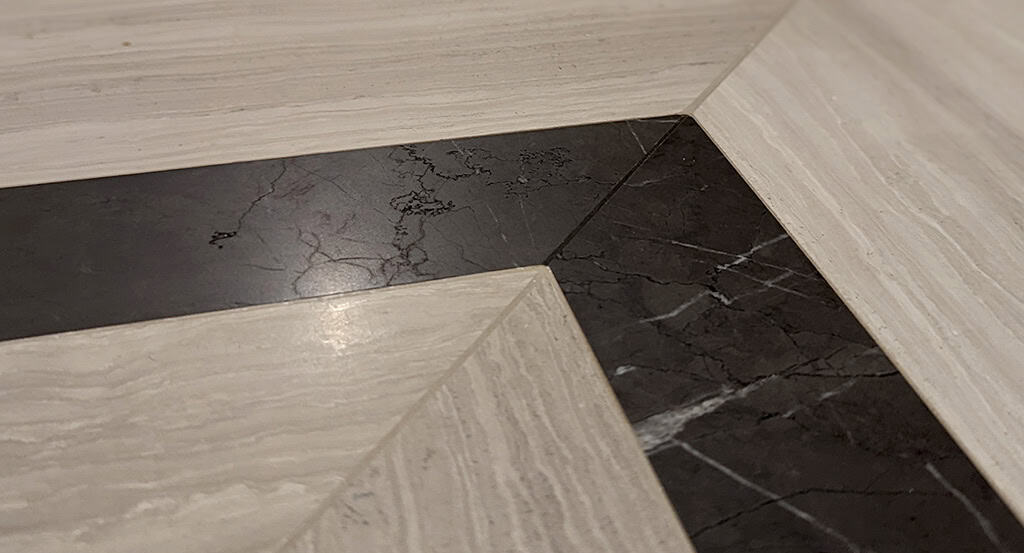
The contrasting dark brown/black stone is St. Laurent marble, with traditional marble veining that contrasts with the striations of the Escarpment limestone. It is moderately harder and significantly less porous than the limestone, requiring different treatment during the restoration.
Joint Filling
Careful consideration was given to the type of filling material used on each stone. Porosity, the potential for staining, and the hardness of the surrounding material all had to be factored in. The filler also had to be carefully applied across very narrow borders and around vents and other details.
St. Laurent Marble
The St. Laurent marble could be treated conventionally because it is considerably less porous than the neighbouring limestone and is not similarly prone to staining. The joints were carefully taped to their exact edges and filled with a colour-matched, exterior-grade epoxy. Only as much epoxy as necessary was applied, minimizing the amount of grinding required around the much softer adjacent limestone. The epoxy work was completed before grouting the Escarpment limestone, since the limestone filling process was considerably messier and involved heavily overfilling the joints in preparation for grinding.
Escarpment Limestone
Escarpment limestone is in a league of its own when it comes to sensitivity. Even high-quality latex grouts can leave pigment stains wherever the grout contacts the surface, while epoxy can easily leave permanent dark staining. The extreme porosity of the limestone also means grout can dry too quickly, potentially weakening the joint through improper curing.
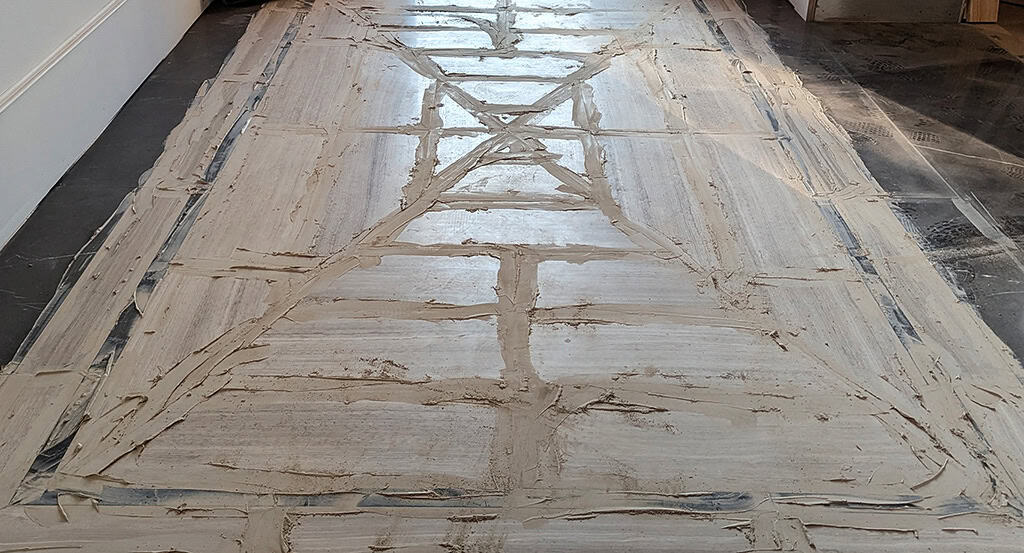
For this project, we went with a tried-and-true unsanded grout. The surface was first gently wetted to prevent the grout from drying too quickly. The joints were then heavily overfilled, leaving the grout well above the surrounding surface. Although this created a very messy appearance initially, most of the excess would be removed during the grinding process.
There was also an important benefit to this approach: the overfilled joints made the low areas of the floor much easier to see as we began removing lippage and grinding the floor flat.
Grinding - Lippage Removal
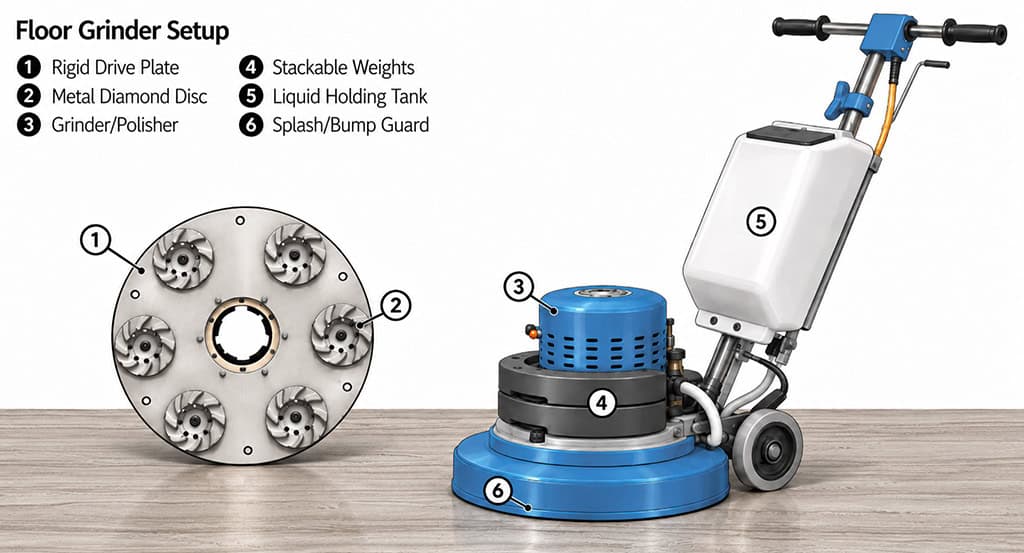
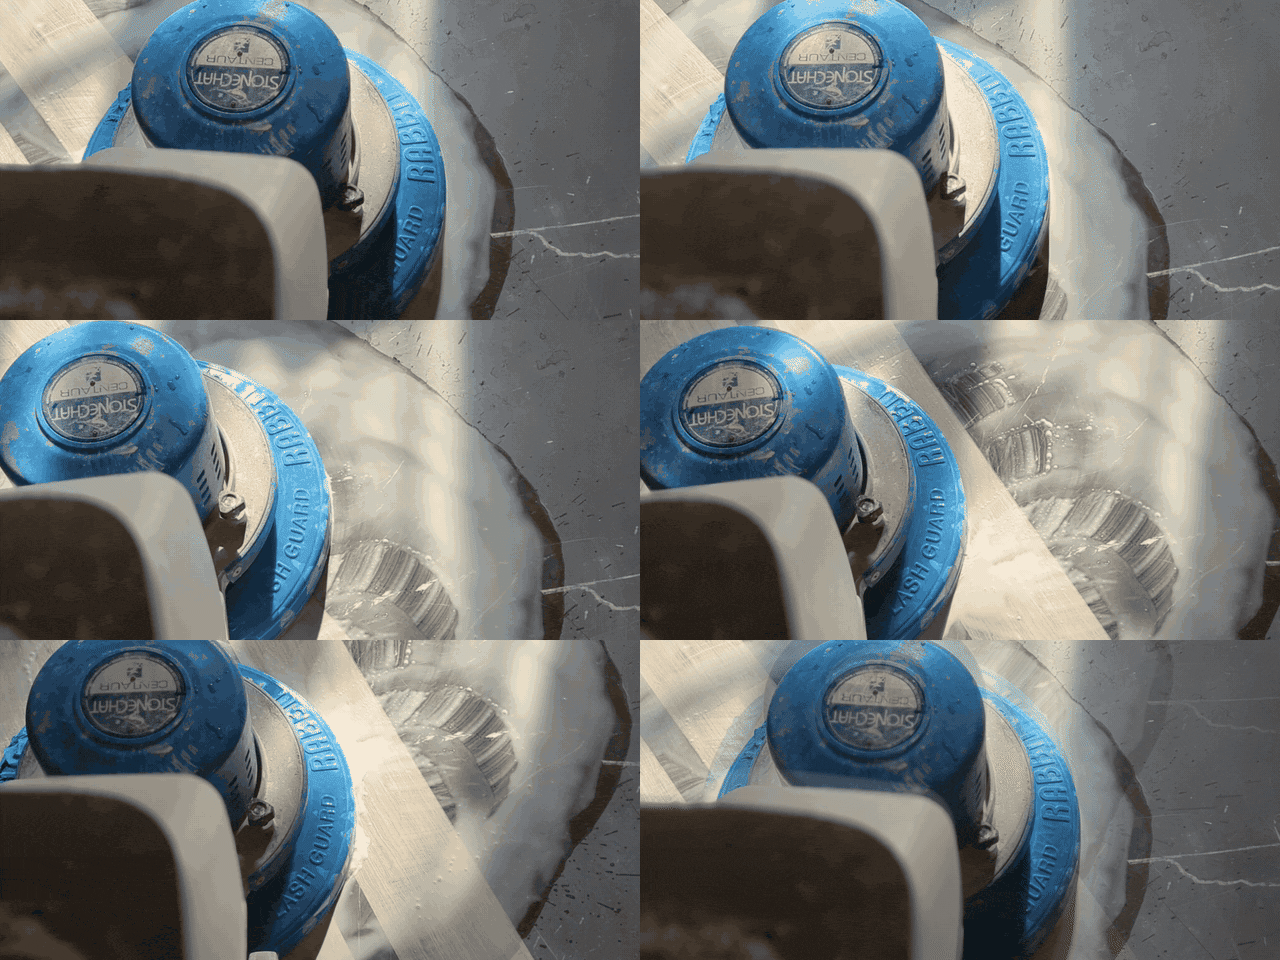
The first cutting stage used an aggressive metal-bond diamond disc attached to a completely rigid drive plate. The floor grinder was loaded with approximately 100 lbs of stacked weights, providing the pressure needed to cut the stone evenly while minimizing waviness.
The objective was for the floor to follow the flat plane established by the machine, rather than allowing the diamonds to follow the existing unevenness of the stone. This initial grind established the overall flatness of the floor while opening the surface of the Escarpment limestone in preparation for densification.
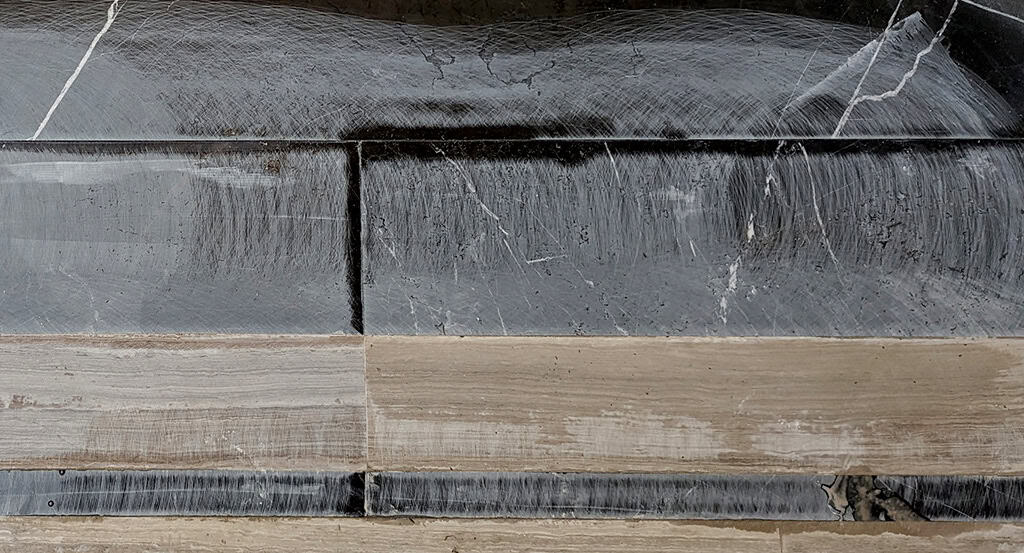
Metal-bond diamonds are extremely aggressive, so the floor was continuously assessed throughout this stage to control the depth of the grind. Too little grinding, as seen below, would leave low areas and remaining lippage, while over-grinding could expose the cement beneath the joint-filling materials.
Each grinding step requires considerable overlap to feather out the previous grinding marks. Because the floor grinder cannot reach all the way to walls and other fixed edges, these areas must be completed separately with a hand grinder. It is messy and meticulous work, and the edges must be ground before the main floor to minimize waviness where the two areas meet. Door casings, baseboards and other trim that cover the stone must also remain uninstalled so the grinding can be properly feathered to zero at the perimeter.
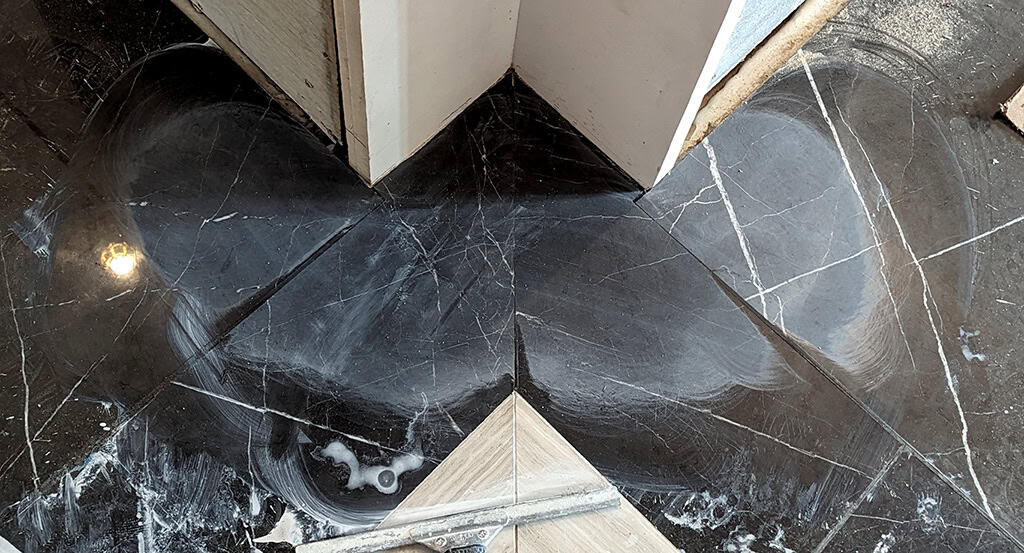
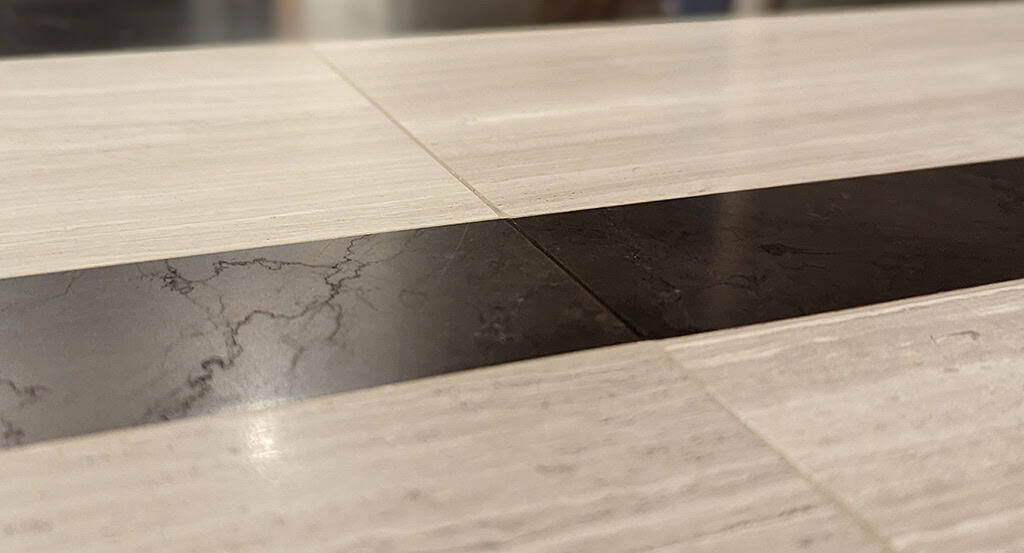
Below, three sections of stone meet at a properly ground intersection. The epoxy-filled joints have been ground completely flush with the surrounding stone, leaving a continuous, flat surface across the intersection. The area is now ready for continued grinding with progressively smoother diamond abrasives to achieve the final finish.
Densifying the Limestone
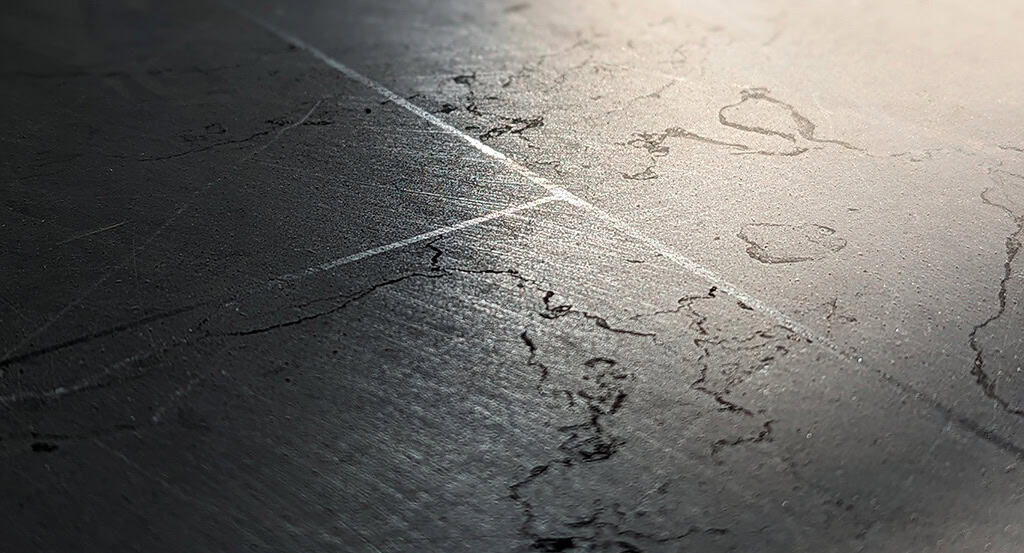
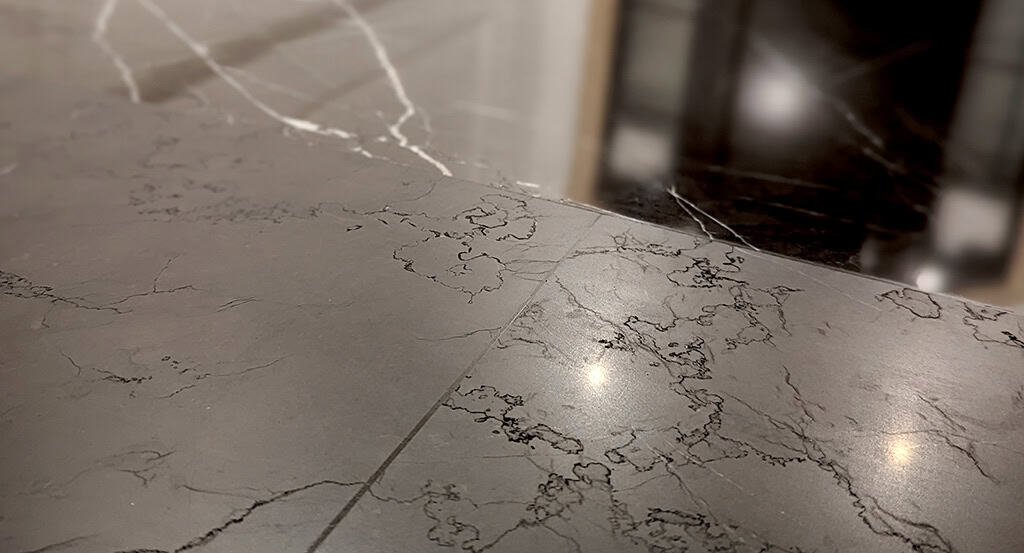
At this stage, the first few grinding steps were complete. The floor was flat, but the surface remained very rough. Escarpment limestone is extremely porous, and at this coarse finish, water used during grinding was able to migrate back out of the stone relatively quickly. As the surface was ground progressively smoother, however, moisture became increasingly difficult to release and could remain deep within the stone’s pore structure. In the image below, the floor has been ground to a 30-grit resin diamond finish.
After considerable research and off-site testing, we settled on a penetrating densifier specifically formulated for highly porous limestone. The treatment would strengthen the stone and significantly reduce its water absorption before we continued through the finer grinding stages. The limestone was allowed to dry completely before application and absorbed a tremendous amount of densifier. The densifier was then allowed to fully cure before grinding resumed.
Grinding - Final Resurfacing
Up to this point, the floor had undergone aggressive grinding with 30-grit and 60-grit metal-bond diamonds, followed by a step back to a 30-grit resin diamond to begin removing the deeper scratches and gouges left by the metal tooling. From there, resurfacing continued through 60-, 100-, 200- and 400-grit resin diamonds, with each successive step removing the scratch pattern left by the previous grit while progressively refining the surface.
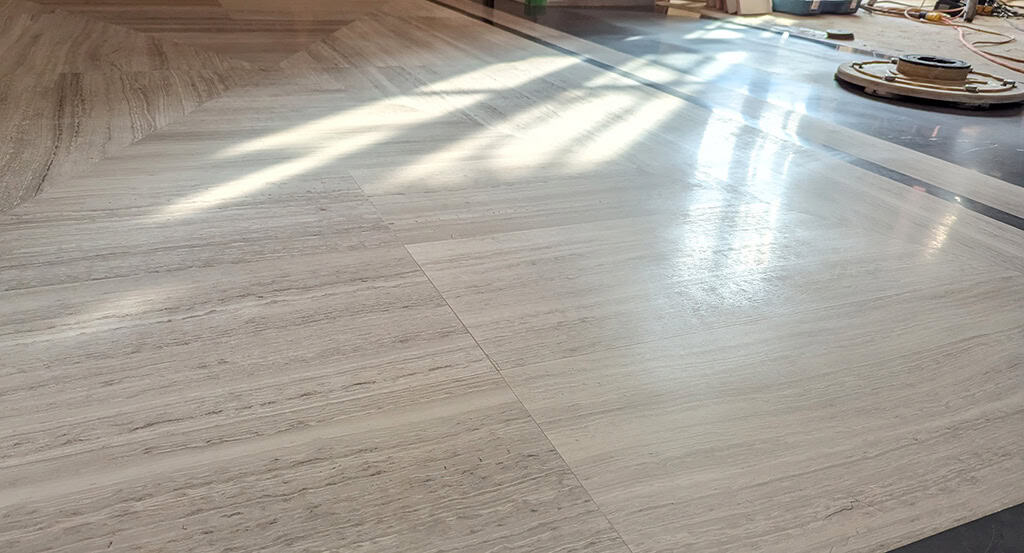
After the 400-grit resin diamond, a softer 400-grit diamond-impregnated pad was used to establish the final reflection and uniform appearance of the surface. The designer was given the option of a more traditional, duller 200-grit honed finish but chose to take the stone slightly smoother. The resulting finish sits somewhere between a traditional honed finish and a satin patina, providing greater depth and reflection without becoming highly polished.
Isolating the Polished Finish
The designer specified that selected areas of the dark St. Laurent marble be polished to match polished marble archways that would be installed after our work was complete. These areas had already been ground completely flat with the surrounding floor and now had to be brought to a high-gloss finish with millimetre-level accuracy, directly beside material that needed to remain honed.
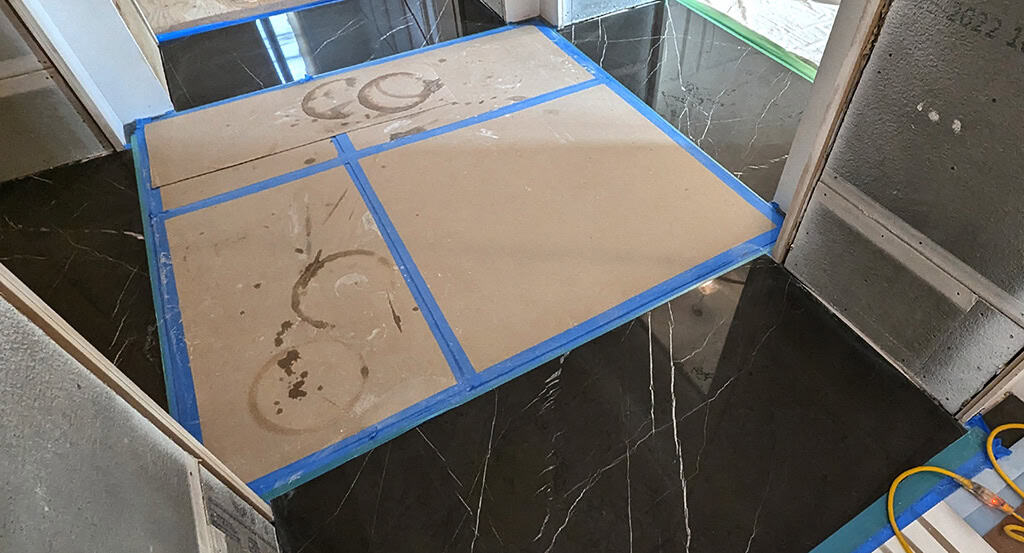
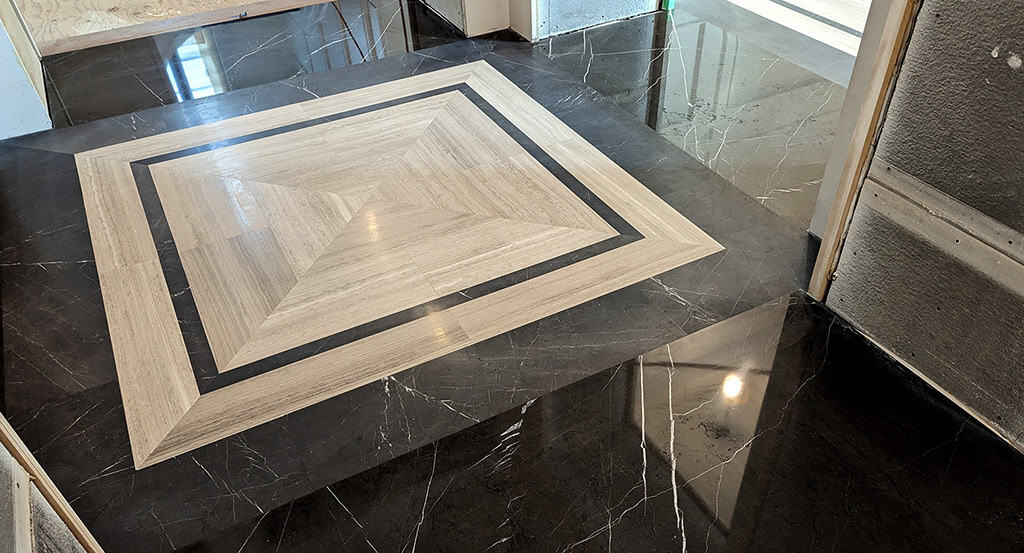
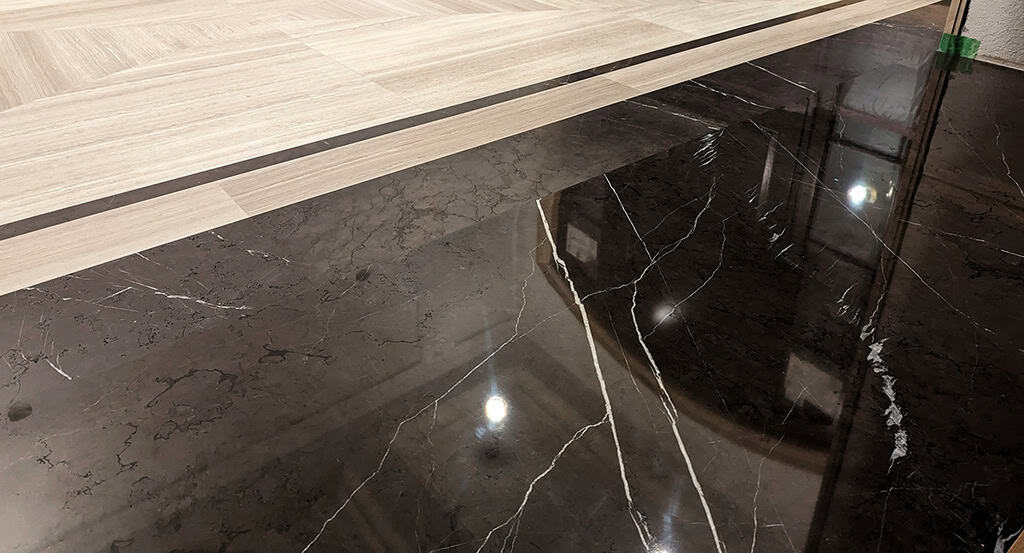
Careful masking with waterproof tape and multiple layers of protection allowed the polished areas to be worked independently without affecting the adjacent honed stone. The finished transition can be seen below, with the polished marble remaining completely flush with the surrounding honed materials. As expected, the honed stone remained noticeably lighter than the polished marble. This difference would be addressed during the next sealing stage using penetrating colour-enhancing sealer.
Protecting & Enhancing the Stone
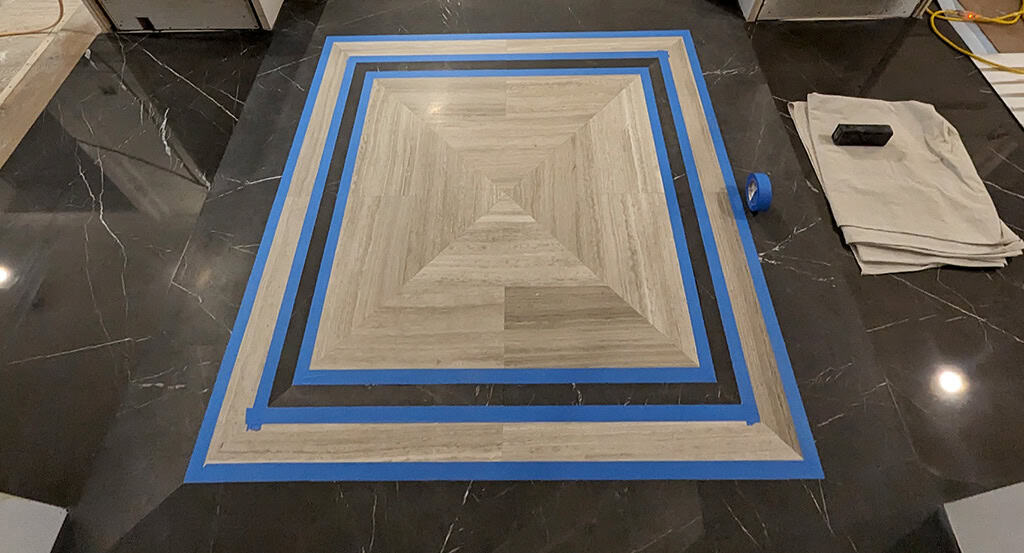
The floor was nearly complete. All joints had been ground level, and the honed and polished areas had been established. The final challenge was isolating each stone and finish type so that it could receive the appropriate sealer. The Escarpment limestone and polished sections of marble were treated with high volumes of solvent-based penetrating sealer, which protected the stone without changing its appearance. To bring the dark honed marble closer in appearance to the polished sections, a solvent-based colour-enhancing sealer was applied. These areas had to be carefully isolated with waterproof tape to prevent the colour enhancer from bleeding into the extremely porous surrounding limestone.
Below, you can see a distinct difference in reflection between the two sections of dark marble, while their richness and depth of colour remain nearly identical.