Intex Surface Solutions Logo
INTEX SURFACE SOLUTIONS

Onyx Butterflies

Over the years we've restored countless floors and countertops. Every once in a while, a job will come up that allows us to work on unique, delicate surfaces. These high stakes, precise jobs are not only welcomed, but enjoyed. This particular table has always stood out as one of our most gratifying projects, the budget allowed us to spend the entire day bringing it back to its original beautiful condition and we did it on site without moving the table, or creating any mess.
Jump to...

About the Table

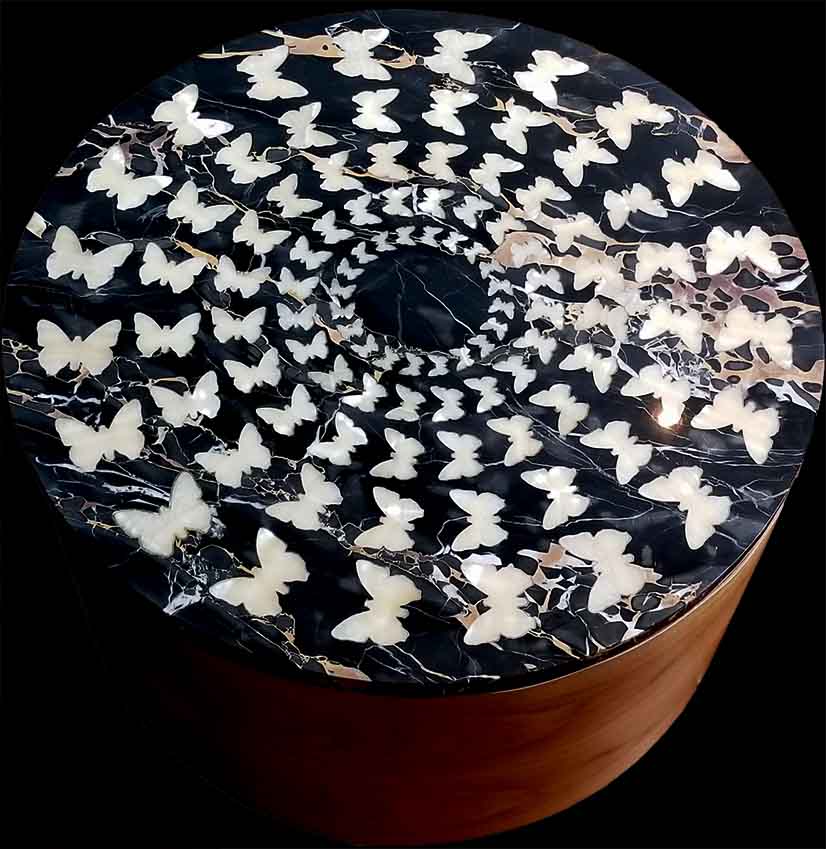
This table is unique in every way. The top was produced by an artist working out of Italy. The base was custom made to match the top by a fine carpenter in Toronto.

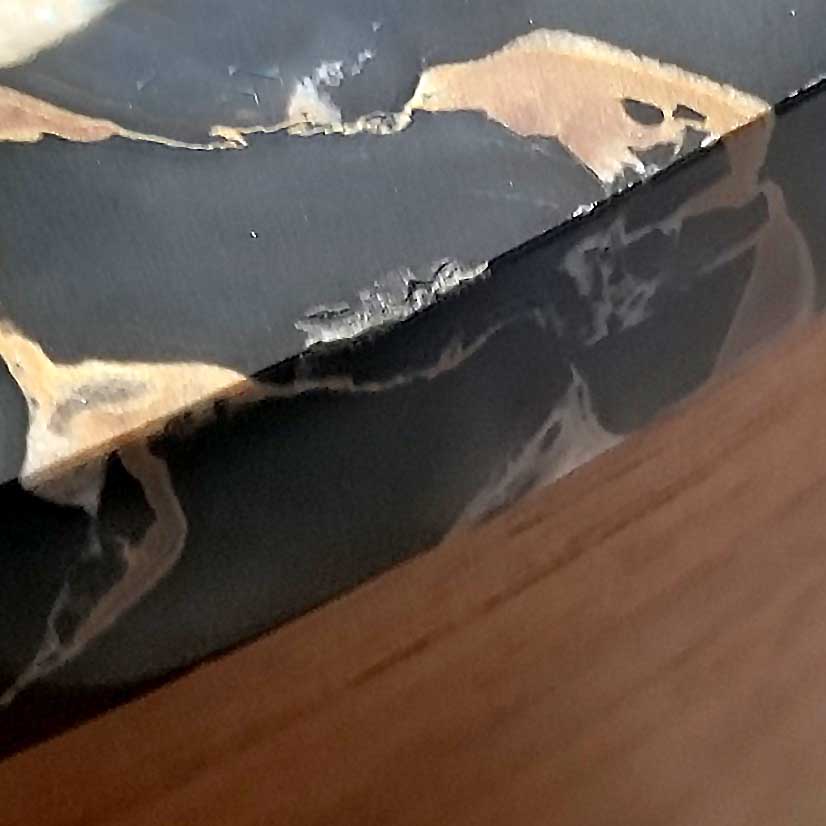
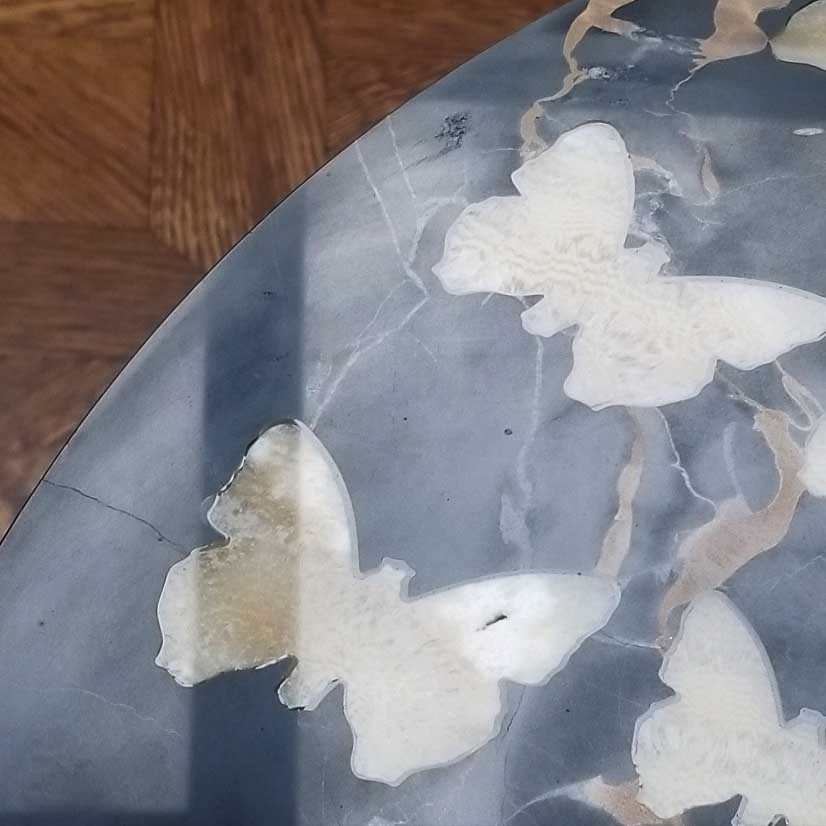
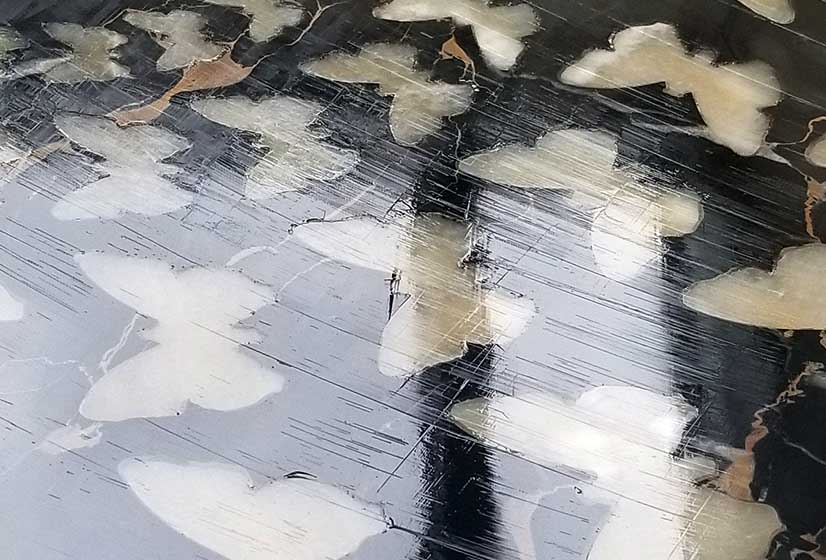
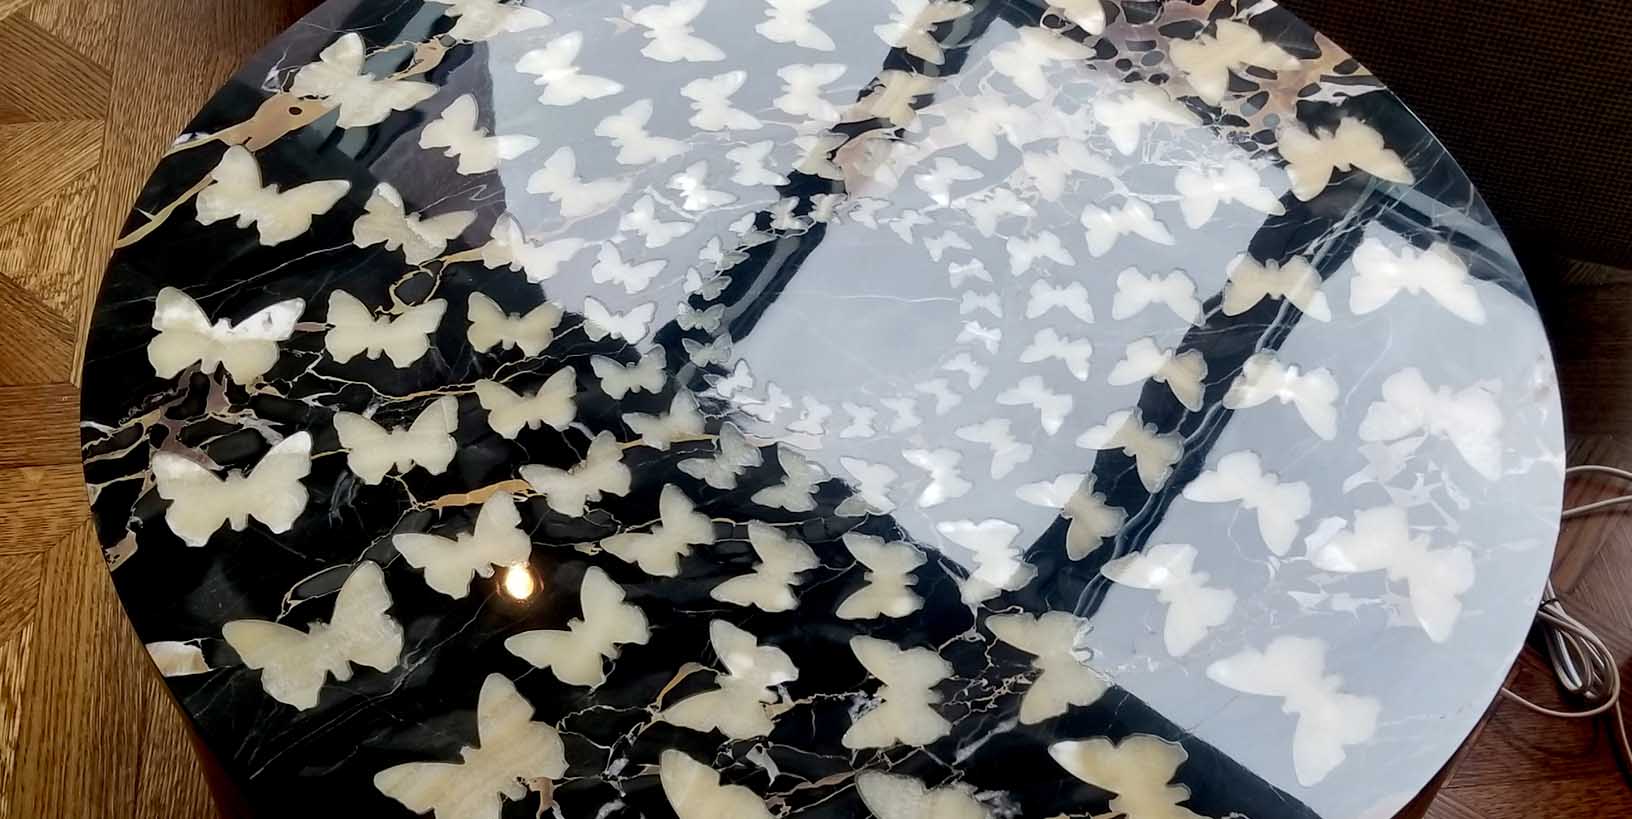
The top started as a slab of black Portoro Marble. This soft marble is quarried in the Porto Venere region of northern Italy, and is considered quite rare.  We typically find this marble on antique tables but don't often encounter it on new installations due to its rarity. This  marble is soft and very porous. The butterfly inlays are done in a White Onyx, this is not a rare material, and can be found globally. The onyx has very different physical characteristics from the marble, it is harder, denser and semi transparent. This hardness makes the onyx brittle and  susceptible to flaking and cracking. 

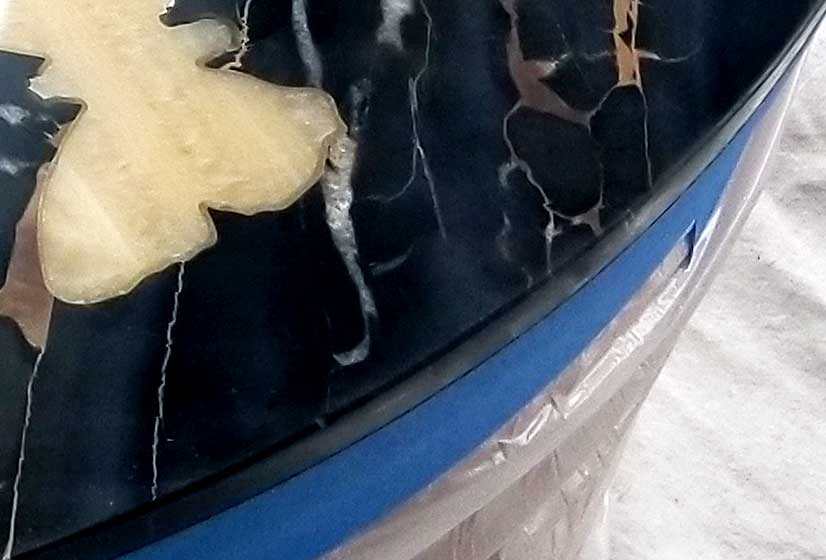
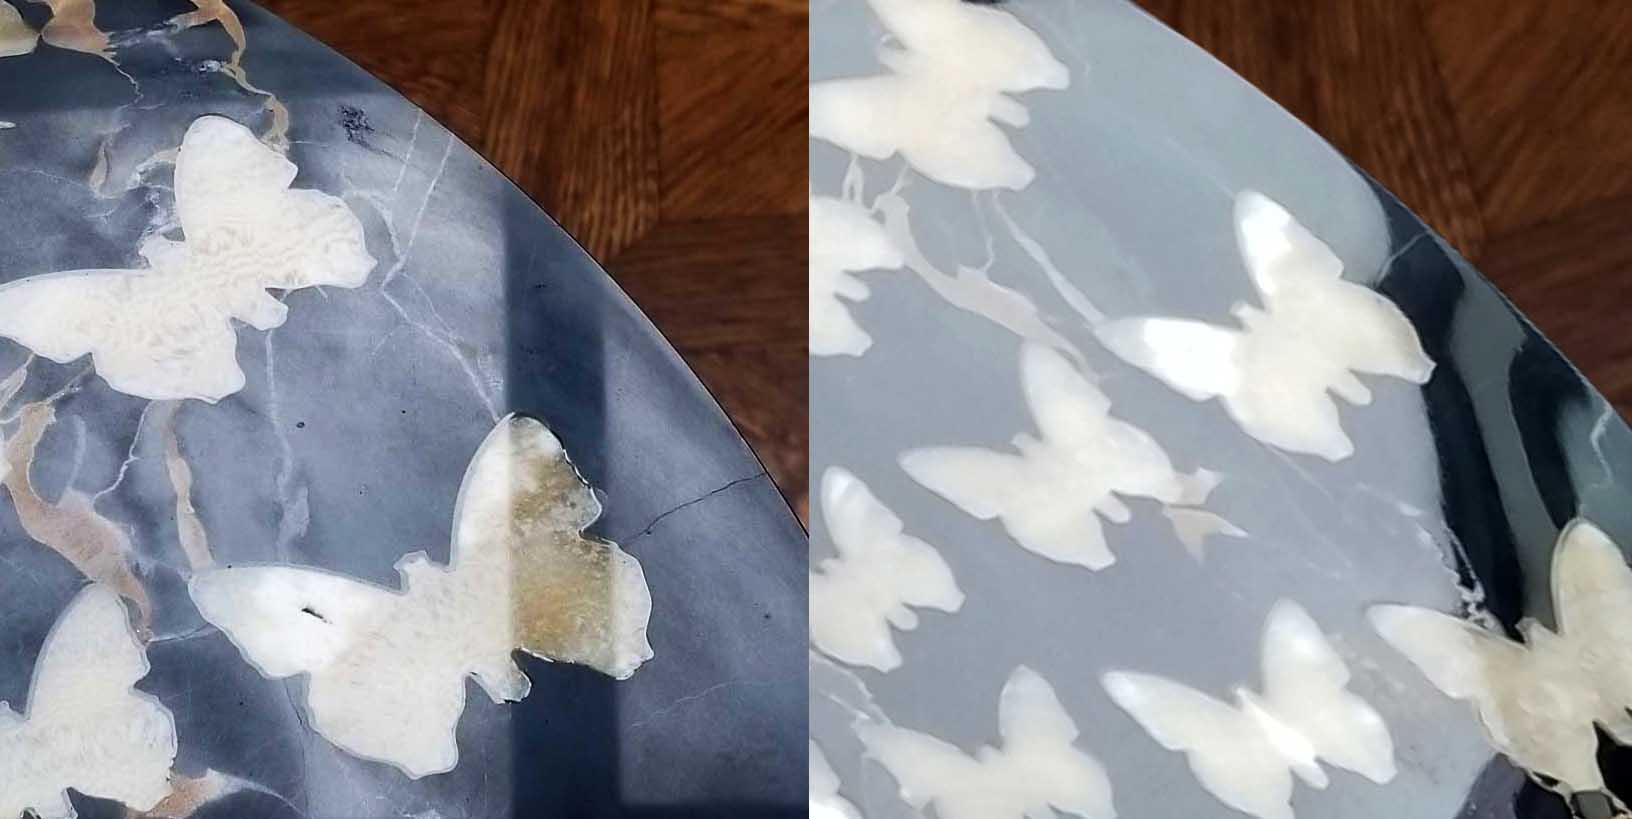
The inlay sections of the base material and the butterflies were cut using a CNC waterjet. This method allows for precise, narrow cuts into the stone. Each stone type was cut independently and then assembled using stone grade epoxy. Once assembled, the surface was flattened and polished.
background 12

Damage  Overview

Besides the expected general wear, the table had become quite damaged during transport from the client's previous home. Not only were the edges rolled on a hard surface, I suspect thermal expansion between the different material types caused the significant cracking in the epoxy joints between the white onyx and marble. 
cracks2
Cracks & Failed Epoxy
chipped edges
Edge chips
foggy finish
Scratches & Dullness

Repair Process

Step 1 : Preparation

It's important with a job like this to have a very clear plan for the repair. This requires a firm understanding of the nature of the materials you are working with. The combination of soft marble and harder onyx meant our grinding discs would want to roll over the onyx and dig into the marble, leaving an uneven surface. The addition of epoxy, which is harder than the marble further complicates the repair, jeopardizing evenness of the grind. This could be mitigated by using a heavier machine, but the size of the table, existing cracks,  and fragile base made this very risky. We addressed these concerns by going with a rigid aluminum drive and very rigid diamonds to reduce flexing and keep heavy depressions at bay.

In order to protect the floors and surrounding furniture we used waterproof drop cloths, tape and poly. 

Step 2 : Epoxy Repairs

Epoxy was pigmented  on site to match the various areas of the table- black for the edges, honey clear for the onyx.  
i. Edge repairs
The edge chips were repaired first. Loose material in the chips were removed, then cleaned with a solvent to promote epoxy adhesion.  After the epoxy was applied and cured we moved onto shaping the repairs. Excess material was removed by hand and shaped back to it's gentle mitre and polished finish using diamond sanding pads. 
edge repairs
ii. Epoxy coating
The top was littered with holes, cracks and loose material, requiring a full coating of epoxy to catch them all. We started with prepping the surface, then applied a thin layer of epoxy across the entire table. This was done twice to account for epoxy shrinkage. Care was taken not to leave areas of overly thick epoxy, since they could interfere with the levelness of the final grind. 
epoxy coating

Step 3 : Grinding

As mentioned before, a large, rigid drive was used during the grind to prevent the grinding discs from rolling over the harder onyx and digging into the soft black marble. Grinding is always done with water, it keeps the dust contained as well as prevents overheating the stone and epoxy. Overheating the surface can cause shrinkage or failure of the epoxy, or even introduce new cracks between the two very different types of stone. It's important to note, this process of removing stone can't be undone,  so we chose to start with less aggressive diamonds. It took longer, but allowed for more precision.  
grinder4
Four grits of progressively smoother diamond grinding discs were used, 400g - 800g - 1500g. The first grind was aggressive enough to level off the epoxy as well as to remove etches, scratches and any other wear present. The next two stages smoothened the scratches of the previous grind and prepared the surface for polishing. We thoroughly cleaned the entire surface between grits to prevent any microscopic pieces of onyx epoxy or diamond from scratching the extremely soft marble during the next steps.
butterfly table marble grinding

Step 4: Polishing

The marble and onyx both responded very well to polishing. A soft white polishing pad was used with non acidic polishing compound. Polishing is done over 4-6 stages. The first stages uses a high concentration of polishing compound and low amount of water, creating a thick slurry. This first step of polishing can almost be considered a final form of grinding, since the compound in high quantities does shave some material away. The next stages of polishing use lower and lower quantities of compound, but increased water. Repeated passes smoothen the surface to high gloss perfection without the use of topical coatings, waxes or other artificial layers applied to the stone. It is a completely mechanical process.

Step 5: Sealing

The polishing had done a very good job of bringing the rich black colour of the marble back, but we wanted to see if we could get it even darker. A thin application of colour enhancing sealer was applied, left to penetrate and buffed off. The colour enhancer added around 5% to the darkness of the marble - while this may not a substantial gain, we aim for perfection. We followed the enhancer with a normal, transparent sealer. This next application of sealer was not required, but being less viscous than the enhancer, we figured it would draw deeper into the stone, and further protect the material. 

Results

We were beyond satisfied with the final finish of the table. Deflection was minimal and reflectivity across the marble, onyx and epoxy was equal. 
Final resultsfinal 1final 2final 3
Intex Surface Solutions Logo
INTEX SURFACE SOLUTIONS
Intex Surface Solutions Logo
INTEX SURFACE SOLUTIONS
instagram logointex surface solutions houzz logo
Covid-19
© 2023 INTEX SURFACE SOLUTIONS LTD.
crossmenu